
概要
日付、時間、分、秒単位の期間毎に、最大PVがどのくらいかを確認するためのカスタムウィジェットの利用方法について説明します。
|
取得方法は、以下の通りです。
|
作成方法:
-
Persistedクエリの作成
サイトの閲覧権限のあるユーザで、以下のAPIを実行します。
|
2. PersistedクエリIDの取得
1.のAPIを実行するとIDが返ってきますので、そのIDを保存します。
|
後からでも、https://admin.cxense.comにアクセスし、APIタブをクリックすることで、登録したIDをご確認いただけます。 |
3. ワークスペースへアクセスします。
4.「ウィジェットの追加」をクリックします。
5.「ウィジェットの選択」をクリックします。
6.「外部コンテンツ」をクリックし、「追加ボタン」をクリックします。
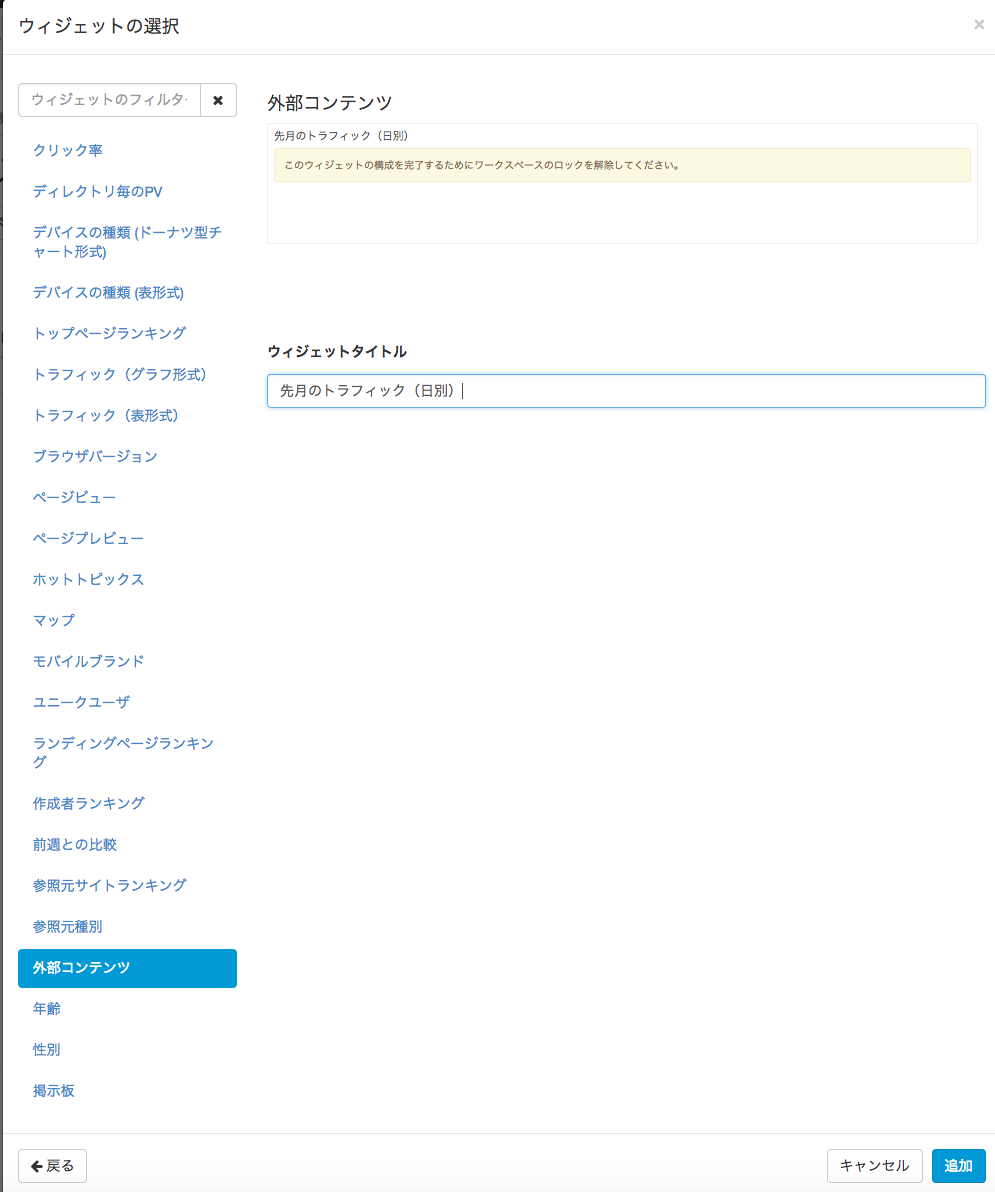
7. 追加されたウィジェットのテキストボックスに以下を入力します。
https://cdn.cxpublic.com/jps-maxpv.html?group={{group}}&site={{site}}&start={{start}}&stop={{stop}}&filter={{filter}}&segment={{segment}}&persistedId=XXXX
|
「XXXX」の部分に、 2. で取得したPersisted IDを指定します。 |
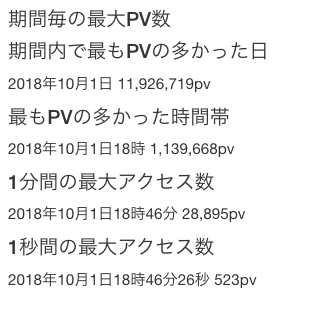
8. 以下のようなウィジェットが表示されます。
|
オーディエンスでの絞り込み、フィルターによる絞り込みも可能 |