
Common tasks
Updating a render template
Video
(click to view)
Steps
-
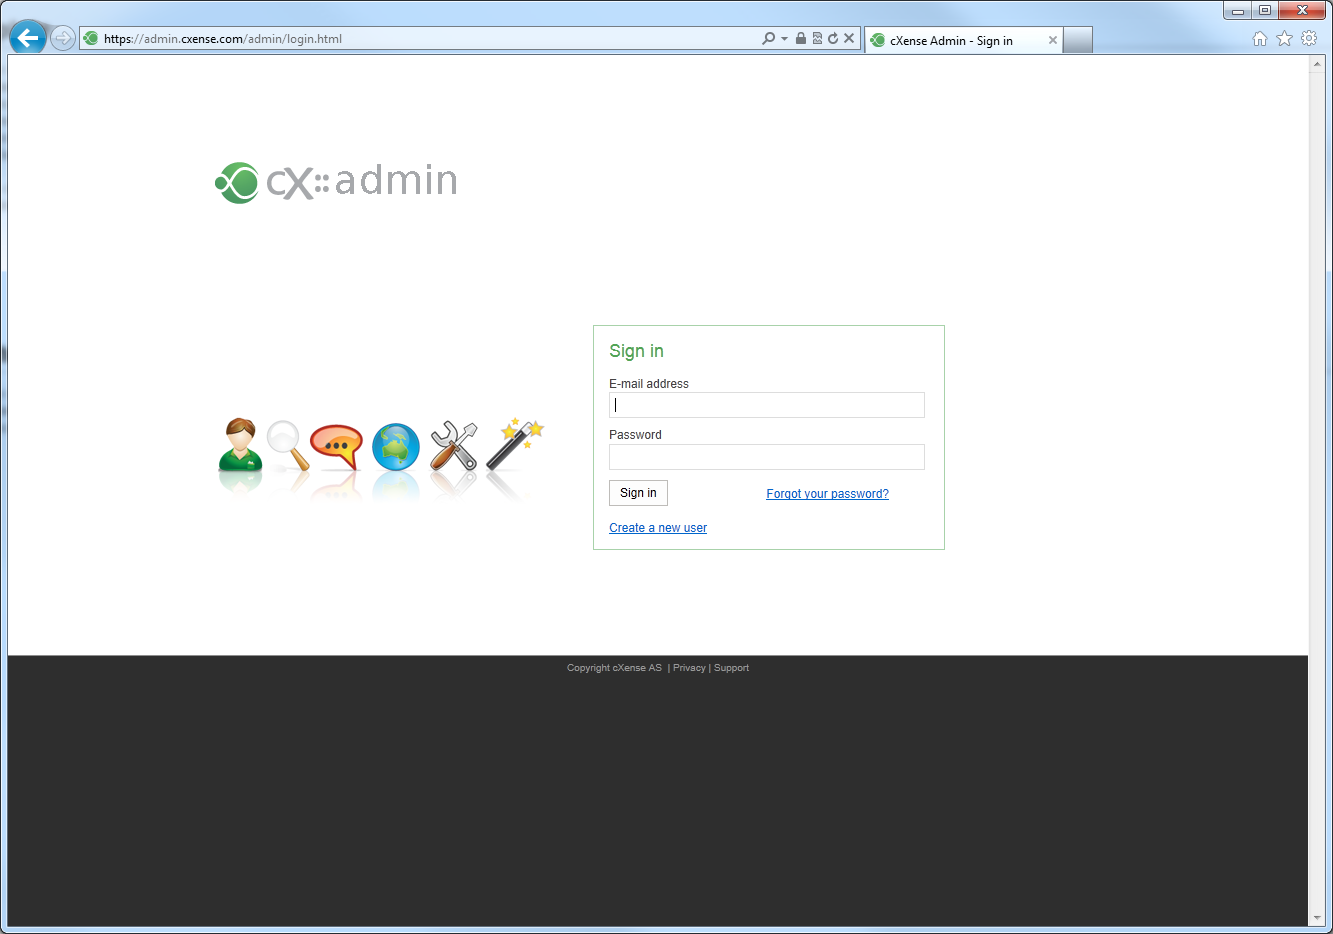
Login on the cX::admin portal with your cXense username and password (https://admin.cxense.com/):
2. Click the "Rendering" tab (currently labelled "Rend.templ.")
3. If you have access to more than one Account, select the right account
4. Select the template that you want to modify from the drop-down
5. Make your wanted changes in the editor window
6. Click "Save draft" (currently labelled "Save")
7. Click OK to confirm save
8. Click "View changes" to verify that the changes that are going to be published is only the changes that expect to be published. Red lines indicate removals, green: additions, yellow, changed. All other lines are the same as before.
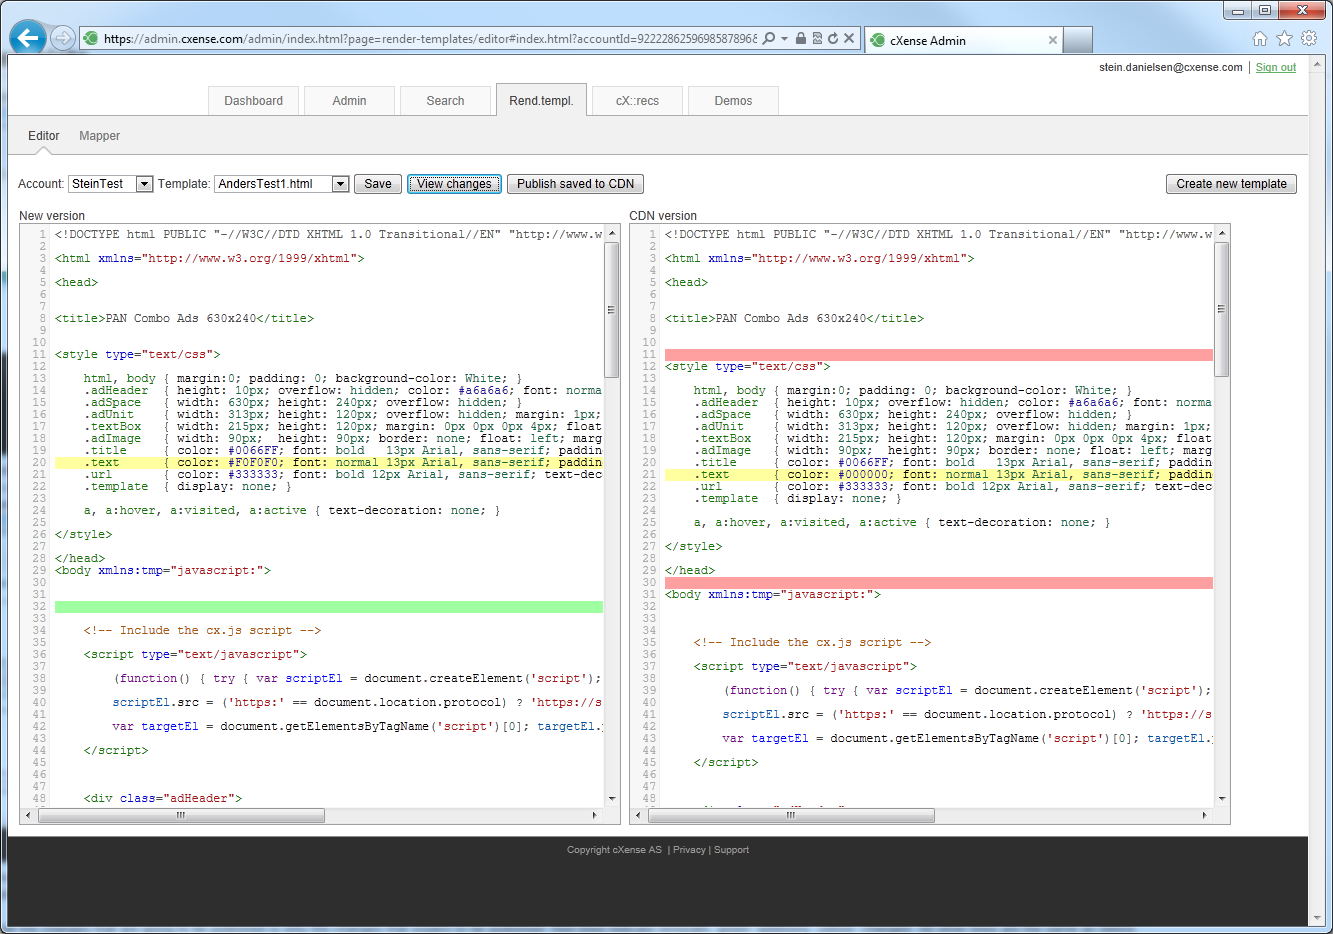
9. Click "Publish" (currently labelled "Publish saved to CDN") to set the updated template in production
10. Click OK to confirm publish.
Creating a new render template
Video
(click to view)
Steps
-
Login on the cX::admin portal with your cXense username and password (https://admin.cxense.com/ )
-
Click the "Rendering" tab (currently labelled "Rend. Templ.")
-
If you have access to more than one Account, select the right account (the one that you want to add the new rendering template to)
-
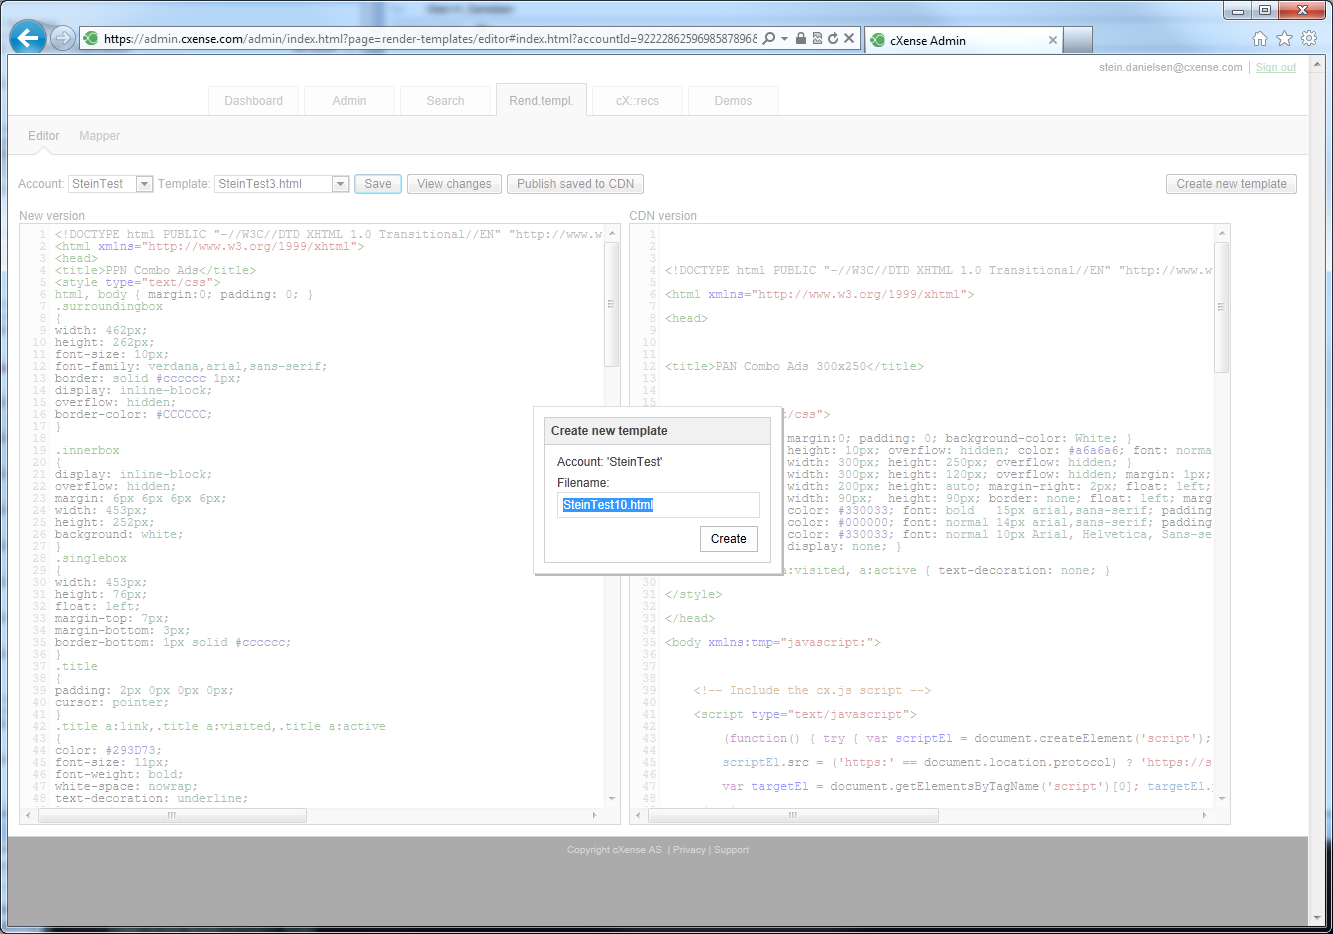
Click the "Create new template" button
-
Enter a new for your new template. The file must have ".html" extension.
-
Click "Create"
-
Important! The new template will not be automatically selected. You must select the new template in the drop-down list before editing.
-
Select the new template name in the template drop-down list.
-
Copy or enter the template code into the code window to the left.
-
Click "Save draft" (currently labelled "Save")
-
Click OK to confirm save
-
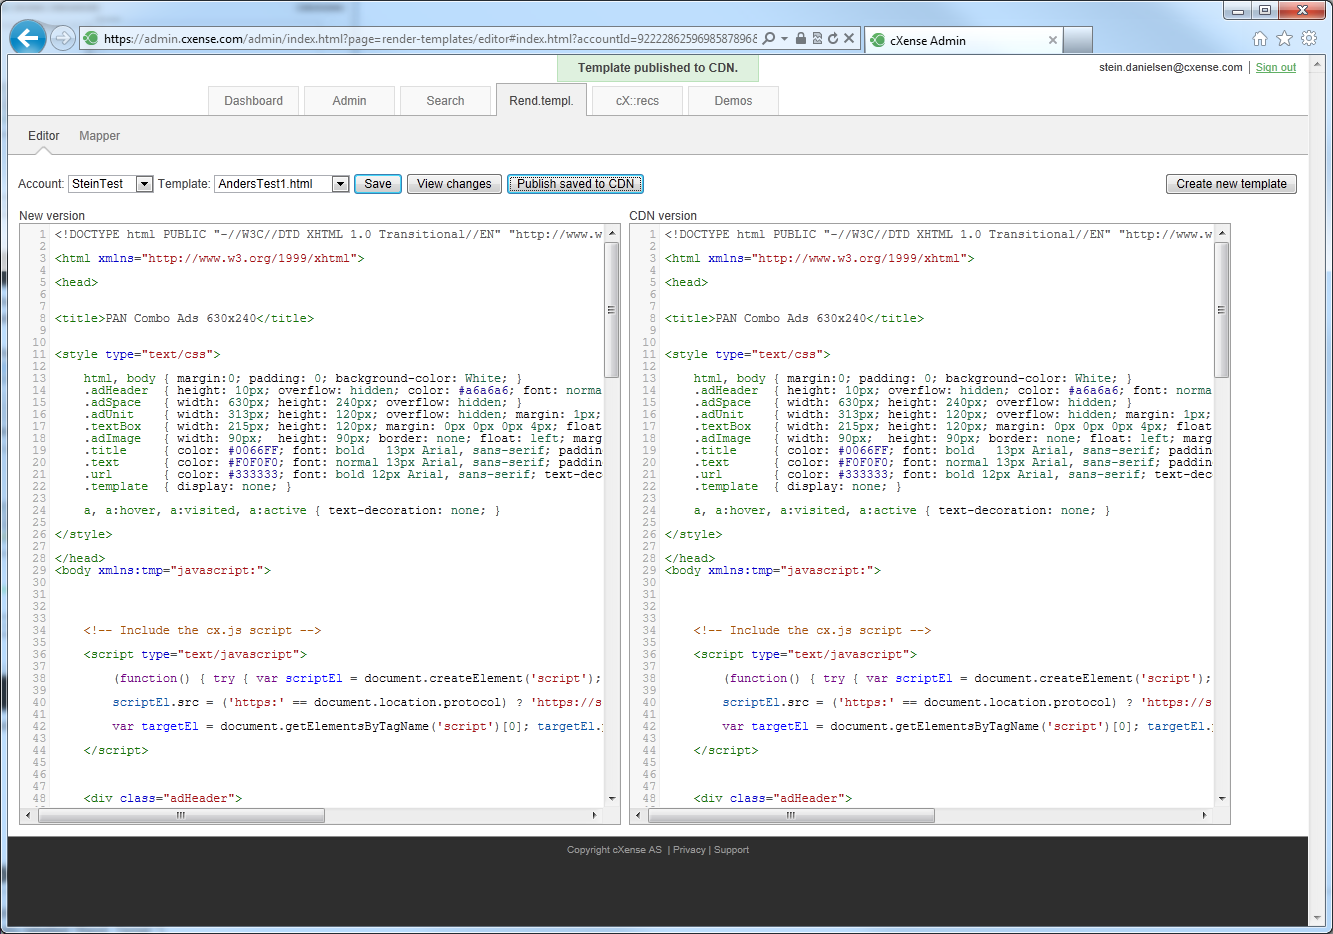
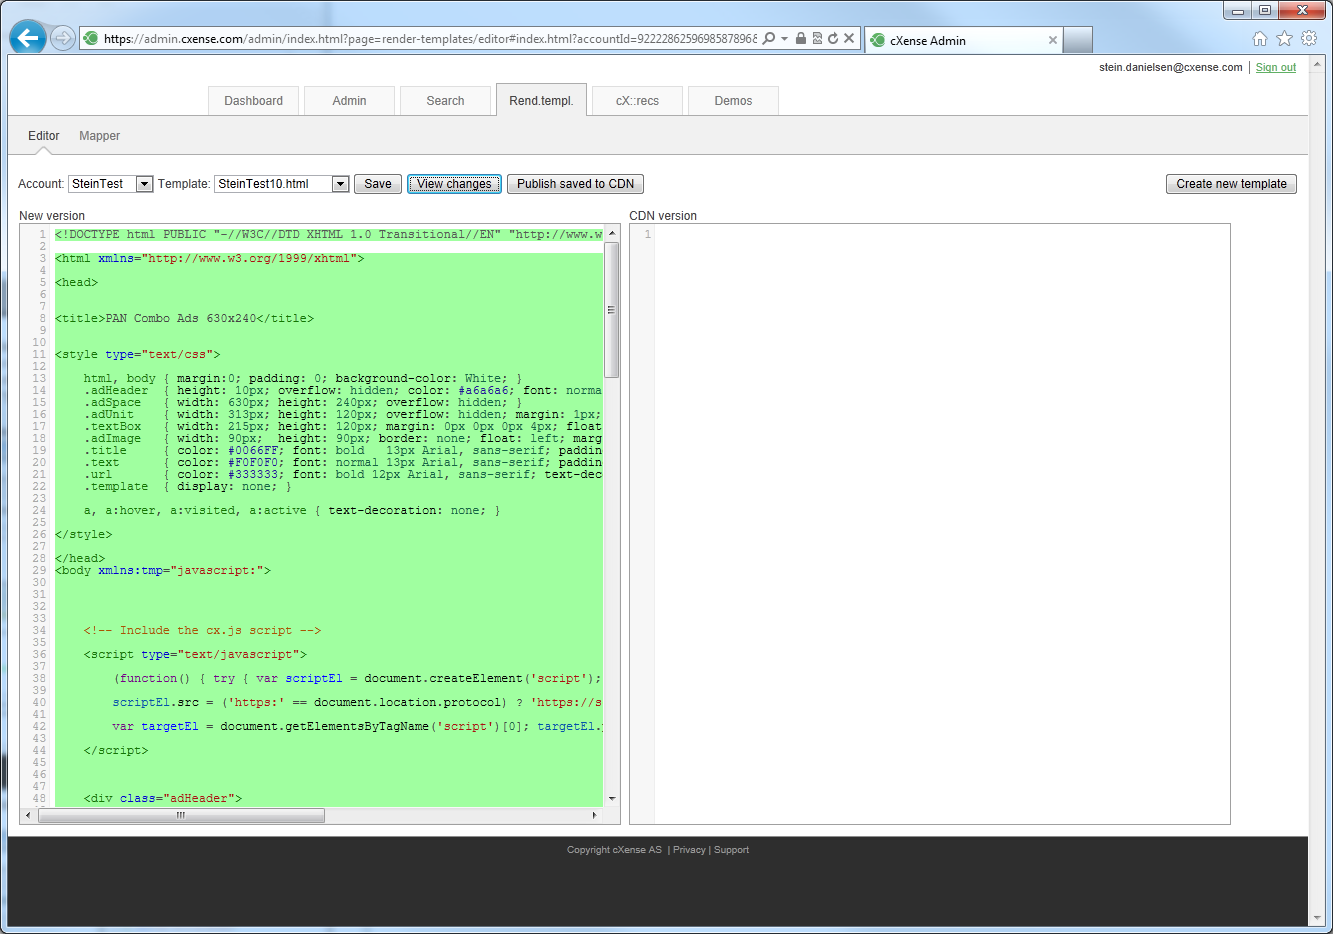
Click "View changes" to see what is going to be published. Red lines indicate removals, green: additions, yellow, changed. All other lines are the same as before. For a new template like this, everything is added, so all lines should be green:
-
Click "Publish" (currently labelled "Publish saved to CDN") to set the updated template in production
-
Click OK to confirm publish.
Giving template editing permissions to another user
Steps
If you have some other user in your organization that needs access to work with your templates, then that person can be given access to do so like this:
-
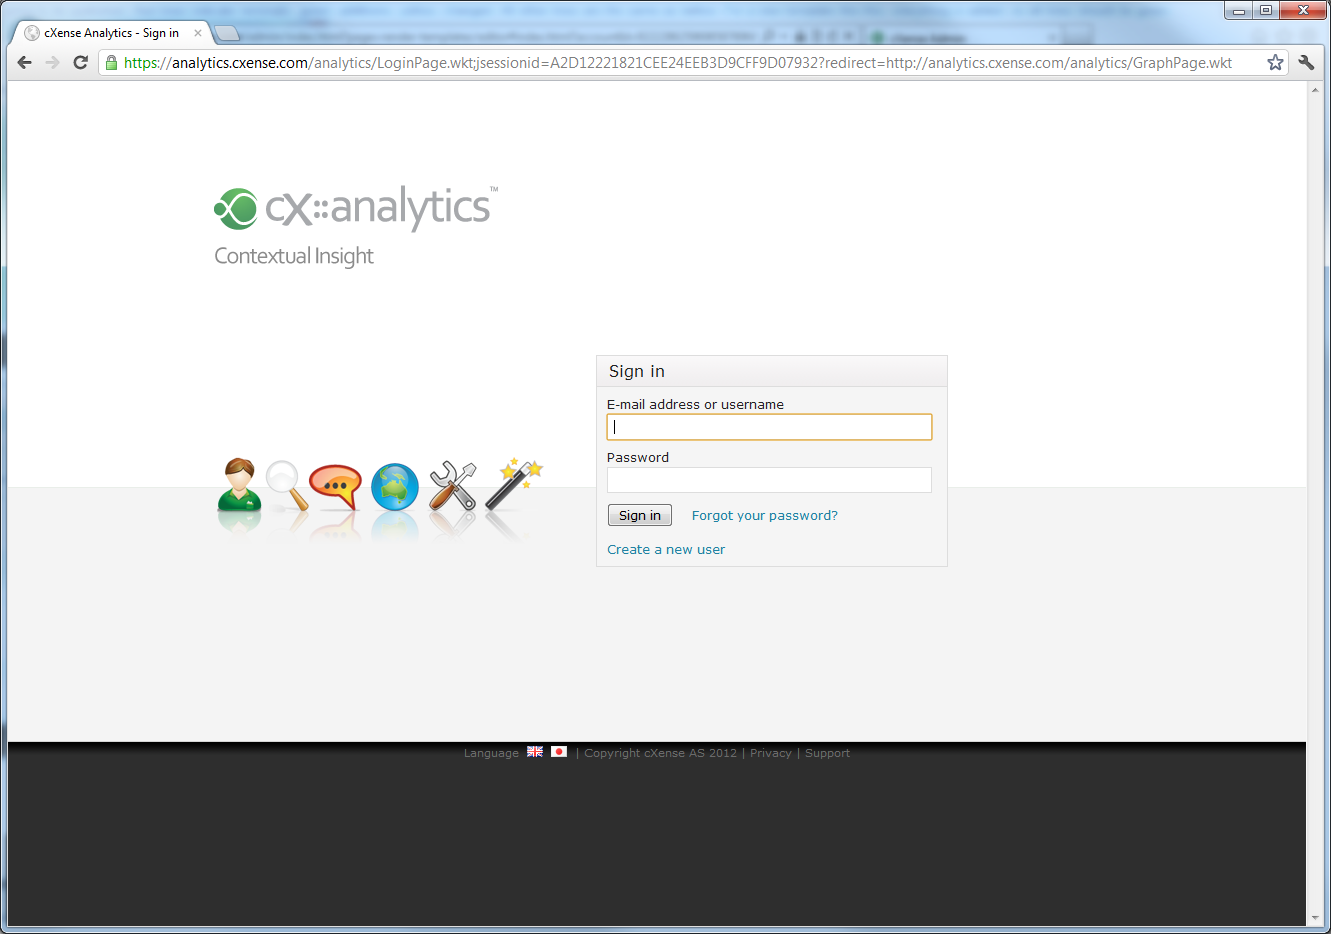
Login to cX::analytics (https://analytics.cxense.com/ ) with your existing user:
-
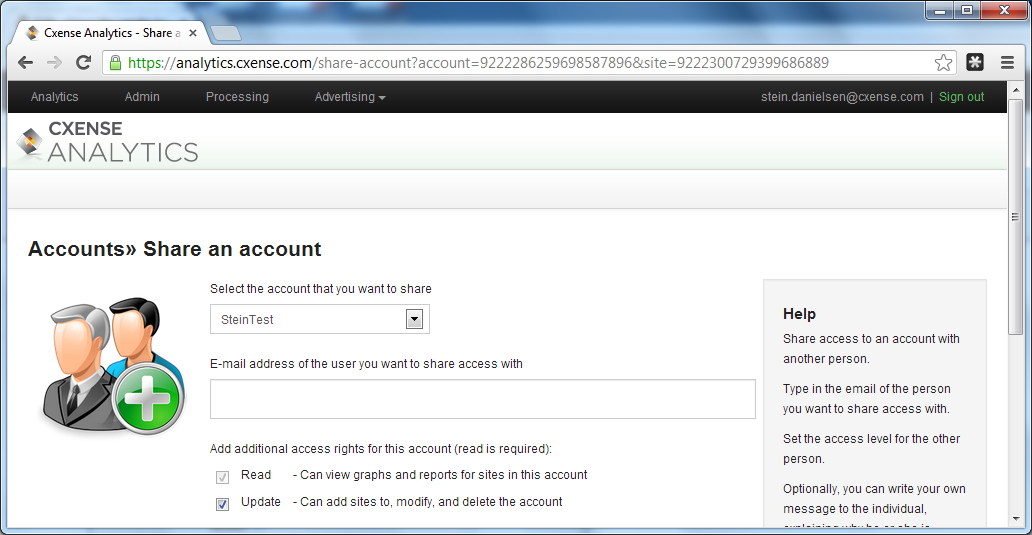
Click "Share Account" on the left-hand menu
-
Select the right account to share in the Account drop-down list
-
Enter the email address of the user that shall get the access rights to this account
-
Check all rights (READ, UPDATE)
-
Click "Send invitation"
-
The receiving user will get a new email in his inbox. By clicking on the link in his email and logging in (or creating a new user), he is given access to the Account
-
The receiving user can then create new templates or edit existing ones as described in the steps above.
Mapping templates to ad spaces
Rationale
In an ad tag, you can reference your template directly by its file name:
|
But very often, you start out with one template and deploy it across ad tags on multiple sites. When one of the site owners requests a style change, it's not possible to update the template and have the change be applied to only one of the sites, because all sites reference the same template.
Solution
The solution to this is to use render template mapping. Render template mapping maps a render template to a specific ad space, by the ad space id. This mapping is set on the server side, and can be changed at any time.
The ad tag for an ad space that is mapped to a particular template, looks like this:
|
It's the last line that controls that this ad space tag now uses the server mapped render template, rather than a render template referenced by its filename.
Steps
If we go back to the above scenario, these are the steps that would be done to solve that situation:
-
Create ad spaces in the cX::ad UI
-
Create a new named template as described in the steps for creating a new template above (e.g named "Banner_160x600.html")
-
Click the "Mapper" sub-menu item (to the right of the "Editor" sub-menu item.
-
Select the right Account
-
Select the Template to map.
-
Click the "Map AdSpace / Widget" button.
-
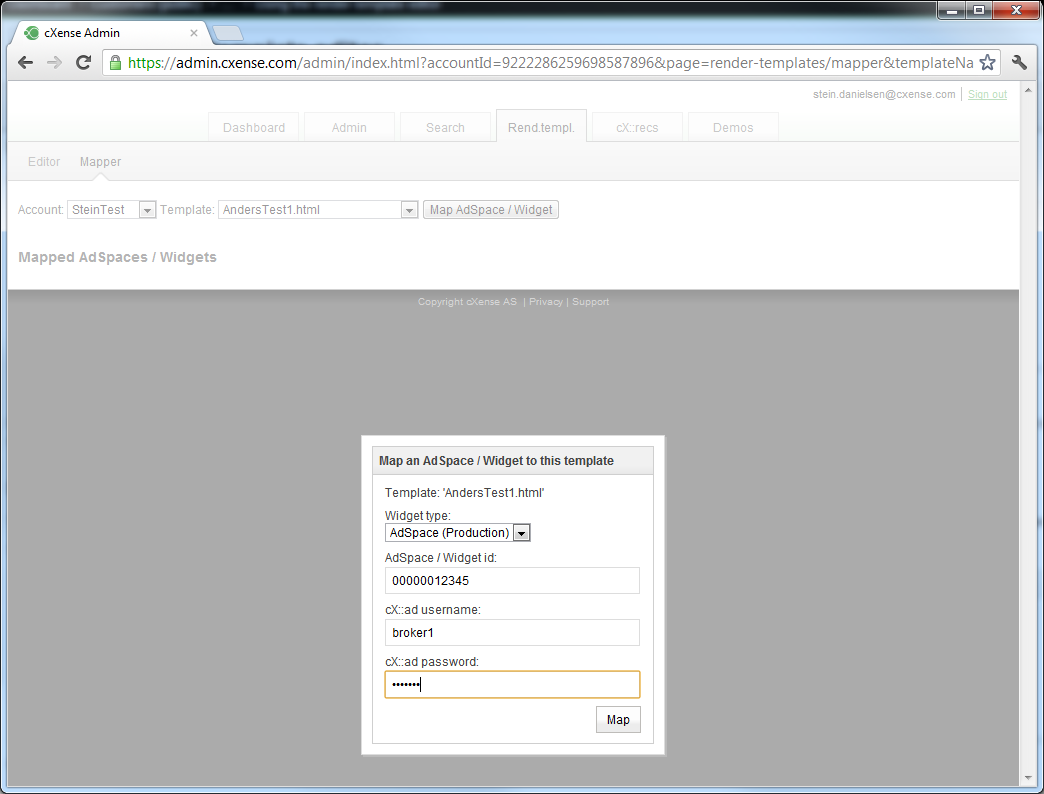
Select what type of adspace / widget you want to map (e.g. AdSpace from Production or from Sandbox).
-
Enter the id of the adSpace:
-
Enter the username and password of the user that owns the adspace
-
Click "Map"
-
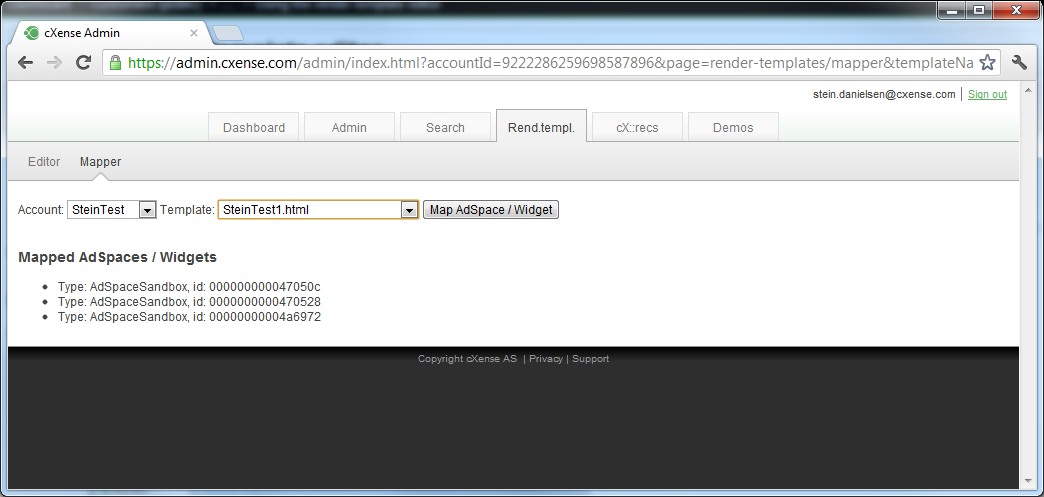
The display will refresh and show a list of ad spaces that are now mapped to this template:
-
Go back to the "Editor" by clicking the "Editor" submenu item.
-
Click "Publish" (currently names "Publish saved to CDN". This will publish the template both to the named file and also to all the mapped ad spaces.
-
Finally, add the "useMappedRenderTemplate: true" flag to the ad tags and distribute the tags to the target publishers / sites.
As in the situation above, if one of the publishers want to change the style of the ad, you can now do that like this, without having to change the ad tag on the publisher's pages:
-
Create a new template with a name that matches the new wanted style, e.g. "Banner_160x600_BoldText.html"
-
Copy the contents of the old template into the new template.
-
Make the required style changes.
-
Click save.
-
Go to the Mapper.
-
Map the ad space id of the ad tag for the publisher that wants the change to the new template.
-
Go back to the Editor
-
Select the new template
-
Click "Publish" (currently named "Publish saved to CDN".