
Not Available in Sandbox
Please note that this functionality is not currently available in sandbox.
Conversion tracking enables Advertisers to track conversions in addition to the current 'click' action by placing a tag into a page (or application) flow such as 'purchase complete', or 'subscription success'.
Overview
Advertisers can now track 2 new User actions;
-
Users that have clicked an Ad proceeding to a conversion (Conversion column)
-
Users who have clicked an Ad, but did not 'convert' on initial navigation, however later returned and proceeded to the conversion page (Late Conversion column)
Terminology
-
Direct conversion: Conversion occurring within 30 days after an end User clicked a relevant ad. This is displayed in the Conversion column.
-
Late conversion: Conversion occurring 30 or more days after the end user clicked a relevant ad. This is displayed in the Late Conversion column.
How to set-up Conversion tracking
Conversion tracking can be campaign specific, (whereby conversions are only tracked against the one campaign) or set to a folder, (whereby conversions are tracked for all campaigns within a Advertising folder).
Conversion tracking requires a valid User Account for cX::Insight, simply sign up now if you don't yet have one)
1) Create a new site in cX::Insight
Sign in to cX::Insight, and create a new 'site', note you will need to create an cX::Insight account first if you do not have one already.
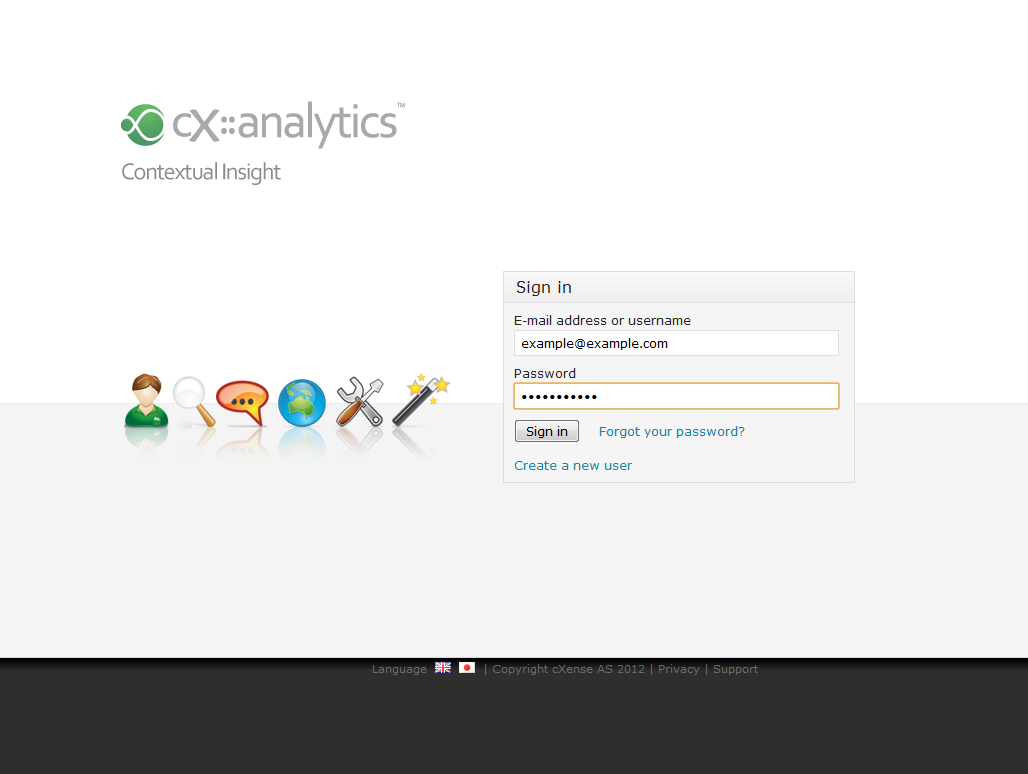
2) Retrieve the script tag
Copy the script tag to the page you wish to track (e.g. the 'purchase complete' page). You will need to modify this in the next few steps.
The example code generated in Insight:
|
3) Get the docRef from Cxense Advertising
Sign in to Cxense Advertising and browse to the folder or campaign that you want to track conversion on.
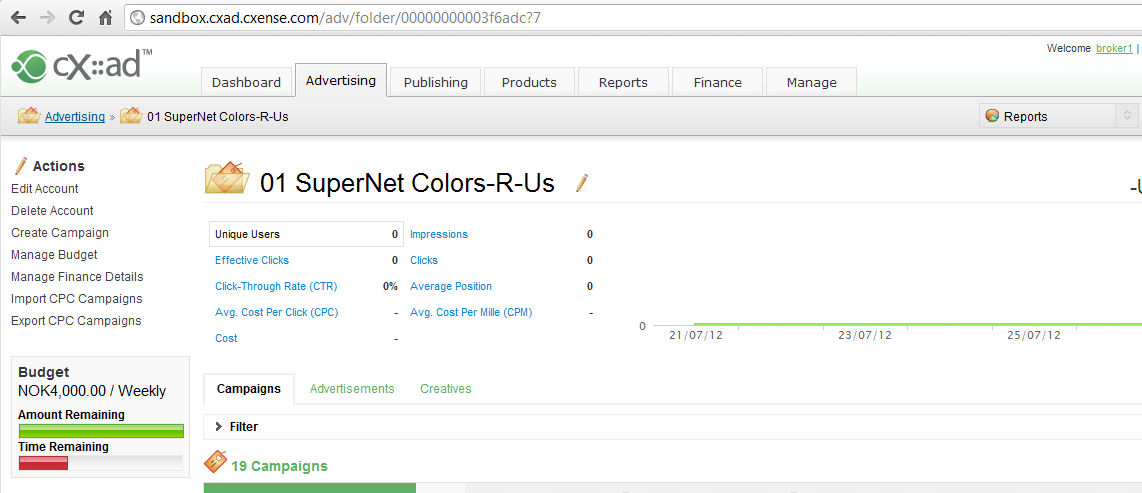
Copy the ID of the campaign or folder from the URL in the address bar. e.g.
|
Be sure to remove any question marks and numbers after the question mark. For example, Using the URL above, the ID is 00000000005d8d01 (be sure to remove the '?21' in this example)
4) Modify the script
In your saved script from step 2 add the additional snippet to your conversion page tag using the ID from your campaign or folder: This step sets up the conversion tag - failure to do this step will stop conversion tracking from working
|
Added to the initial Insight script should now look like:
Function call order
Please note the position of setCustomParameters in the function call sequence. The setCustomParameters call must be made before sendPageViewEvent.
|
5) Deploy & Validate the script is live
You need to deploy the modified script from step 4 into the page that is going to be registering the conversions. Copy and paste you script into the page you wish to track, and the publish the updated page. Note the script will not be activated until the updated page is live. This is vitally important to close the loop and let Cxense Advertising know about people landing at this page - If you do not include the script on the page you want to track nothing will happen.
PLEASE ensure you validate the code is present in the page you want to track before contacting support. To validate the code is in the page simply;
-
Go to the page using a web browser
-
View the page source (e.g. right click somewhere on the page and select 'view source')
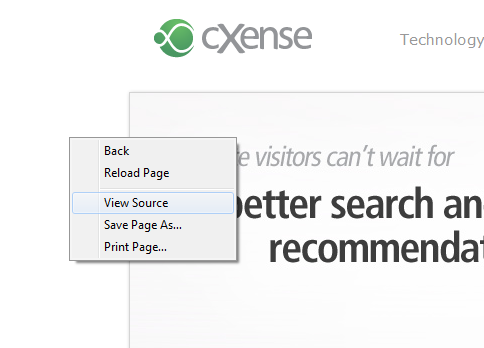
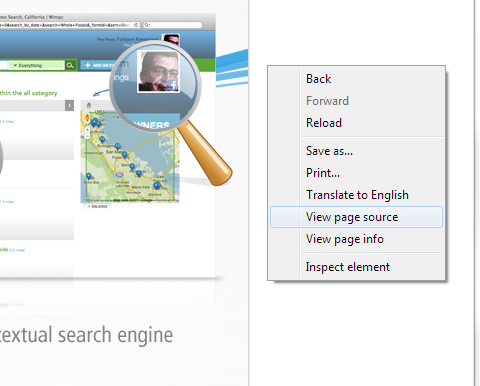
You MUST be able to see the script in the web page code - if it does not exist in the code, your conversion tracking will not work.
(To find ths script in large amounts of code, simply press CTRL+F and search for 'cX' in the source).
6) Expose conversion data
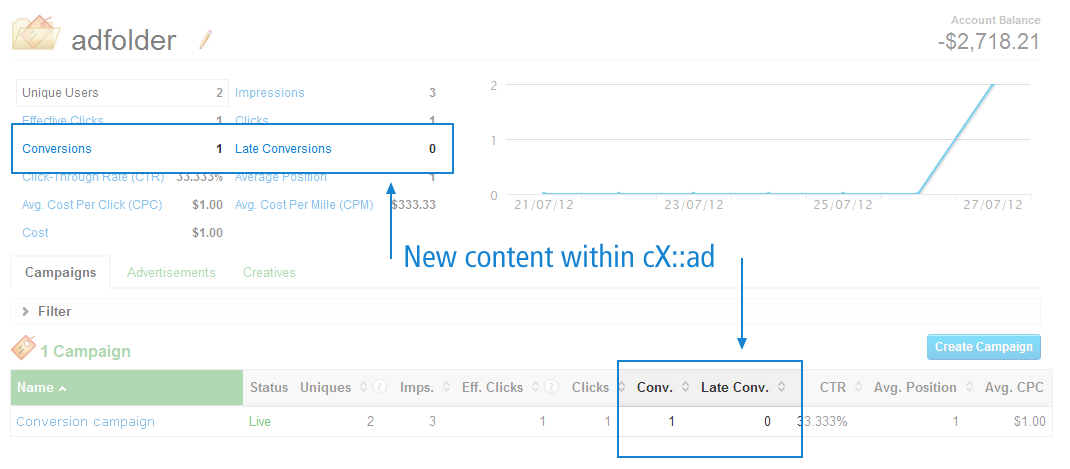
Now that the script has been deployed and everything is set up correctly the new data still needs to be exposed in the UI. To do this you will need to modify the column visibility for the roles that you wish to see the new data and set the following columns to visible. The first screenshot to the right shows the new data after it has been flagged for display
-
Conversions
-
Late Conversions
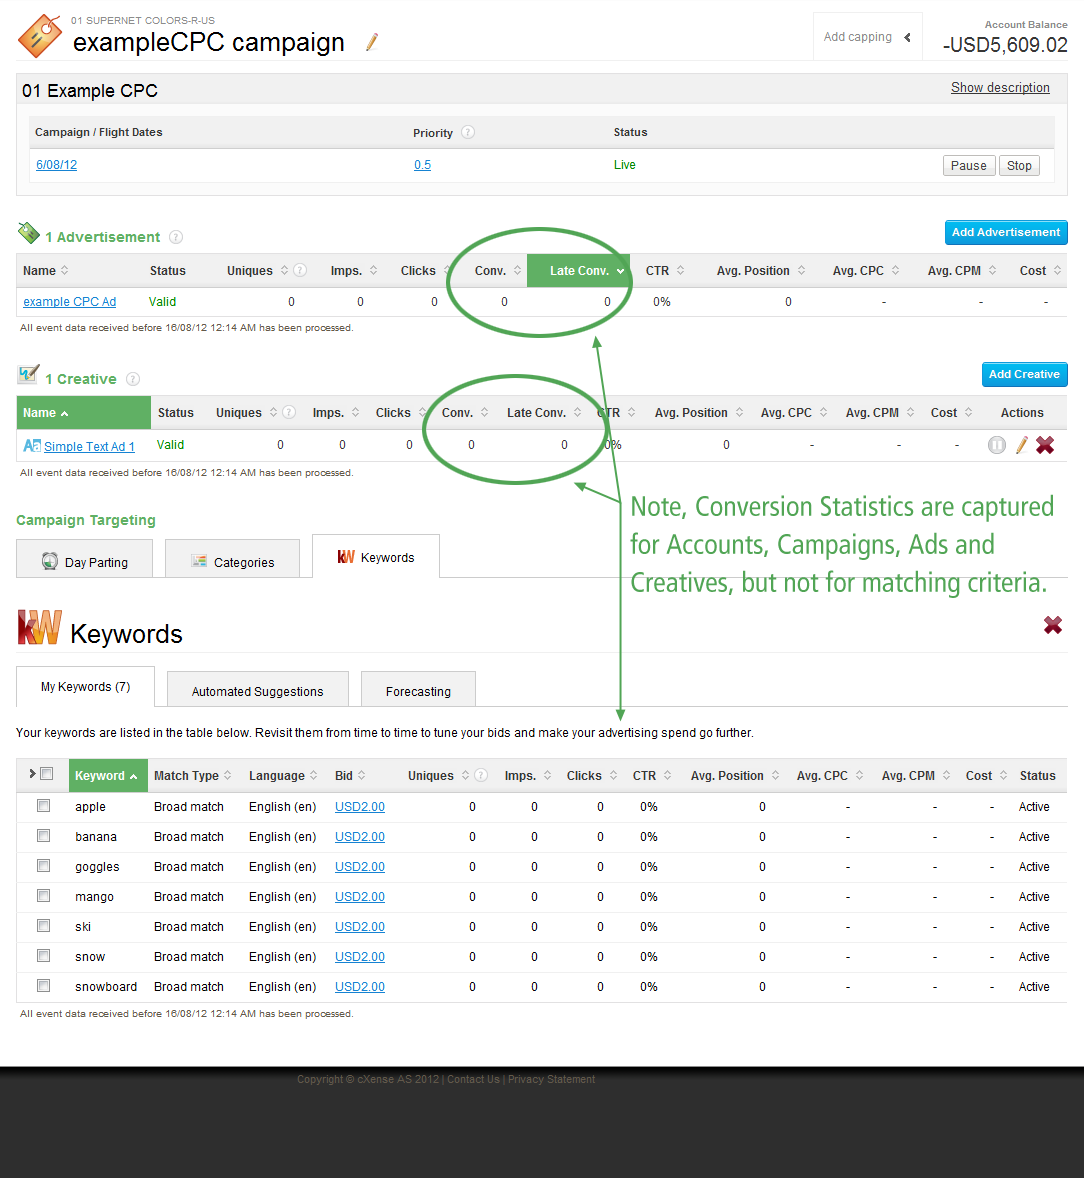
Note, the conversion statistics are tracked per Campaign / Ad / Creative, but not per-matching criteria (e.g. Keywords) as shown in the second screenshot to the right.
It should be noted that this step is only required the first time that you set up conversion tracking in the system. Once the columns have been set as visible they will be visible for all advertising reports. It is not something that will only display in the case that there is conversion data. It is quite possible that you will want to modify the exposure of this data for various roles as your requirements change.
Conversion Tracking using Images
It is possible, but not recommended, to implement conversion tracking using tracking images. Image tracking requires more manual set-up, and may not provide the full functionality that is available with script tracking.
A pixel image tag looks like the following:
HTTP version:
HTTP image tag
|
HTTPS version:
HTTPS image tag
|
The src value must have the following mandatory parameters:
-
sid - the site id from Cxense Insight
-
cp_cxad_ad_folder - set to the advertising folder or campaign
-
loc - set to the URL-encoded value of the URL of the page that this image is put on
-
cp_cxad_trail - always set to "conversion"
-
typ - always set to "cnv"
-
rnd - always set to 0
To set-up conversion tracking using images:
-
Copy the relevant image tag from the examples above (select the correct one depending on whether HTTP or HTTPS is being used).
-
Replace the value of
sid with the site id from Insight as determined in step 2) above. Set it to the value assigned to setAccountId in the generated script.
-
Replace the value of
cp_cxad_ad_folder with the id of the folder or campaign as determined in step 3) above.
-
Replace the value of
loc with the the URL-encoded value of the URL of the page that the image is put on.
-
Insert the image tag into the page.
Further Notes
-
Your system column visibility must be configured to show both conversion tracking columns Conversions & Late Conversion in order to see these columns
-
All conversions will appear in stats regardless of how many times that user has hit the conversions page. For example if a User clicks an ad, then makes a purchase, conversions will increment by one. If that user makes another purchase the conversion will be counted a second time. If the second conversion happens within 30 days of having clicked on the initial Ad, it will be counted as a conversion, if it is after 30 days of clicking the initial Ad, it will be counted as a late conversion
-
Conversion tracking is not currently based on whether an impression has been seen by a user. This will be implemented in subsequent development phases.
-
Conversion tracking is not currently implemented for keywords. This will be implemented in subsequent development phases.
-
Conversion tracking is the first step toward providing Cost Per Action (CPA) capability within Cxense Advertising. Associating Costs with different actions will become available in the future, and is not part of Conversion Tracking.