
In addition to the predefined workspaces available from the tabs in the Navigation Bar, Insight offers an opportunity to create and tune your own workspace - so that you can have all the necessary information available in one place. Custom workspaces give you a flexibility of displaying any of the available basic or calculated metrics in any form you need.
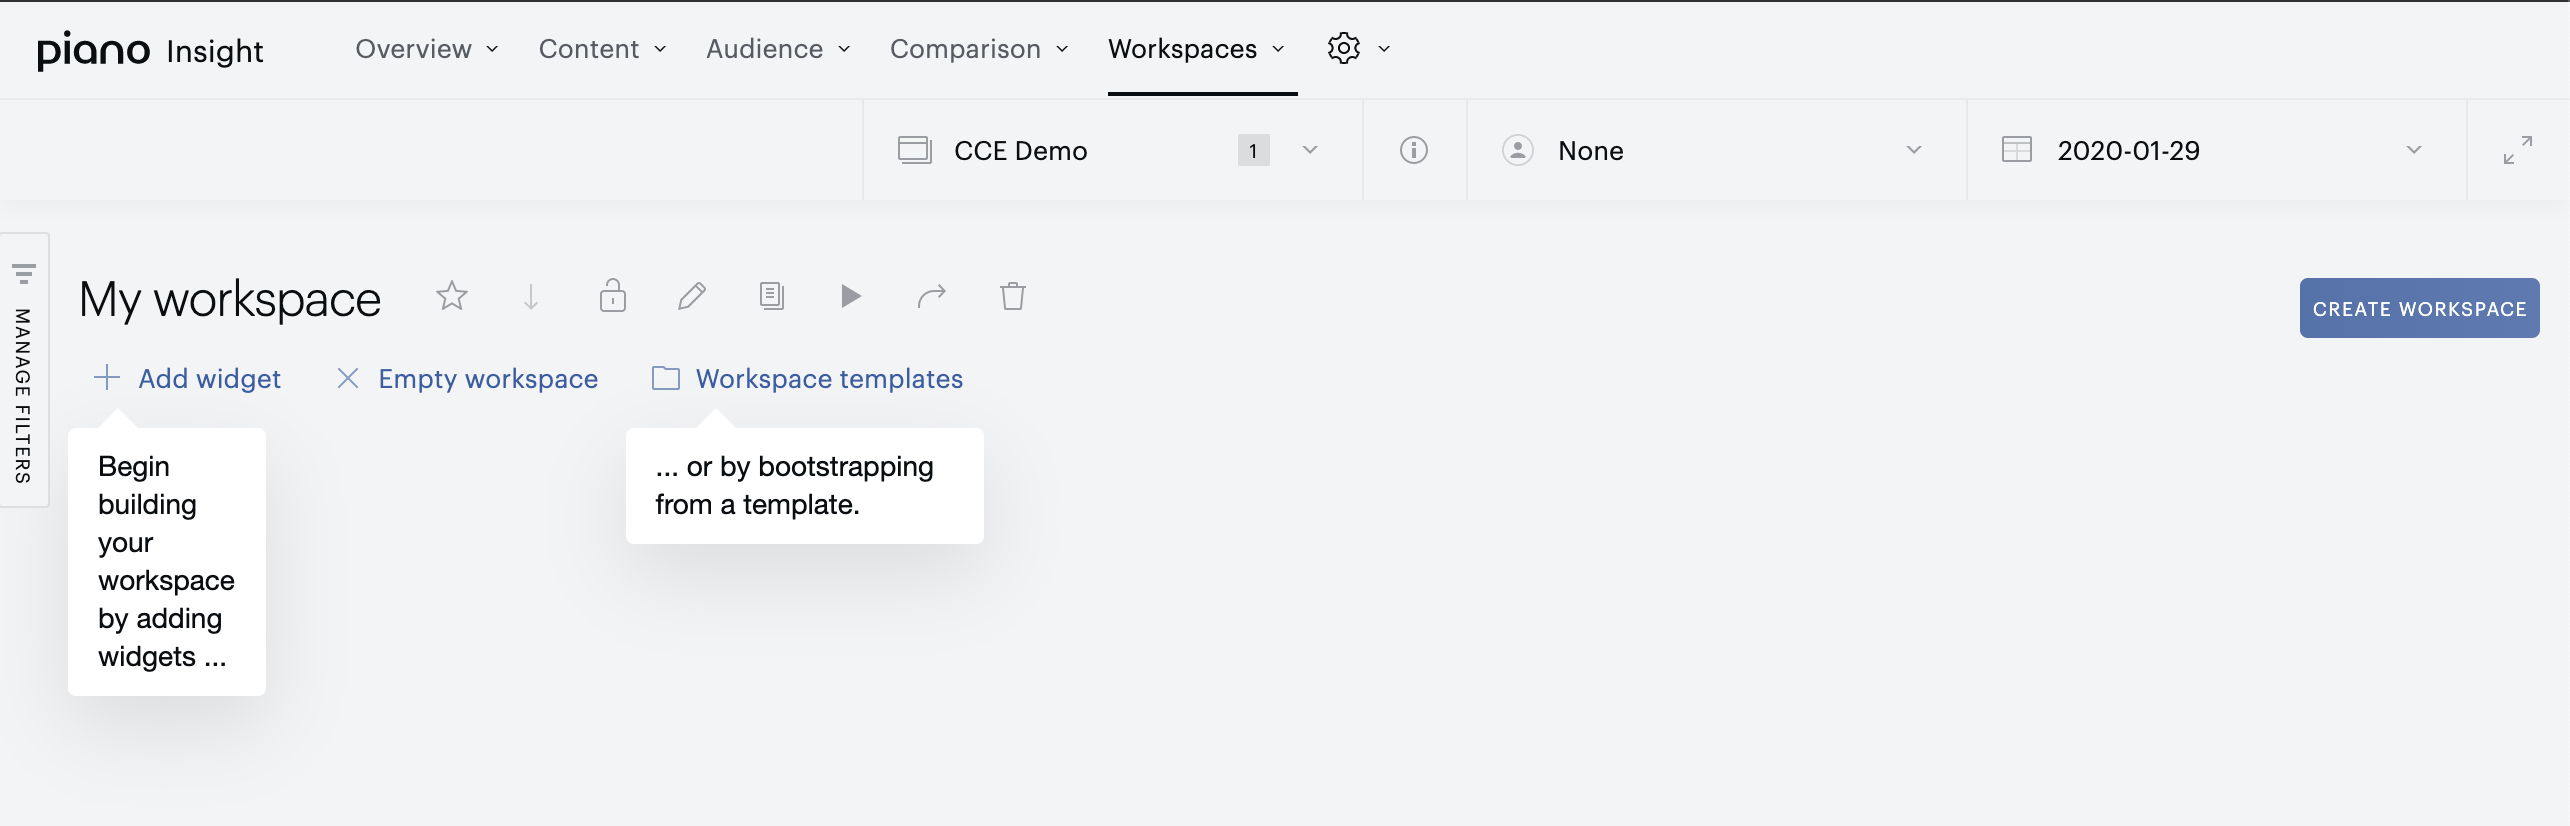
Create Workspace
Clicking the "Create Workspace" button in the "Workspaces" drop-down menu brings you to the workspace creation screen. From here, you can add, edit and rearrange widgets, apply workspace templates, rename, copy, or share your workspace.
Add and configure widgets
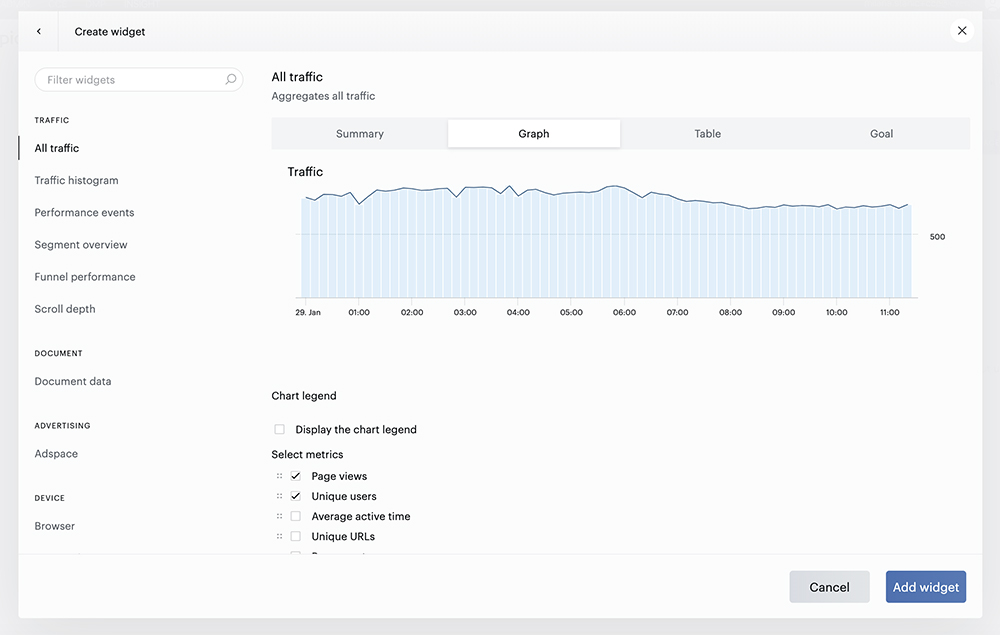
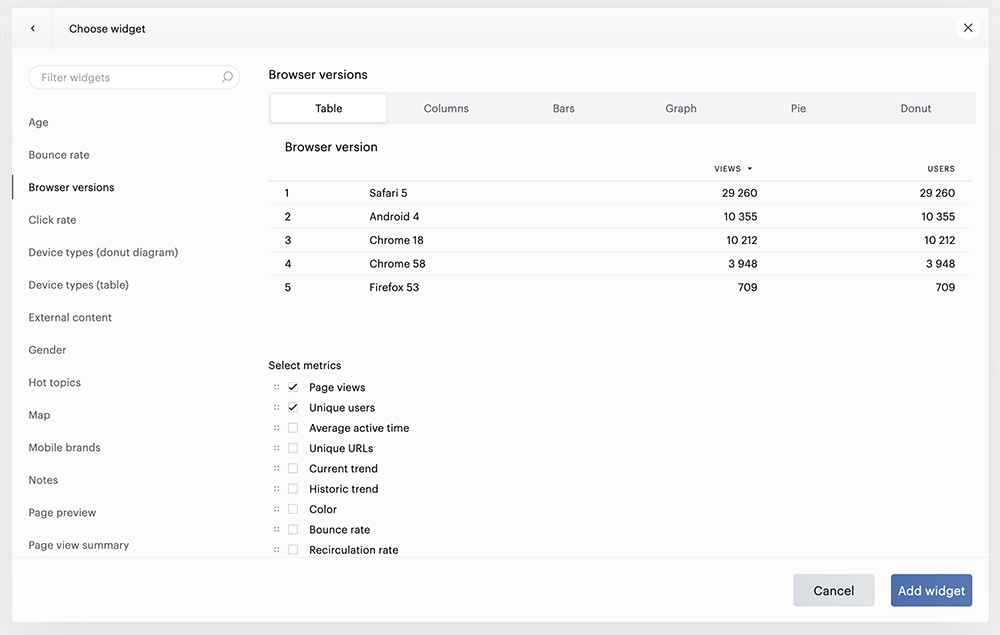
From the "Add Widget" menu you can either create your own widget or pick one from the list. From both, you can choose the data type (from the list on the left) and change parameters of the widgets. In most cases, the options offer various types of charts and their additional settings like title, legend, and metrics to show, and a bunch of restrictions that can be applied to the data used for widgets: date/segment/site group and other filters.
Create custom widgets
Choose existing widgets
After the widget is added, you can:
-
Rearrange widgets in the workspace with click-and-drag button at the top of each widget,
-
Resize the widget (with the arrow in the bottom-right corner),
-
Change the settings of the widget, copy or remove it (with the settings button in the top-right corner), or
-
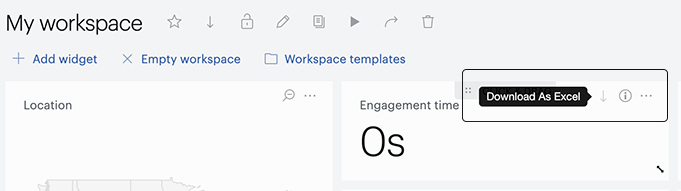
Download the data used for the widget (circled in black):
Workspace Templates
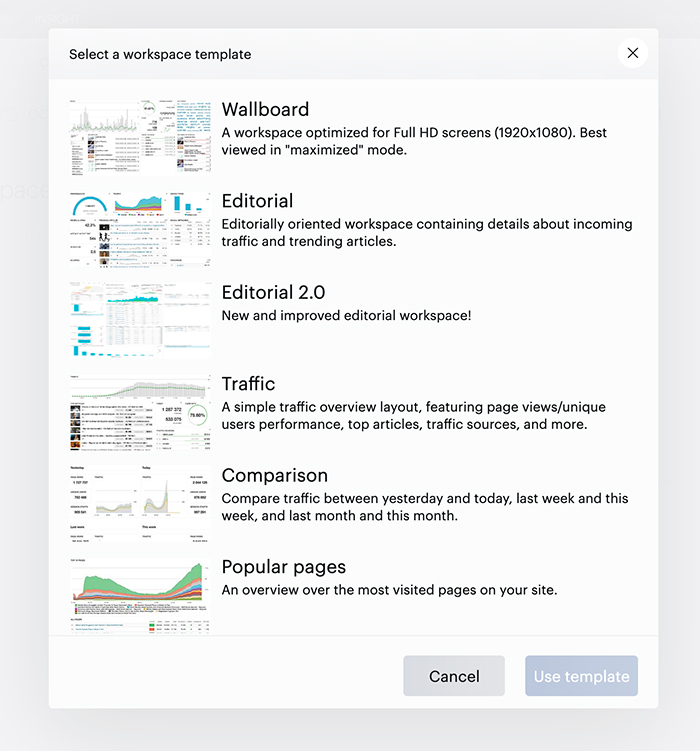
Instead of adding widgets one by one, you can choose one of the templates offered in the "Workspace Templates" menu:
Workspace operations
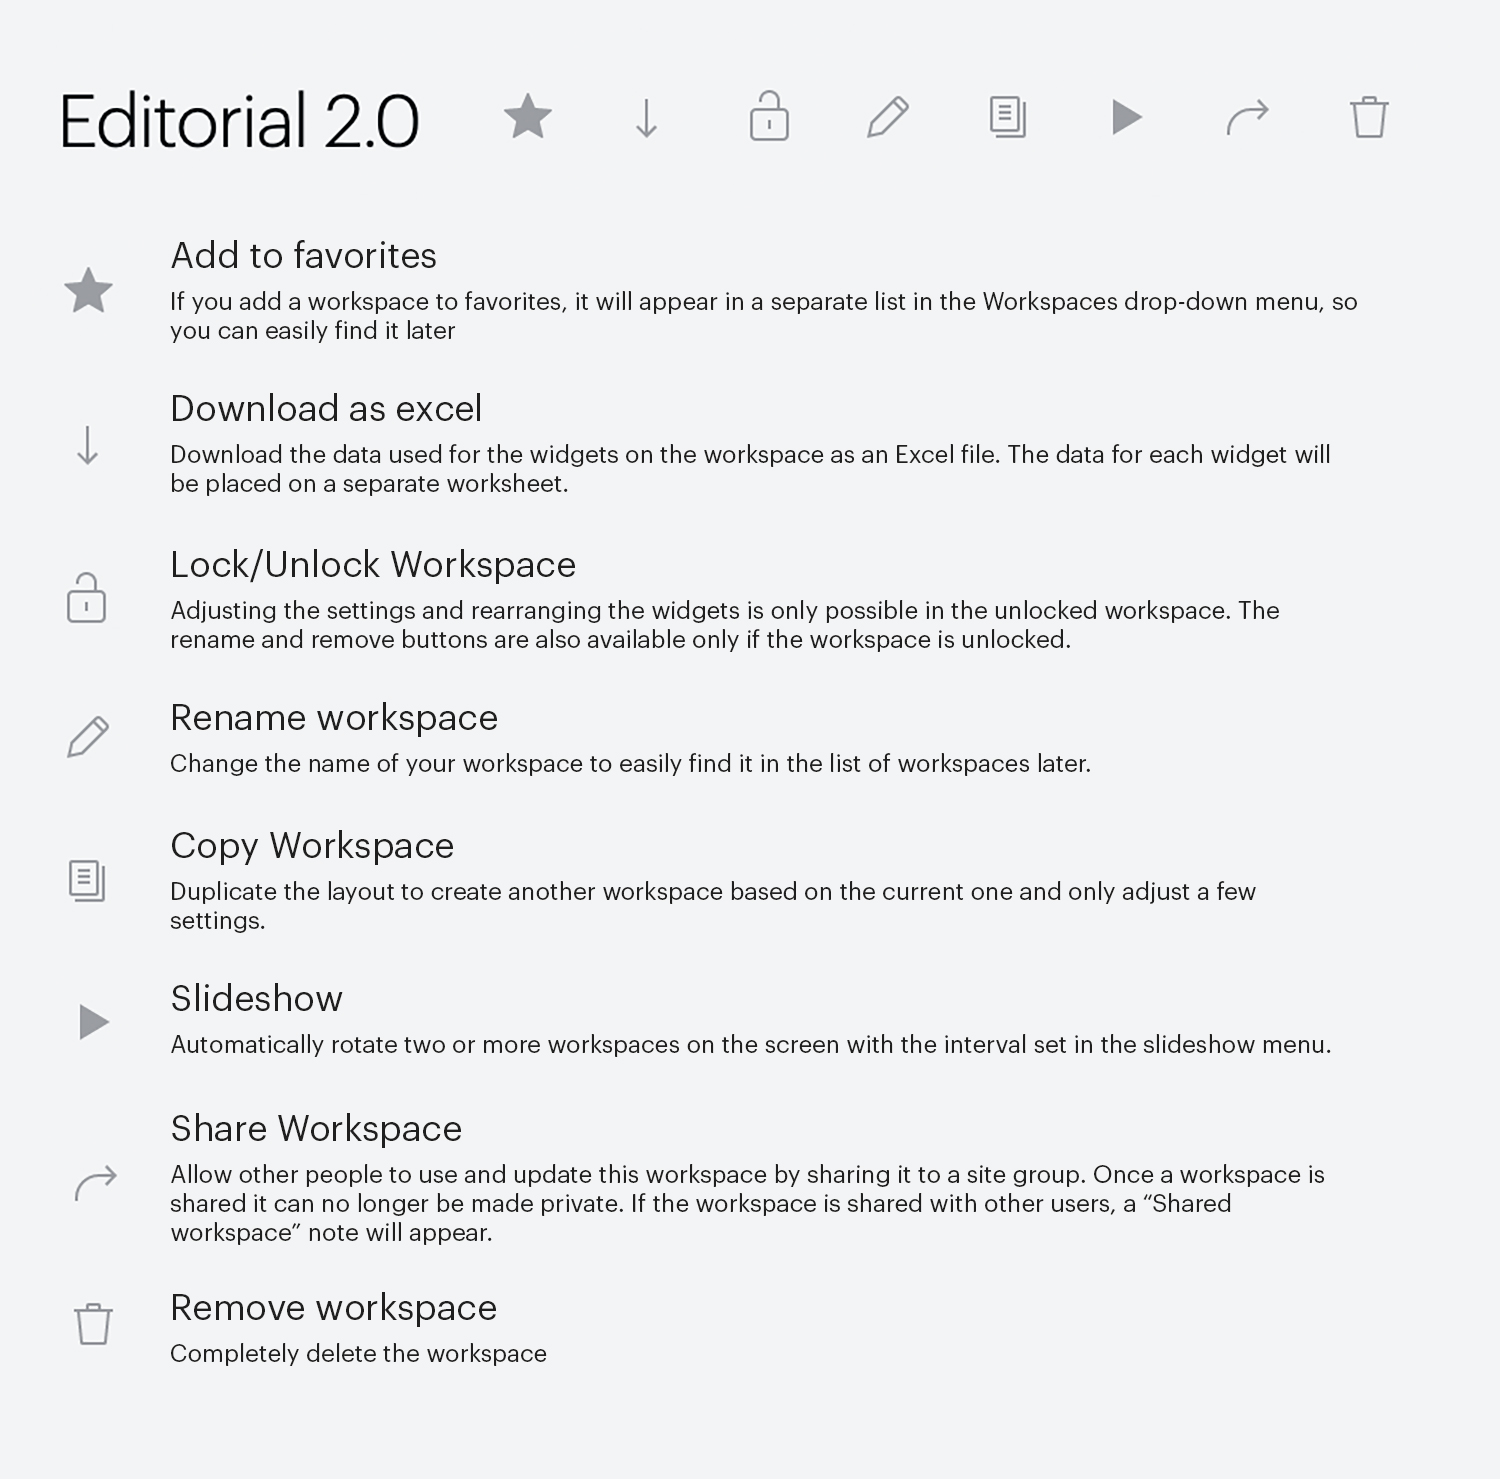
In the workspace editor, you'll find eight buttons next to the workspace name:
Private vs Shared workspaces
A newly created workspace is private only to you by default until you share it with other users.
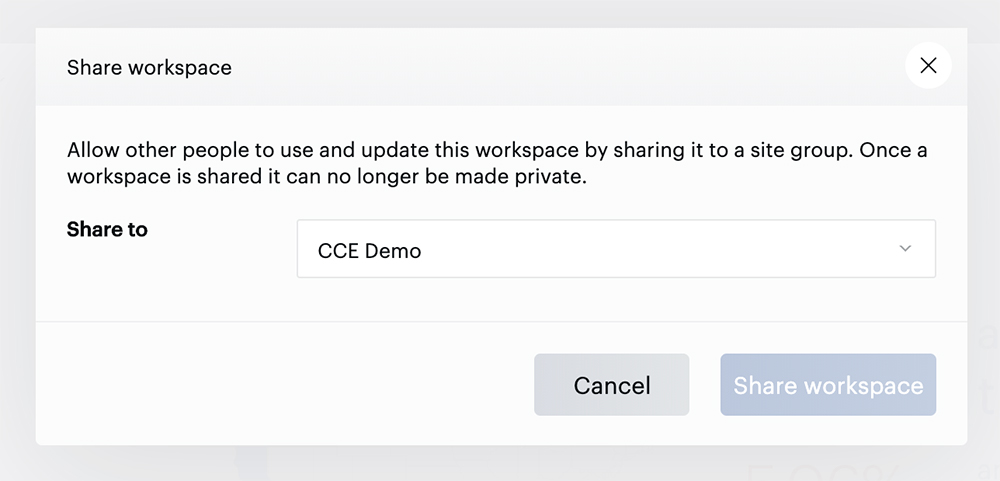
To share your workspace with your colleagues, use the "Share Workspace" button. In the sharing settings pop-up, select the appropriate site group - users that have access to the site group will be able to access your workspace:
You can also display your workspace on TV screens or similar by selecting the “slideshow” button.