
Module Creation
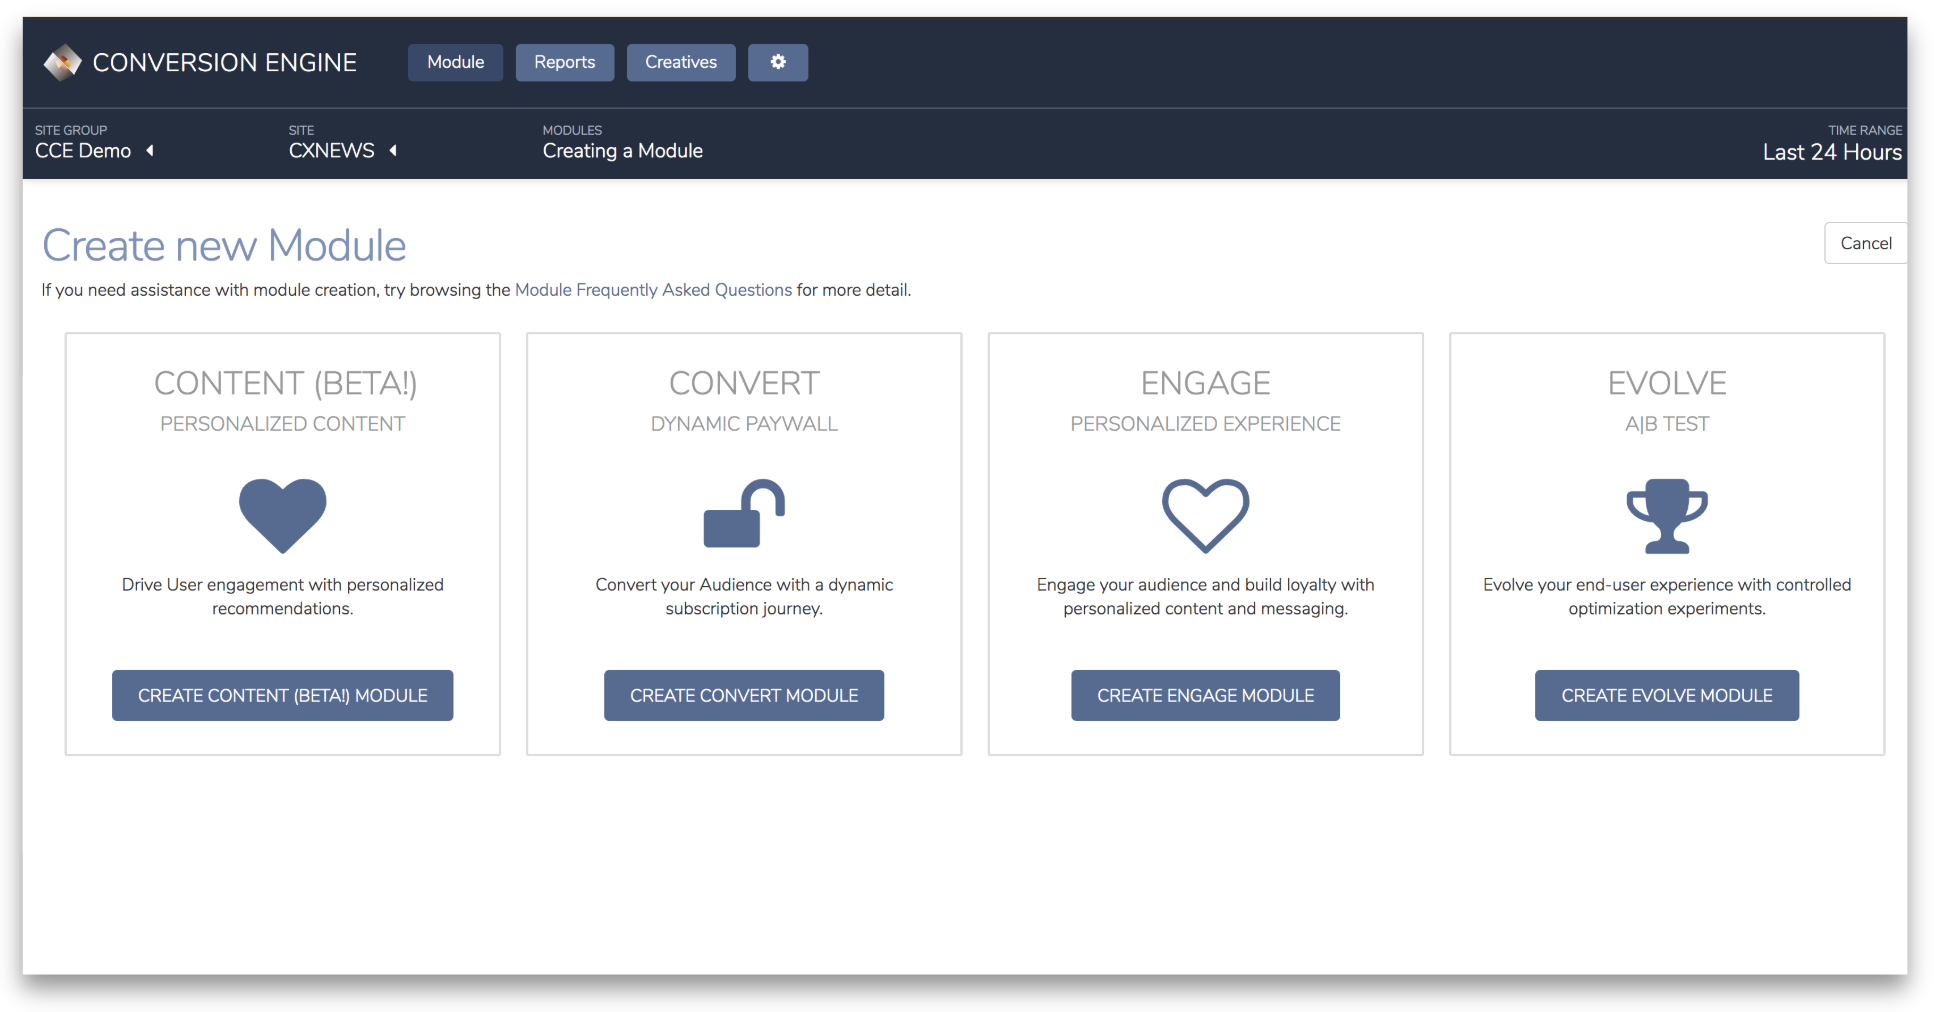
A Module contains the list of Campaigns for a defined area on your site (e.g. Paywall rules or Bottom article placement), an A/B-test or a Content Recommendation setting. To Create a Module, select the Site Group and target Site in the CCE UI, and then click the "Create Module" in the Campaign Sets drop-down. Four options are available, Content (BETA!), Convert, Engage and Evolve:
-
Content (BETA!) is the personalized content recommendation module in CCE. This is used to define specific content placements delivered with Cxense Machine Learning optimization or manually selected personalization algorithms to drive content engagement on your Site.
-
Convert is the dynamic paywall solution in CCE. This is used for defining campaigns to manage dynamic access to content and provide personalized offers to drive subscription conversions.
-
Engage in CCE is tailored to deliver personalized campaigns for content and messages to drive user engagement and loyalty.
-
Evolve is the A|B test solution in CCE developed to cater for testing and optimization of selected campaigns, e.g. experiment with testing Cxense personalized offers vs editorial picks, or compare several personalization tools. The choice made on this step defines how the Campaign Set will be set up and behave, and what kind of reporting will be available for it.
Once the Campaign Set type is chosen, start create user experiences by selecting Create Campaigns within the Campaign Set. Campaigns define what experiences will be delivered on your site based on the targeting criteria and the delivery rules you set for each campaign.
Manage Campaigns
The Module overview page is where you will manage all your campaigns.
The list of Campaigns will be delivered on your site in a waterfall logic starting on the top: if a user match the Audience criteria set for the first campaign, this campaign will be delivered, if the user do not match the criteria we will check if the user match the second campaign and deliver this one if it is a match. This process continues until the Fallback / Default Campaign is reached.
All new campaigns you create in the campaign set will be placed at the bottom of the list but above the Fallback / Default campaign. To re-order priority of the campaigns, use the drag and drop functionality on your left-hand side:
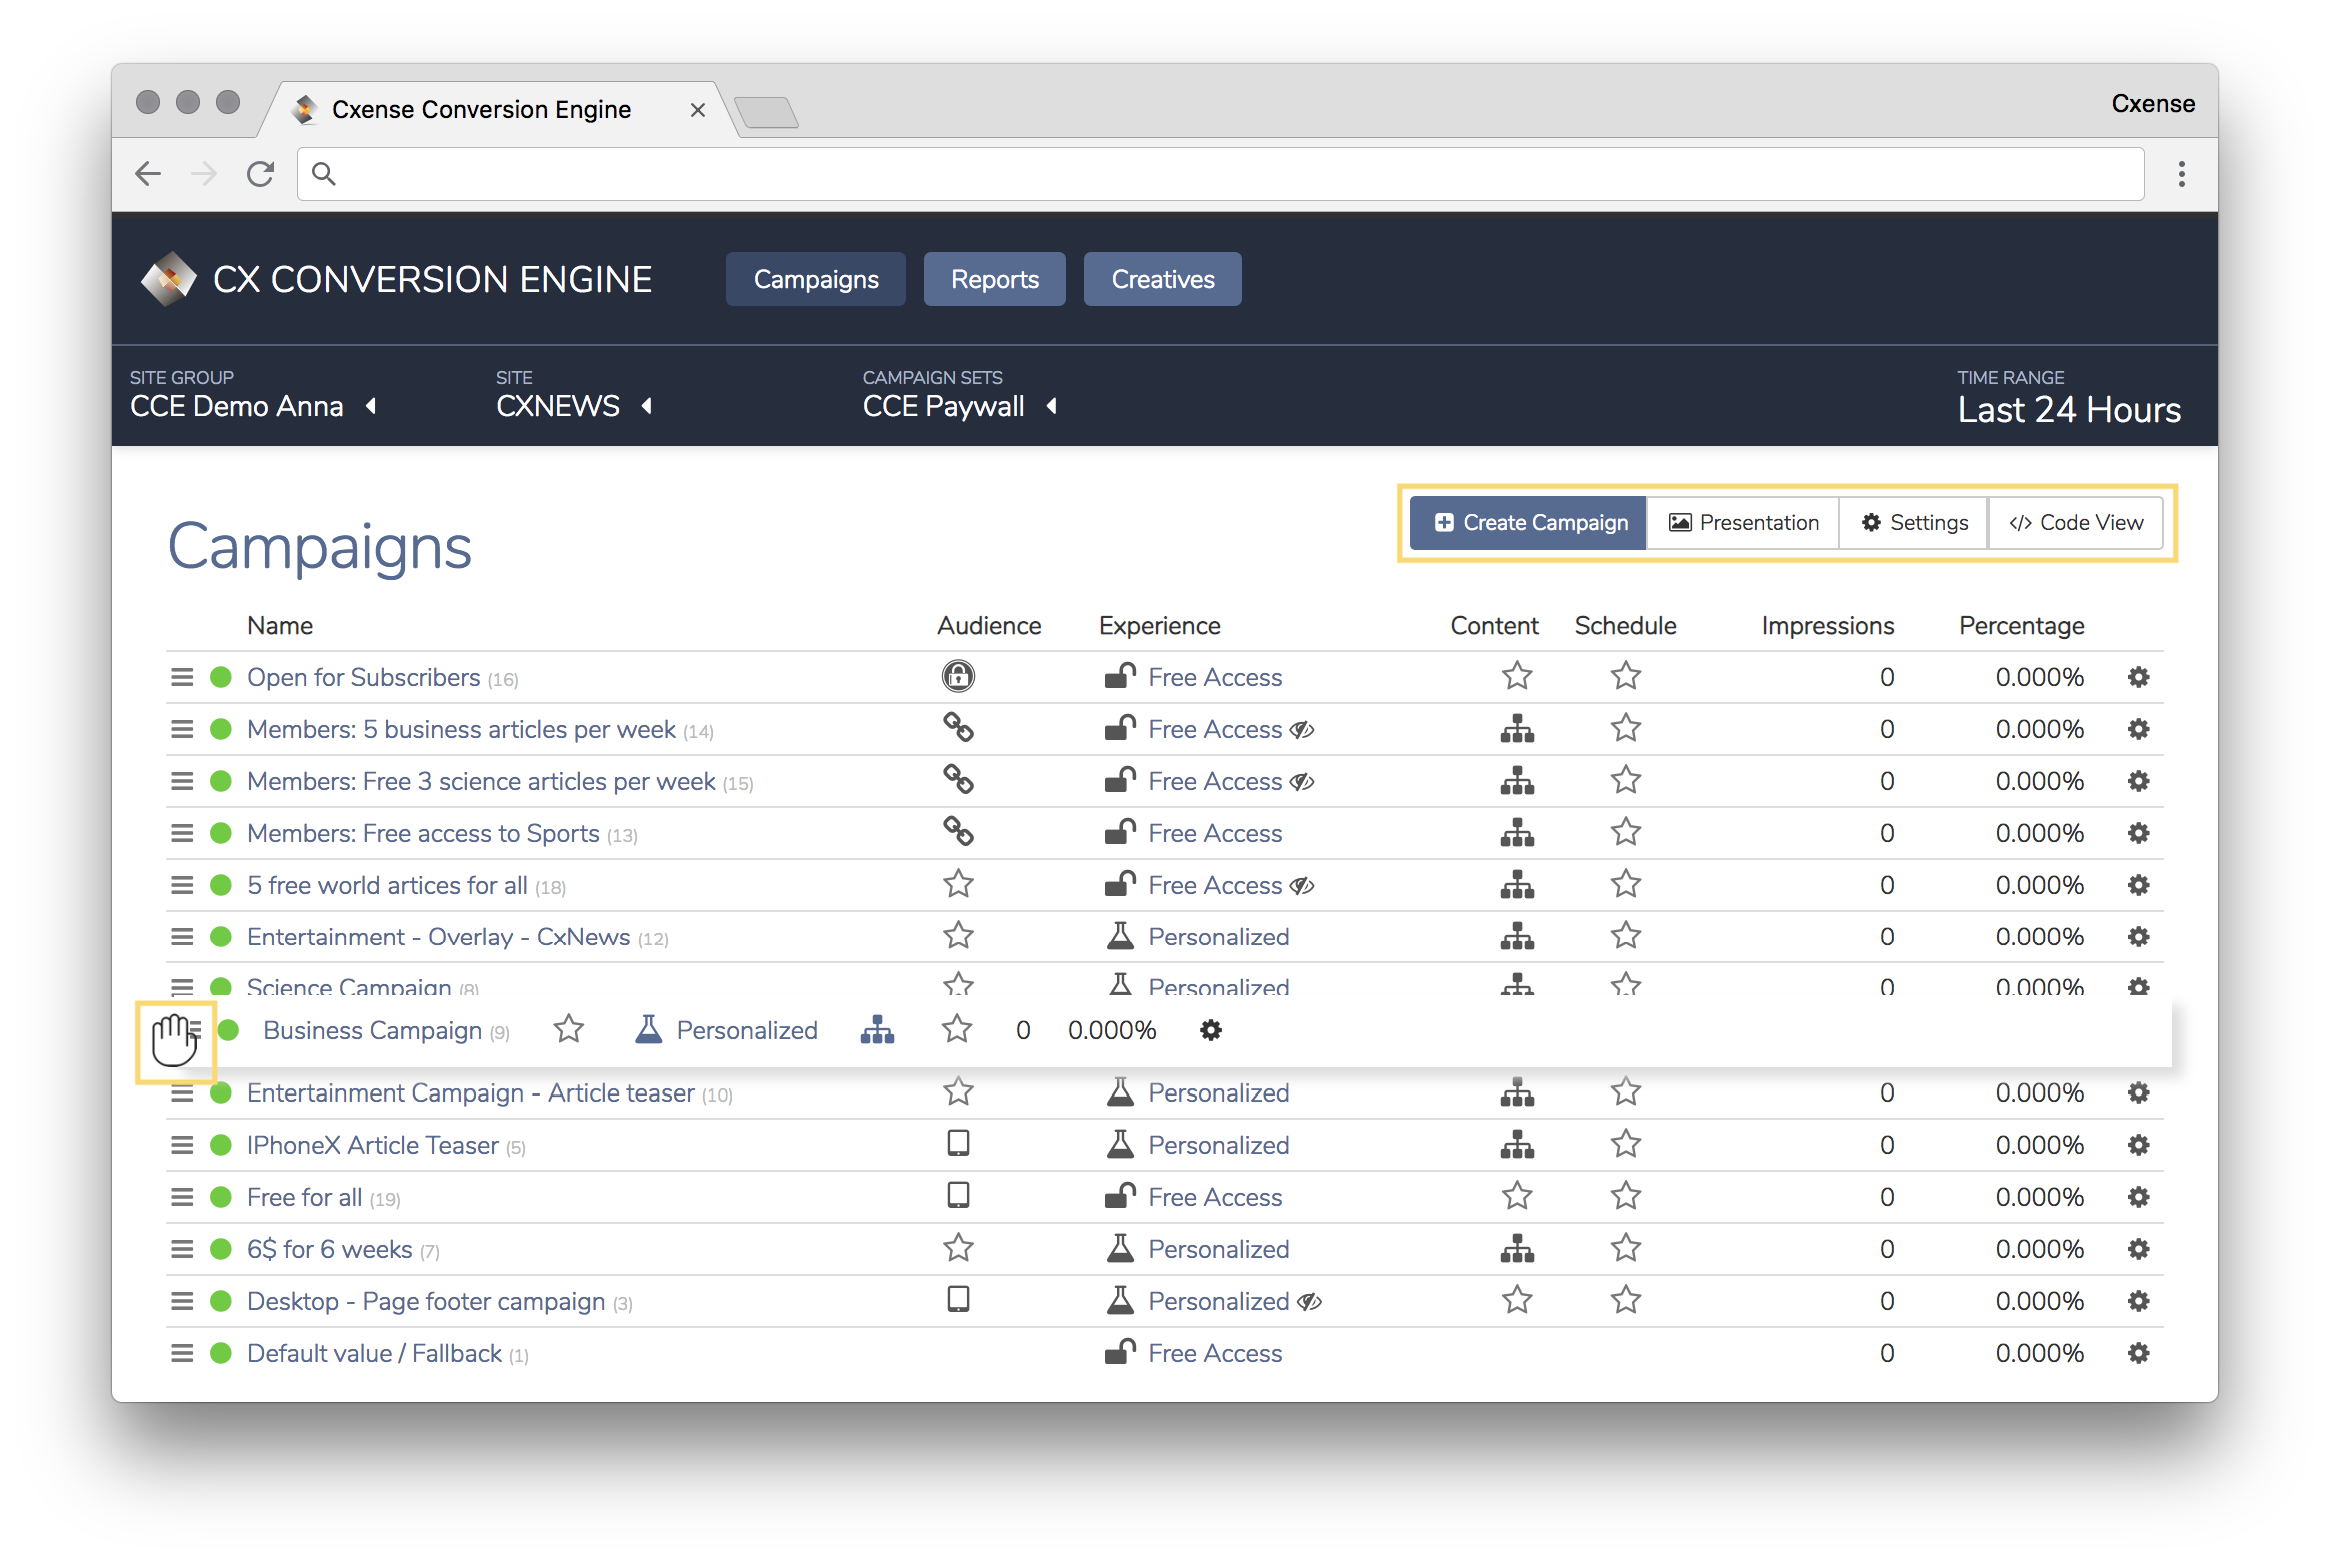
The list of Campaigns presents a summary of the campaign status and performance:
-
Circles to the left indicate the status of a campaign:
-
green circle indicates that a campaign is currently active on your site.
-
grey circle indicates that a campaign is inactive e.g. due to the delivery schedule for the campaign.
-
orange circle indicates that a campaign has been paused explicitly.
-
-
The next five columns - Name, Audience, Experience, Content and Schedule - provide you with a visual summary of the criteria defined for the campaign.
-
Impressions and Percentage give you real-time information about how many users and % of total users that have been exposed to the particular campaign. In the menu on your right-hand side of each campaign you can select to edit and pause your campaigns. Please note that a campaign can also be edited by simply clicking on the campaign name.
In the Campaign view, you can also Create Campaign, adjust visual elements of the campaigns delivered under the Campaign Presentation in CCE, or define specific Settings for the Campaign Set. The Code View displays the campaign set as raw code.
Settings
The Settings window shows the advanced settings of the Campaign Set. From here, you can obtain the technical details like Widget ID, Campaign Set Type and last update date, view the changes log of the set, and delete it.
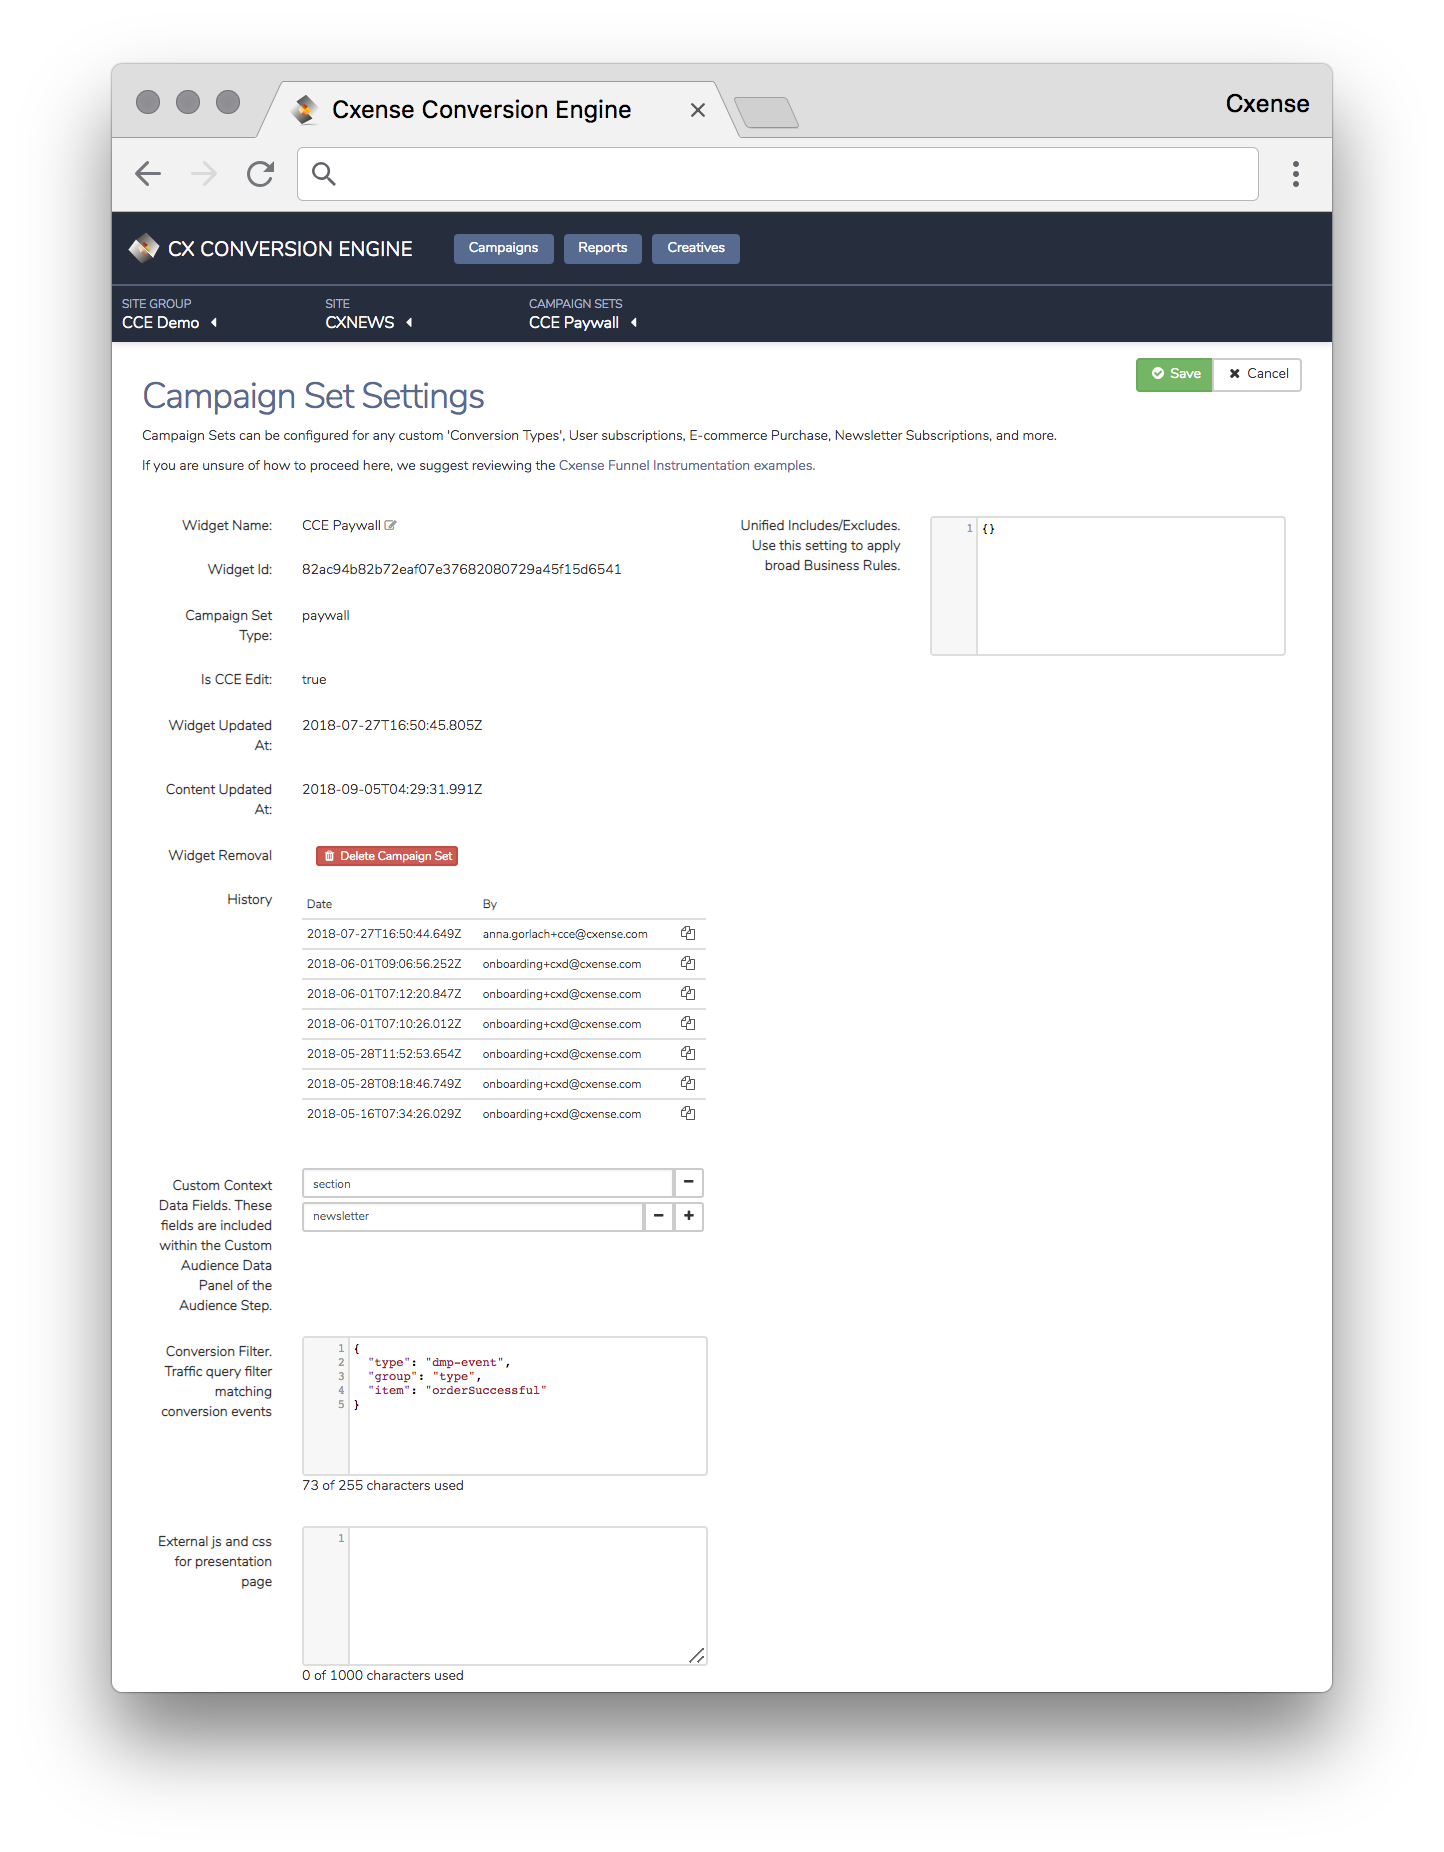
Furthermore, you can add the following:
Unified Includes/Excludes
Adding items here instead of each separate campaign will reduce the clutter and the size of the campaign set code. Use this option if there is a targeting rule that you want to apply to the whole campaign set.
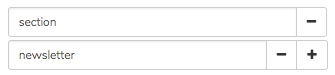
Custom Context Data Fields
Add the fields that will be shown within the Custom Audience Data Panel in the Audience Step of the Campaign creation.
Conversion Filters
To track subscription conversions, use this section for adding traffic query filters matching the conversion events:
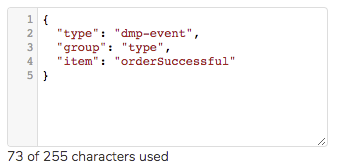
External JS/CSS for Presentation Page
You can use this section to add html tags to be loaded into the DOM in the presentation mode. These tags will NOT be loaded into the page when delivered into your live site, but it is a method that allows you to mimic the production environment in the presentation view by loading your own CSS and JS while previewing.
Code View
The Code View section of the UI displays the campaign set as the raw code - might be helpful for those who are used to creating Content Widgets from Cxense Content.