
1. Introduction
Alias Login offers clients the flexibility to support multiple unique login identifiers, enhancing user experience and accommodating various authentication requirements. By enabling customized identifiers, Alias Login is adaptable to specific business needs and user preferences beyond standard login credentials.
2. Key Features of Alias Login
-
Customizable Identifiers: Clients can define fields such as username, identity ID, or even membership number as aliases for login.
-
Flexible Validation Rules: Each alias can include specific validation (e.g., character limits, regex patterns) to maintain format and security standards.
-
Global or Local Usage: Aliases can be globally unique across applications or limited to a specific application, enhancing user management in complex environments.
-
Configurable Alias Requirements: Each alias can be set as optional or mandatory, and multiple aliases are supported per user, allowing for tailored user experiences.
3. Use cases of Alias Login
Alias Login has various practical applications across different industries. It is highly useful for clients for which usernames are primary identifiers, such as social forums or membership sites, allowing users to log in with their chosen handle rather than an email address. It's also ideal for organizations like associations or academic institutions that assign unique membership or identity numbers, making it easier for users to remember and use familiar identifiers. Alias Login can also use official identity verification like national IDs, providing a robust way to validate and authenticate users based on authoritative credentials.
4. Setting Up Alias Login in Identity Management
Alias Login in Identity Management allows users to log in using custom identifiers (aliases) beyond emails, offering flexibility in user authentication.
4.1 Prerequisites
Before configuring Alias Login, ensure you have:
-
A Identity Management license.
-
Clear Alias Requirements for your organization (e.g., if specific aliases are mandatory or optional).
4.2 Enable Alias Login
-
Log in to your Piano dashboard and navigate to Edit Business → User Provider→ Identity Management Configuration.
-
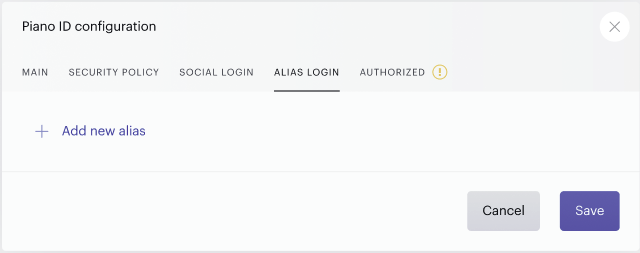
Select the Alias Login tab and click on Add new alias.
-
Proceed with configuring the Alias options as described in the section here.
-
Save your settings and afterward enable the toggle next to the added Alias allows the use of custom identifiers as login credentials.
4.3 Configure Alias Options
To add or edit aliases:
-
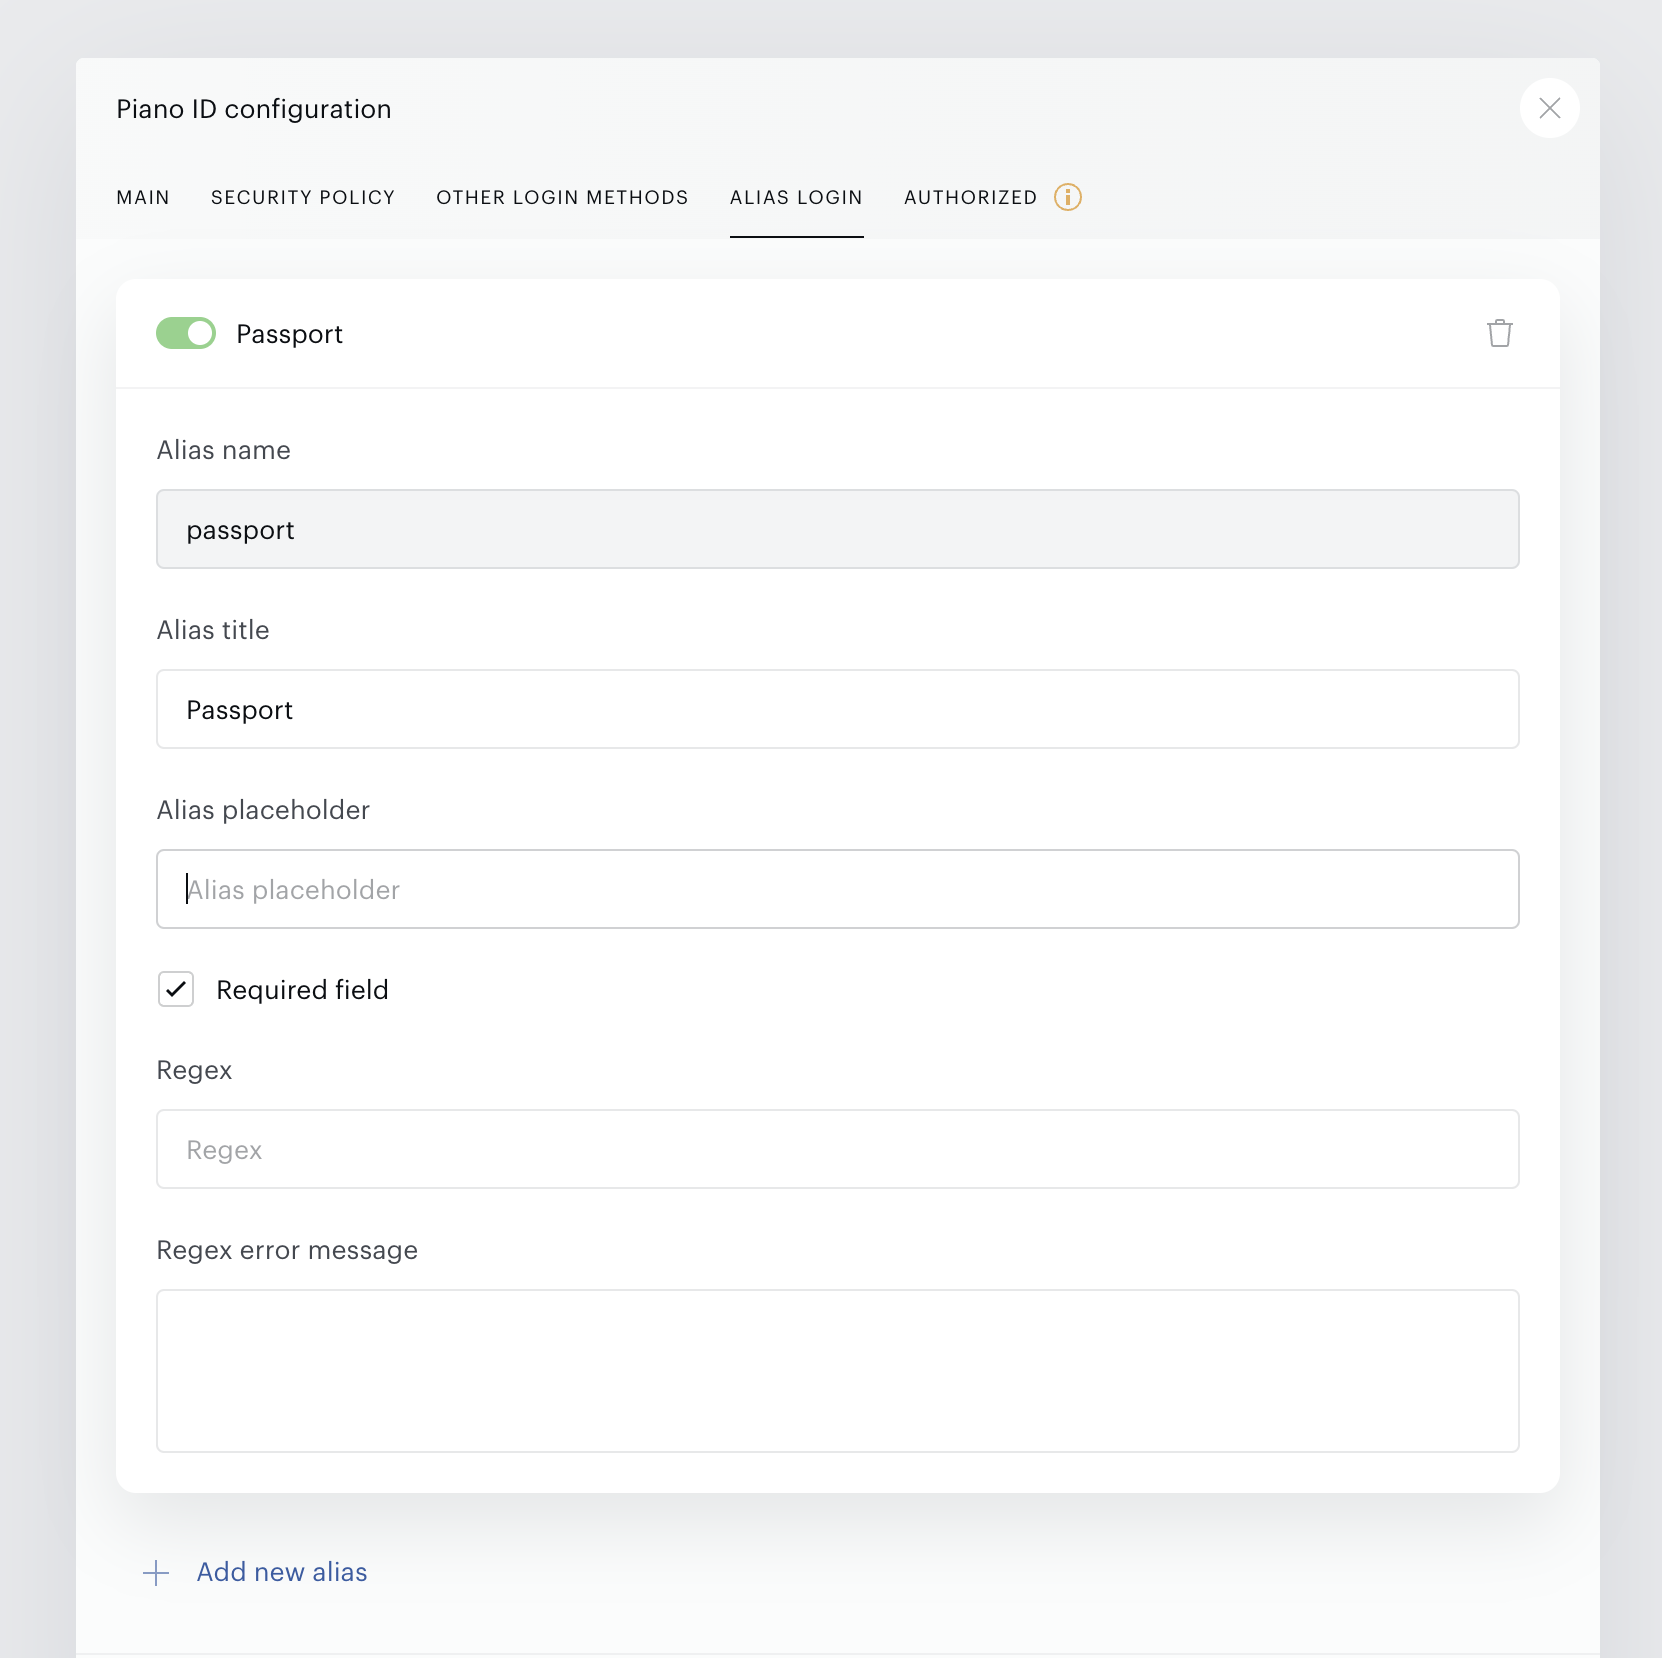
In the Alias Login tab of the Identity Management Configuration, click Add new alias.
-
Set the following fields:
-
Alias Name: A unique identifier (e.g., username, membership ID).
-
Alias Title: The display name visible to users.
-
Alias Placeholder: By default, if no custom text is configured, the placeholder will display the Alias title (display name). The placeholder text has a maximum limit of 30 characters and is visible in various contexts:
-
Login and Registration Templates: The placeholder appears when a user clicks on the Alias field.
-
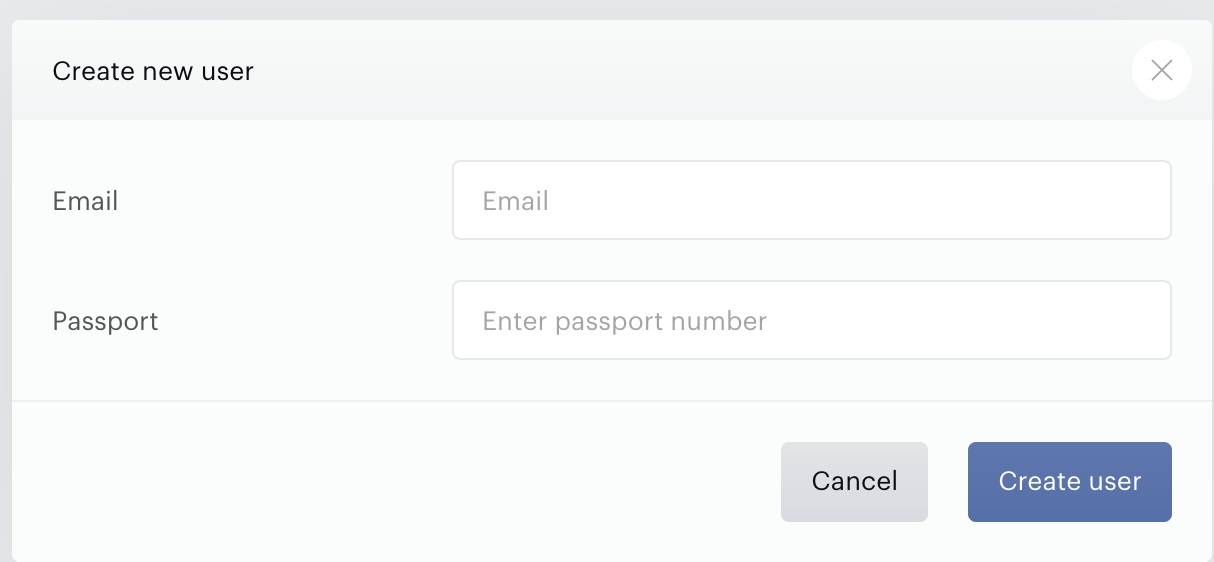
Creating Users and Subscriptions in the Dashboard: The placeholder is always displayed in the field when team members create or subscribe users manually. For example, in case the placeholder text reads "Enter passport number" it will be displayed like this:
-
-
Regex (optional): Enter a regular expression (Regex) to validate user input and an error message that should be displayed to users if the validation fails.
-
Required field checkbox: Specify if the alias is mandatory or optional for login.
-
-
Click Save to apply changes. Repeat the steps to add multiple aliases.
It's not possible to have the same name for multiple aliases. It is not possible to configure aliases as required in the sense that a user must enter one alias or another.
If Alias is required, passwordless single-step checkout cannot be used, similar to when the first name/last name is required.
Example Alias Configuration:
-
Alias Name: username
-
Alias Title: User Name
-
Regex:
^[a-zA-Z0-9_.-]{3,20}$
Please note that bulk upload of aliases is not yet supported; only one alias can be imported per user record at a time. Additionally, it is possible to import aliases without real email addresses; however, this is not recommended. Users rely on their email address for login, and without it, they will not be able to access their accounts.
It is important to understand that aliases are not an additional registration method but should only be used for login purposes.
4.4 Deleting Aliases
The Alias field in the Identity Management provider configuration can only be deleted by clicking the trash can icon if no users are linked to the respective alias.
If users are linked, you will need to contact Piano Support at support@piano.io to proceed.
This action is irreversible and may result in data loss and system functionality issues. The following consequences should be considered:
-
Loss of Alias Logins: All existing alias login data will be permanently deleted. Users who rely solely on alias logins will no longer be able to use this functionality.
-
User Access: Any accounts that use alias logins for login will be affected, potentially leading to access issues or disruptions. However, users can still log in with their email address.
Note, you can disable an alias by toggling off the switch next to its name. When disabled, the alias will no longer be visible in registration, login, My Account, or the user dashboard. However, its values will be preserved and will reappear if the alias is reactivated.
4.5 Set Up Global Alias (Optional)
To make aliases accessible across multiple Global Mode applications:
-
Go to the Alias Login tab in the Identity Management configuration.
-
Make the alias as Global via the globe icon. Making an alias global will prevent the alias name from being reused in other configurations.
-
Save changes.
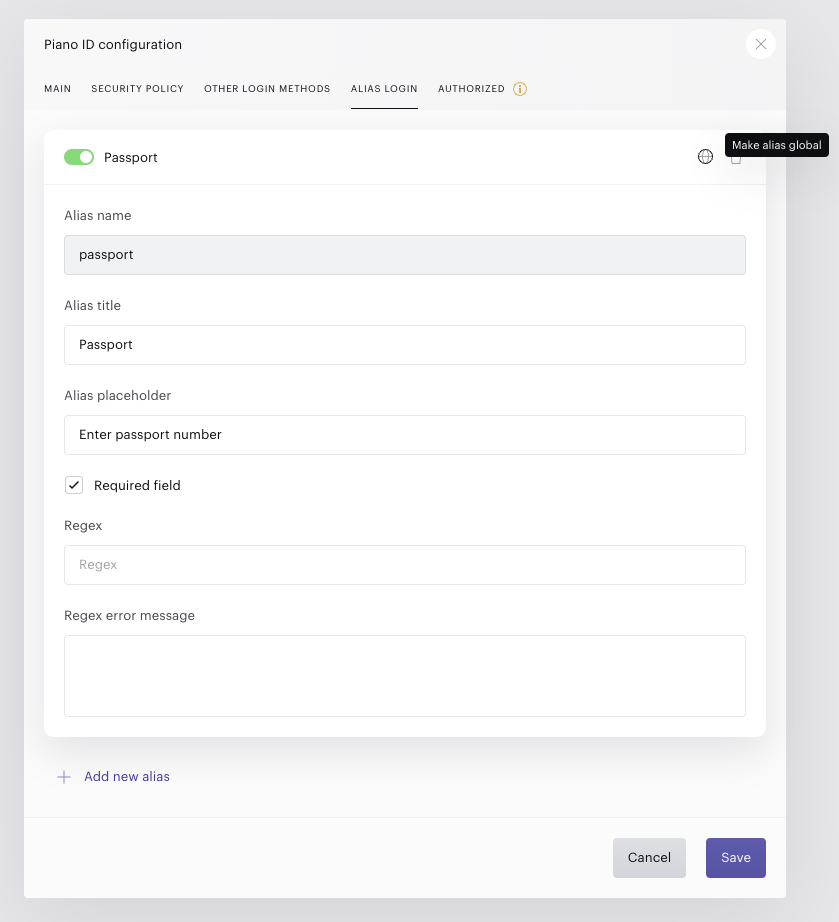
When this option is enabled, the alias is copied across all apps under the organization, making it available globally. The alias name must be unique across all apps in the organization.
Only Global admin users can configure and modify global aliases, which cannot be reverted to local aliases once configured.
4.6 Template Changes
The following templates need to be updated to incorporate Alias login:
-
Piano ID login page
-
Piano ID register page
-
Piano ID layout
-
Piano ID layout GM SSO
The easiest way to implement these updates is to revert the templates to their default settings. If you prefer to manually update the templates, please follow the instructions below.
-
In the Piano ID Login page template add
<alias-options class="pn-alias-options"></alias-options>after the login button as shown in the example below:... <p *hideIfSingleStep data-e2e="hideIfSingleStep"> <button actionLogin class="btn prime"> <span *hideIfPasswordlessOrCreatePasswordlessUser><t>Login</t></span> <span *showIfPasswordlessOrCreatePasswordlessUser><t>Next</t></span> </button> </p> <alias-options class="pn-alias-options"></alias-options> ... -
In the Piano ID Register page template add
<aliases></aliases>after the last name field as shown in the example below:... <p class="input-group with-icon"> <input fieldRegisterLastName type="text" value=""> <span class="placeholder"><i class="icon icon-user"></i><t>last name</t></span> <span class="error-message" showIfForLastNameInvalid><t>Last name is required</t></span> <span class="error-message" setLastNameServerErrorMessage showIfLastNameInvalidBy="SERVER_ERROR"></span> </p> <aliases></aliases> ... -
In the Piano ID layout template and the Piano ID layout GM SSO template, replace
<language-selector></language-selector>with:HTML<div class="pn-header"> <button class="pn-go-back-btn" *actionGoBack> <i class="pn-icon icon-back"></i> </button> <language-selector></language-selector> </div> -
In the Piano ID Layout CSS tab styles, add:
.pn-header { display: flex; margin: 0 -24px; } .pn-alias-options { margin: 1.5em 0; display: block; } .pn-go-back-btn { display: flex; align-items: center; justify-content: center; width: 64px; height: 64px; border: 0px; background: none; cursor: pointer; border-right: 1px solid rgba(15, 15, 21, 0.06); outline: none; } -
And replace:
language-selector { height: 64px; display: block; }with:language-selector { width: 64px; height: 64px; display: flex; justify-content: center; }
5. User Flows for Alias Login
Users will now have the option to log in using their alias alongside traditional methods. On the login screen, users can choose from the following options:
-
Email + Password: This remains the standard login method for users who prefer to use their registered email address and associated password.
-
Alias + Password: Users can also log in using their chosen alias.
6. Passwordless Login
For users opting for passwordless authentication, the process will vary slightly. Instead of entering a password, users can initiate a passwordless login using their email:
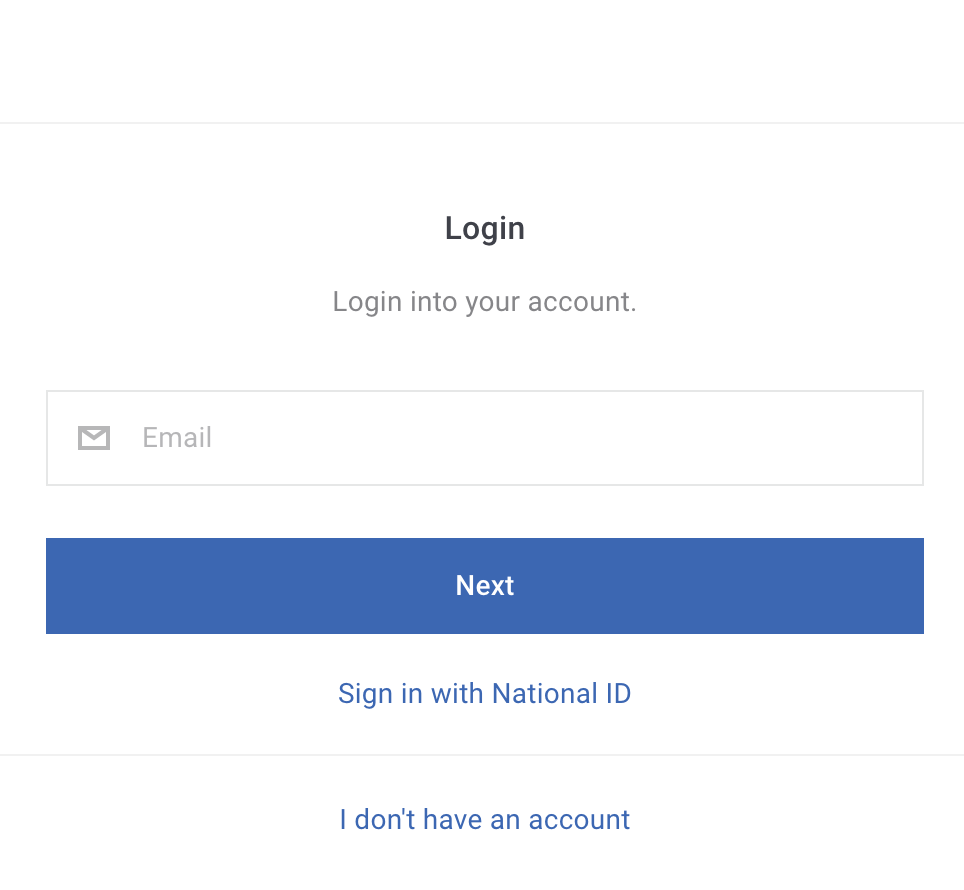
Or alias:
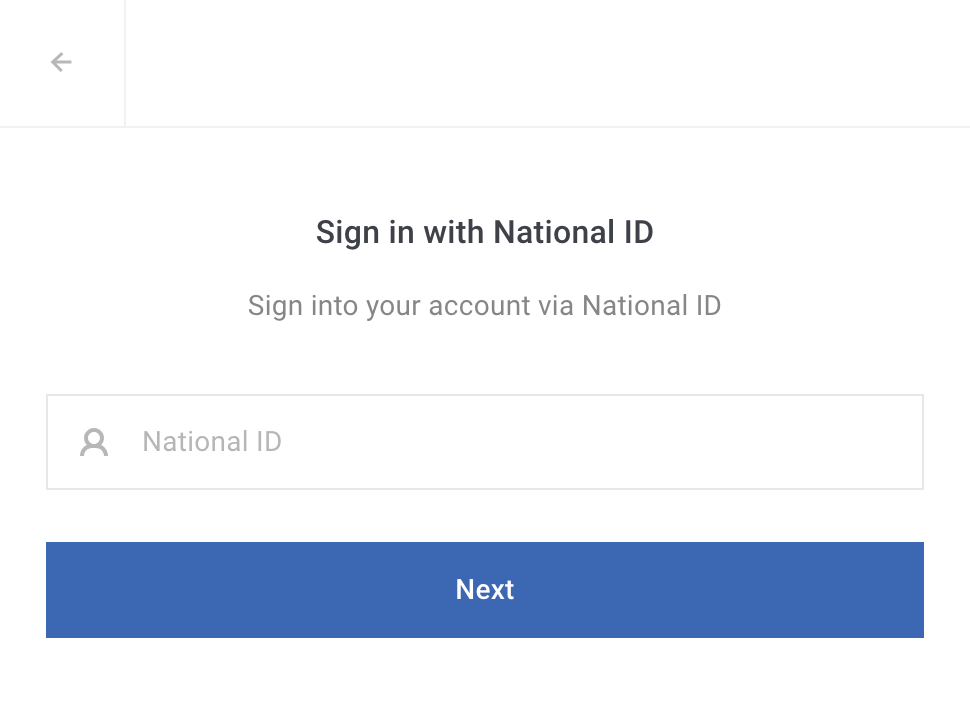
The user will receive a one-time code via email, which they can then enter on the login screen.
Both the Reset Password and the Two-Factor Authentication flows are supported by Alias login, but only email-based password reset is available by default.
During registration, users can fill out multiple aliases if configured. However, it is not possible to require a user to enter one alias or another. If an alias is mandatory, it must be provided, but users cannot be forced to choose between multiple aliases.
In our example, a user can fill in both "Username" as well as "National ID".
If only one alias is configured on the application, the user will see just one alias field. In our example, the alias name is "National ID".
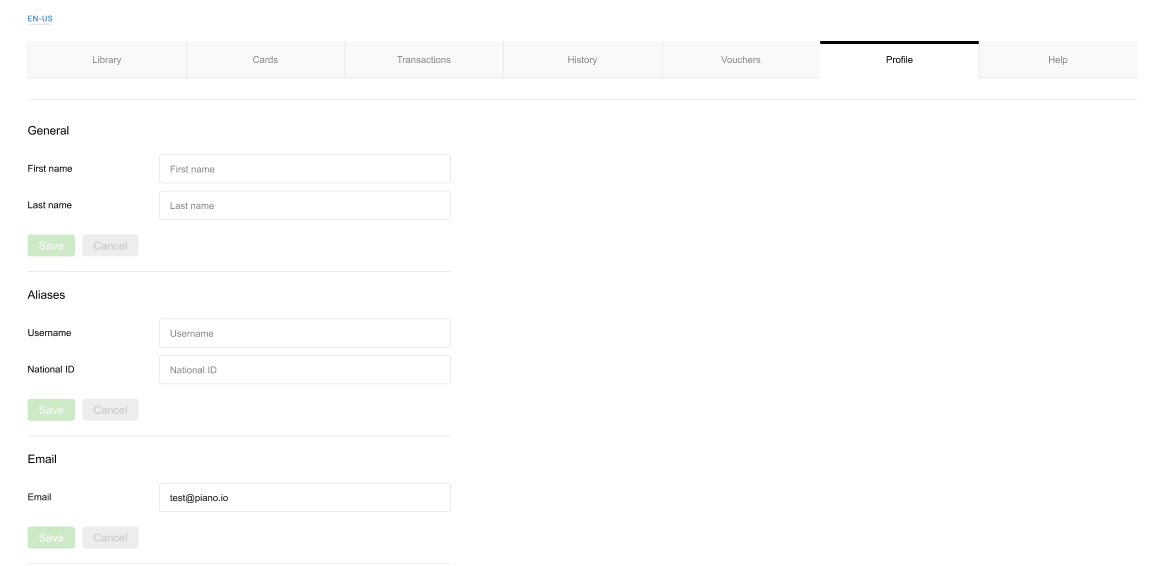
After logging into the My Account section, users can navigate to the "Profile" section to manage their login credentials, including aliases.
7. FAQs
Q: Alias is not recognized during login
A: Ensure the alias is enabled in Alias settings. Verify that users' aliases meet all validation rules and mandatory requirements.
Q: Validation errors on alias creation
A: Check that the Regex pattern is correct and matches the intended format. Verify any error messages that appear during alias creation, as they often contain specific reasons for validation failures.
Q: Can users have multiple aliases?
Yes, multiple aliases per user are supported, allowing for flexible login options.
Q: Is alias login case-sensitive?
Alias names and values are case-insensitive. For example, Anna and annA are treated as the same string.