
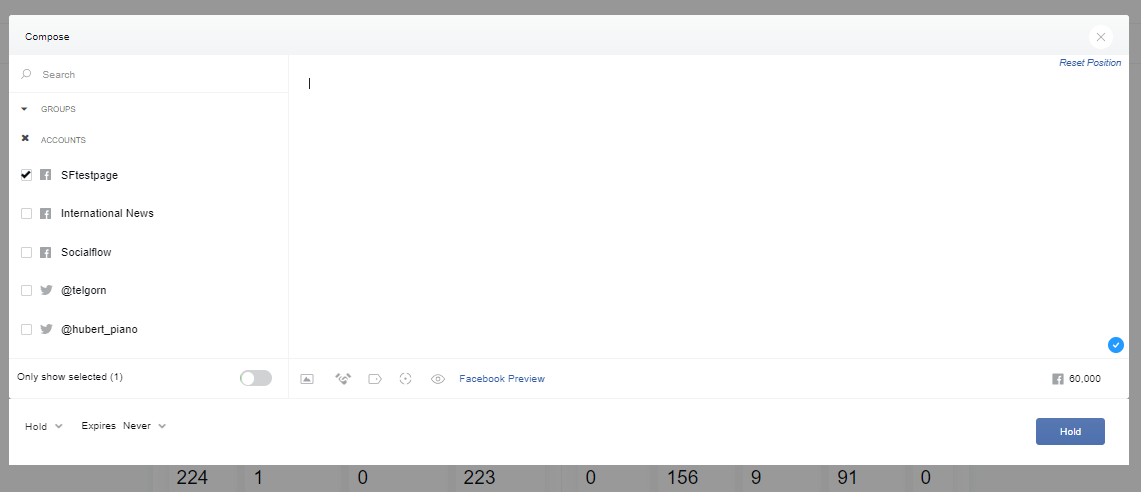
You have the option to manually create a new link post by entering the text and URL for your post using the Compose box. SocialFlow will automatically scrape the link for metadata just like Facebook does and display the metadata underneath.
Now you will see options to edit the metadata. All items in the meta section can be customized, including the title, URL, description, and thumbnail. You can also add a Call to Action button (which is normally in the Power Editor section of Facebook). This will display an additional button at the bottom of your post to visually encourage users to click your link.
At the bottom of the Compose Box, you’ll see these icons:
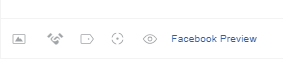
The Camera icon is multi-purpose and will allow you to do the following:
-
Attach a single image to create a regular photo post
-
Attach up to 5 images to create a Facebook carousel (a series of static images the end user can scroll through and offers a unique URL per image)
-
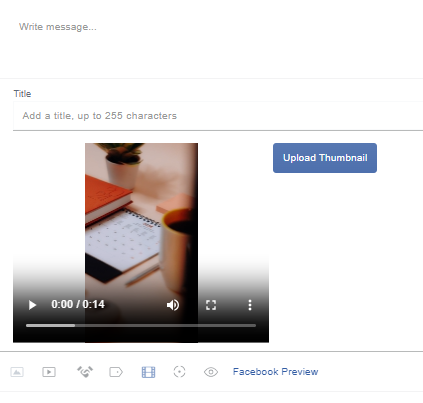
Attach a video
Once you attach a video file, you’ll see a film strip icon appear to give you more options to customize the video, adding closed captions with an SRT file and other settings.
Go here to see the required media specifications.
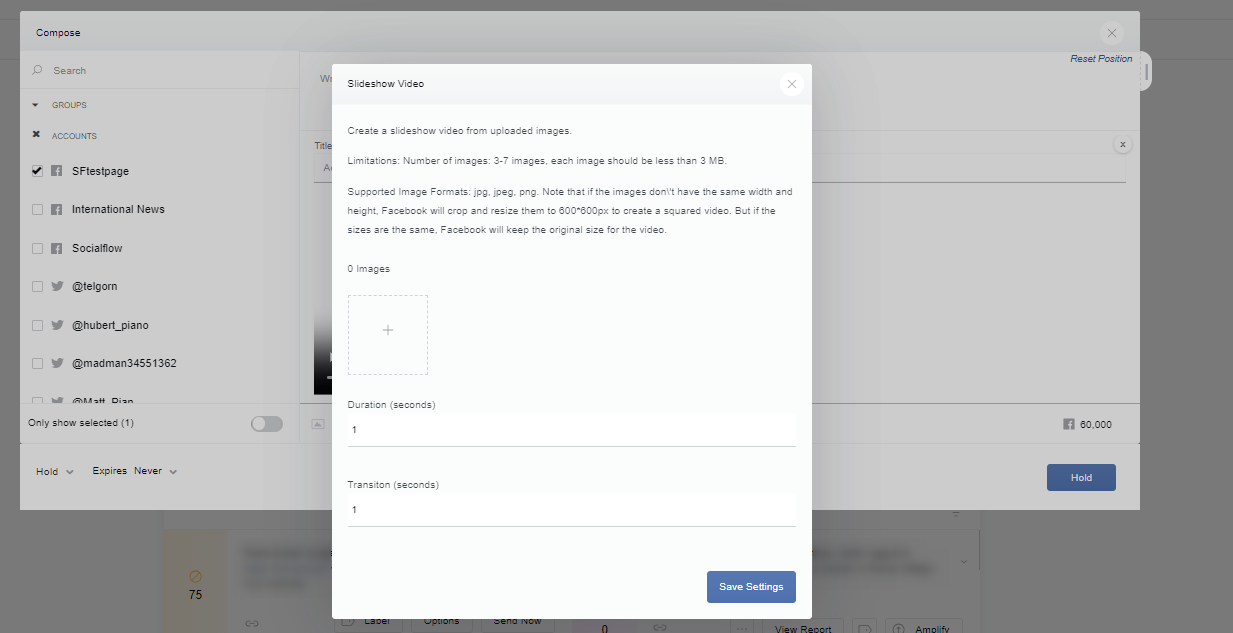
Next to the Camera icon is a Play Button icon, which is for Facebook Slideshows. The feature will allow you to add up to 7 images and the images will scroll through like a video.
Then you’ll see the Branded Content icon or Handshake tool. This will allow you to tag other Facebook Pages that may be a sponsor or content partner in the approved Facebook format.
If you need to tag or mention a page that is not Branded Content, you can also just type the @ symbol and the page name. Then select the page from a dropdown.
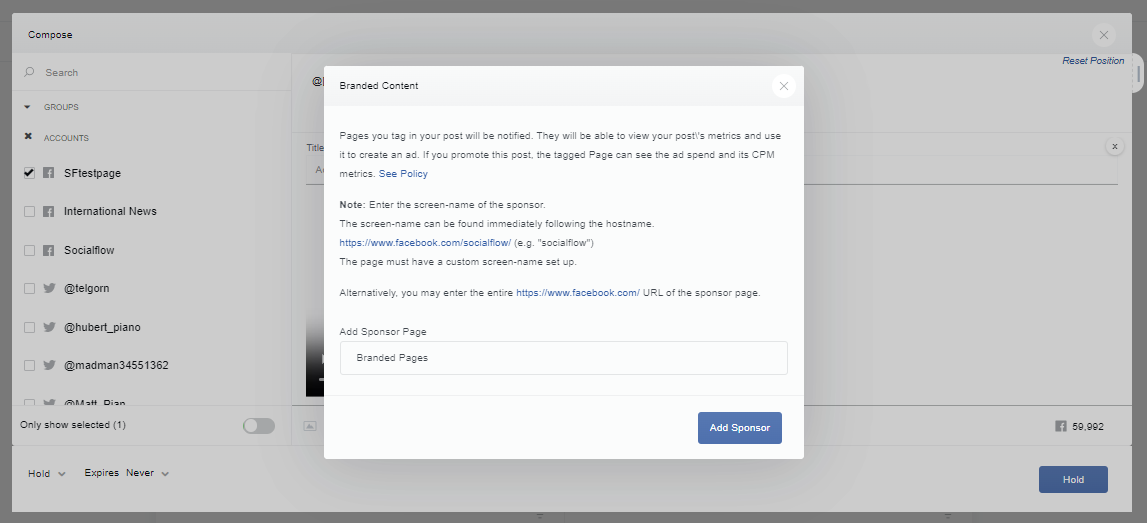
Once you have selected the page from the drop-down, there will be [ brackets ] added to the page name in your post. Just leave the brackets there and the page name will turn into a hyperlink once published.
Next to the Handshake icon, you’ll see a Tag icon. This is for Labeling in SocialFlow.
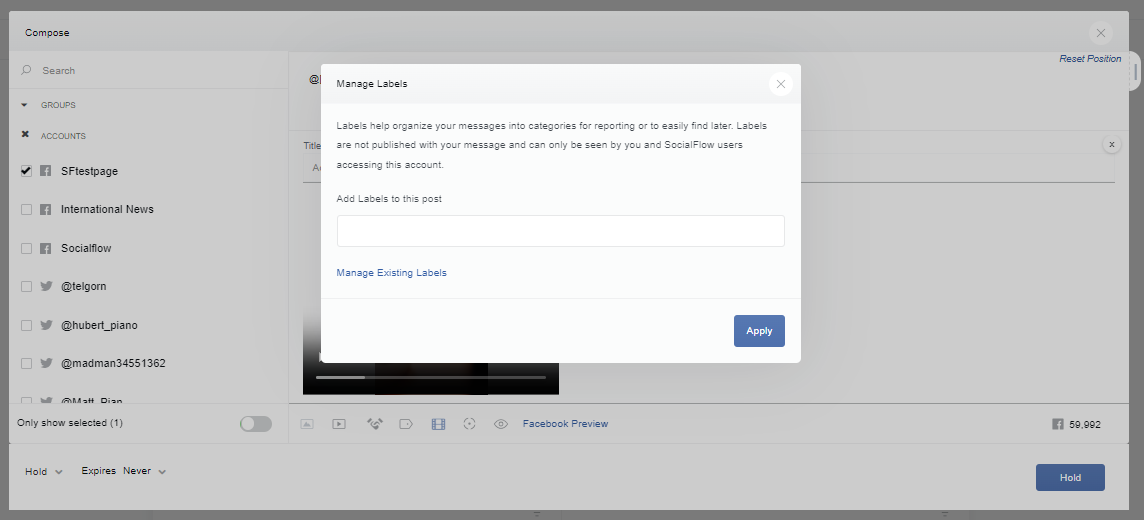
None of your fans will see this. It’s just a way to categorize your posts into specific buckets or categories for reporting purposes later.
You can enter a customized label name. Once you’ve used a label, it’s stored in a drop-down for easy use later.
Next to the Labels is the Target icon. We offer the same targeting options that Facebook provides when you publish natively.
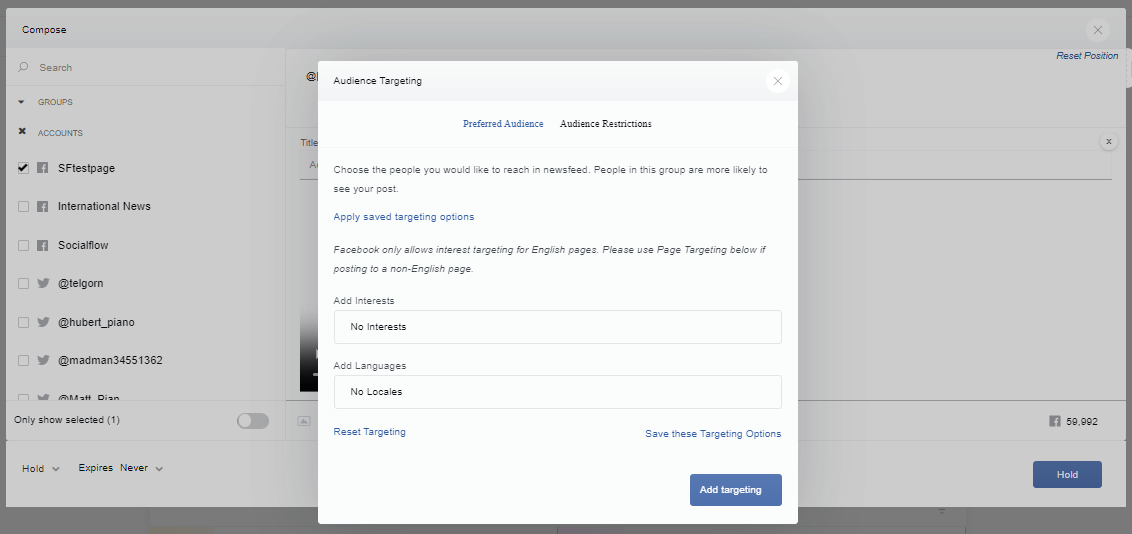
If you use targeting frequently, note that you have the option to label and save a set of targeting parameters for ease of use later.
Lastly, there is an eyeball icon. This allows you to create an unpublished page post (what used to be called dark posts). These types of posts are hidden from your fans on Facebook. You can only access them by direct URL or in Power Editor and are mostly used when you decide to promote a post to a custom audience outside of your regular fan base.
*For details on Tracking Tags or Shorten Links, refer back to the main Compose article here.