
Using the Run JS card
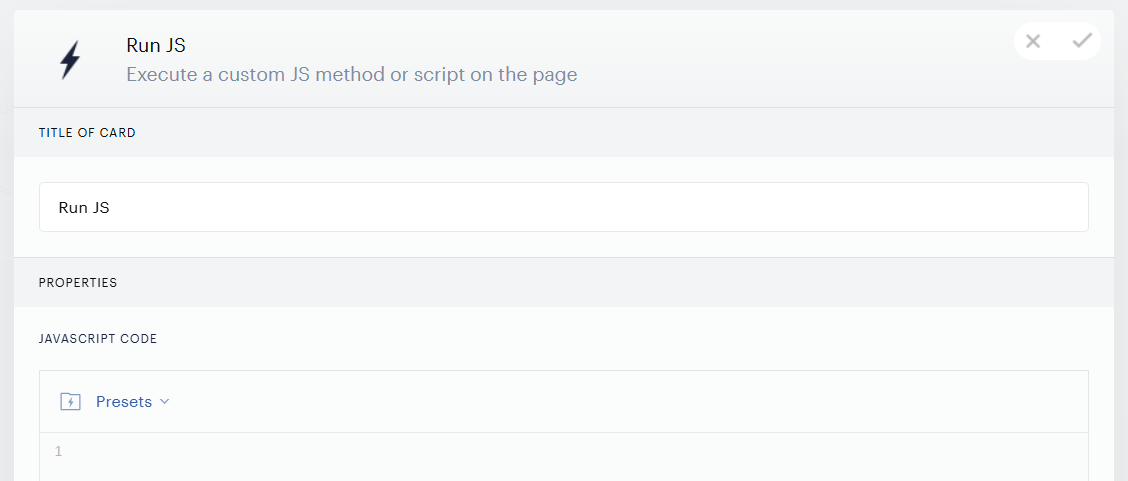
The Run JS card allows you to trigger any custom JavaScript functions or scripts you've defined within the scope of your site. We've seen this card used to:
-
trigger a reminder banner informing users how many free views they have left.
-
redirect users to a dedicated subscription page rather than popping up an offer.
-
send data to third-party analytics systems.
-
capture third-party conversions.
If you prefer not to use the Set cookie card for any reason, Run JS can also be used to set a cookie of your own.
When using Action cards in combination, keep in mind that actions are triggered on the canvas synchronously from top to bottom. That means you could use a Run JS card to create a new HTML element and then insert a template into that newly created element using a Show Template card. But the RunJS card would need to be above the Show Template card on the canvas in order for the Run JS element to have loaded prior to the template firing.
The Run JS code runs within the scope of your website, not within the scope of Piano. However, when you use the card, there is some additional information from within Piano's system that is made available. Here, for example, is the full JavaScript an alert('hello world') function placed inside a Run JS card would create within your site (with example values):
(function() {
    var context = {
        "experienceId": "EX44K1BHE2K6",
        "executionId": "268f5546-4211-4244-87af-9c20af933137",
        "trackingId": "{jcx}H4sIAAAAAAAAAF2PW0vDQBCF_8s...",
        "splitTests": [],
        "currentMeterName": null,
        "user": {
            "uid": "anon",
            "firstName": null,
            "lastName": null,
            "email": null
        },
        "region": "NY",
        "countryCode": "US",
        "accessList": []
    };
    var custom = {
        "host": "example.com",
        "pianoLoggedOut": null
    };
    alert('hello world');
})();
As you can see, within the Run JS scope you have access to contextual variables of various sorts: experience variables, trackingId (which can be used to log third-party conversions), user variables, and information about any A/B tests you have running. You also have access to any custom variables you've set.
If you call a template via the Run JS card, conversions and microconversions that occur on the called template will not appear in the Composer Conversions report.
Run JS Presets
Run JS Presets allow you to save and manage reusable JavaScript scripts that can be applied across multiple branches and experiences within the same app. Instead of duplicating Run JS cards with similar logic, you can centralize scripts as presets and reuse them, while still retaining the ability to customize each individual Run JS card.
Presets are visible and usable across all applications within your merchant account, making cross-app reuse seamless without any additional configuration.
Saving a Run JS script as a preset
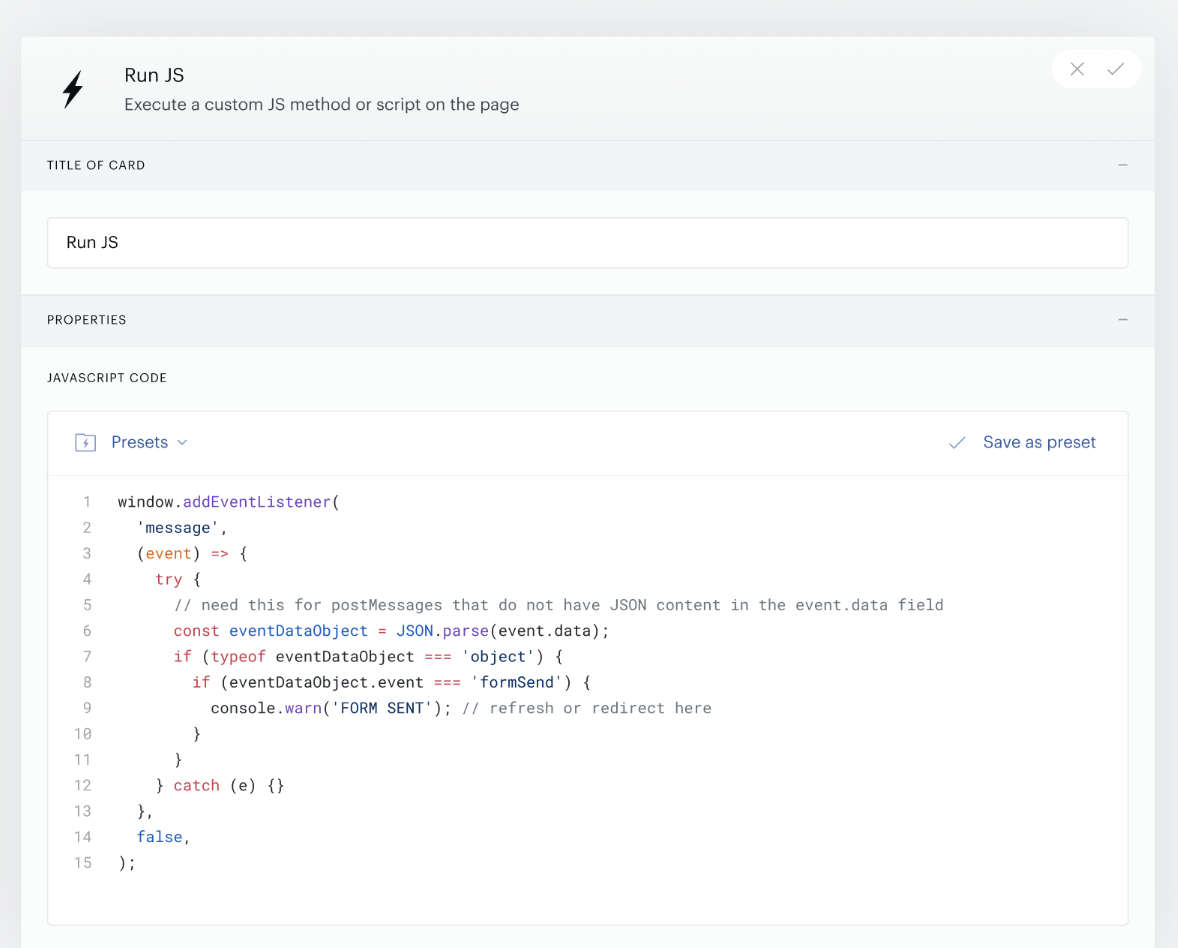
You can save any existing Run JS script as a preset directly from the Run JS card.
How it works
-
Open a Run JS card and add or edit a script
-
Click Save as a preset
-
In the modal:
-
Enter a Preset name
-
Enter a Description
-
-
Click Save
Important notes
-
JavaScript syntax is validated when saving; any errors may be highlighted
-
Preset names must be unique within the app
-
If a duplicate name is used, you will see: "A preset with this name already exists. Please choose a different name to save your preset."
Once saved, the preset becomes available for reuse across all applications within your merchant account.
Using an existing Run JS preset
You can apply any saved preset to a Run JS card, including presets created in other applications within your merchant account.
How it works
-
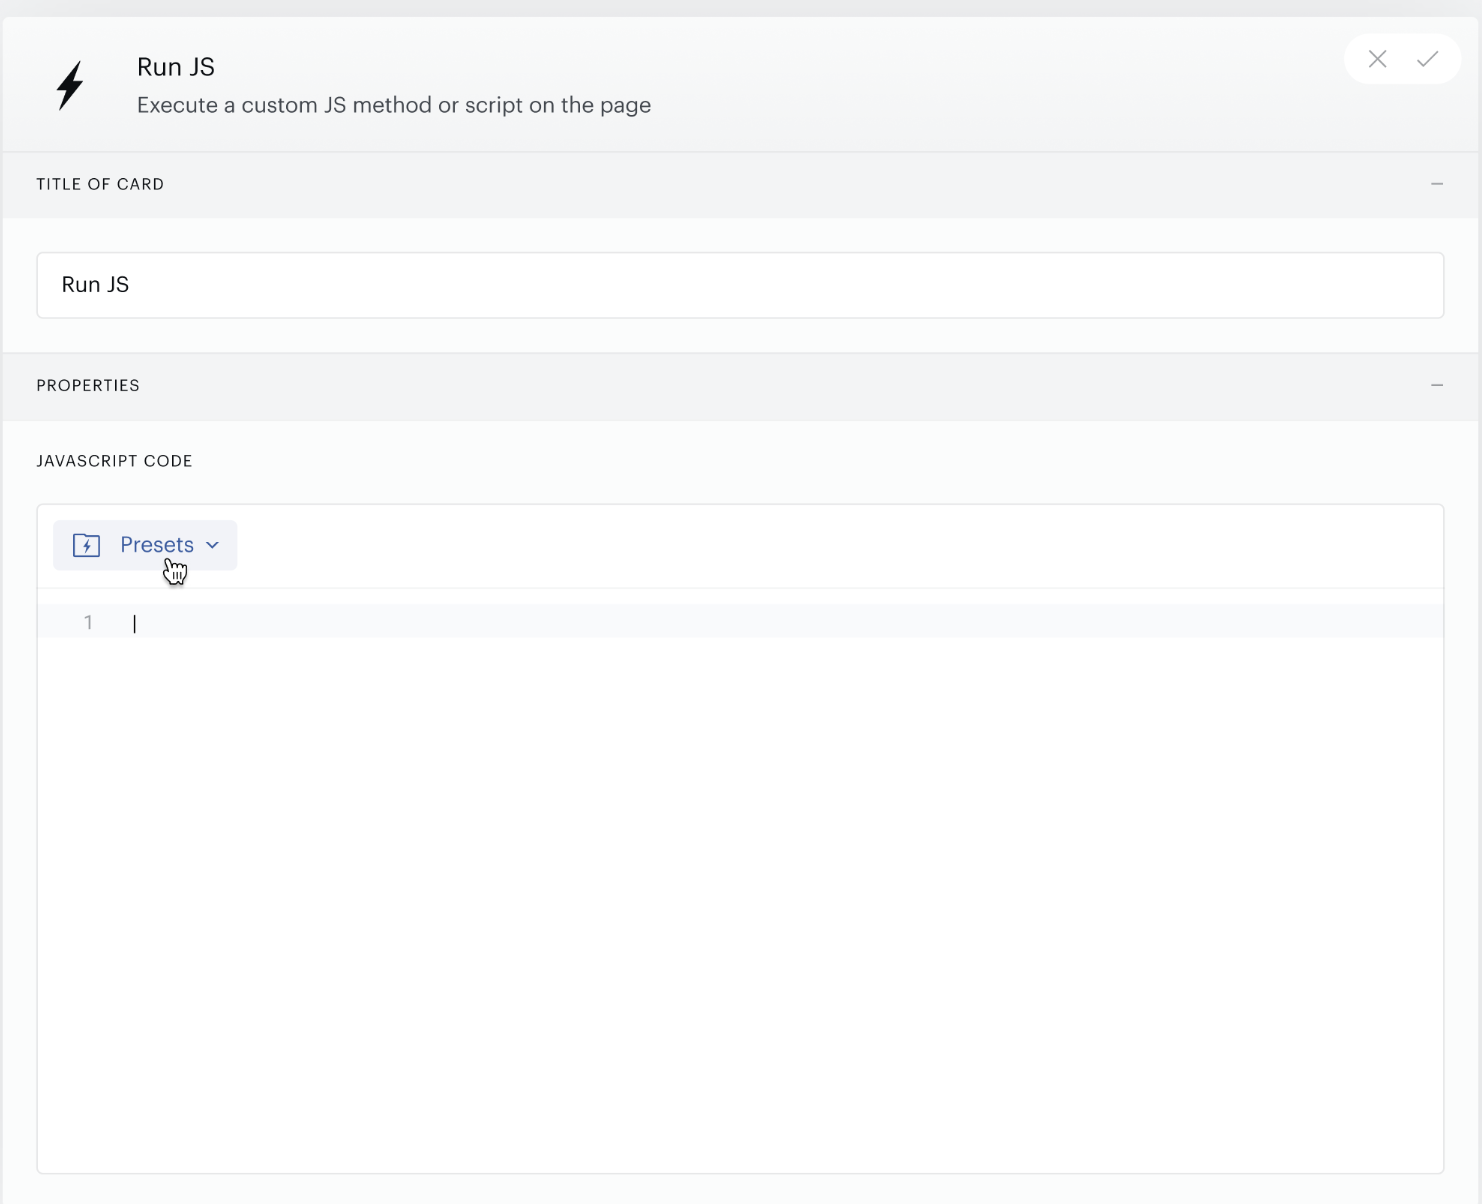
Open a Run JS card
-
Click Presets
-
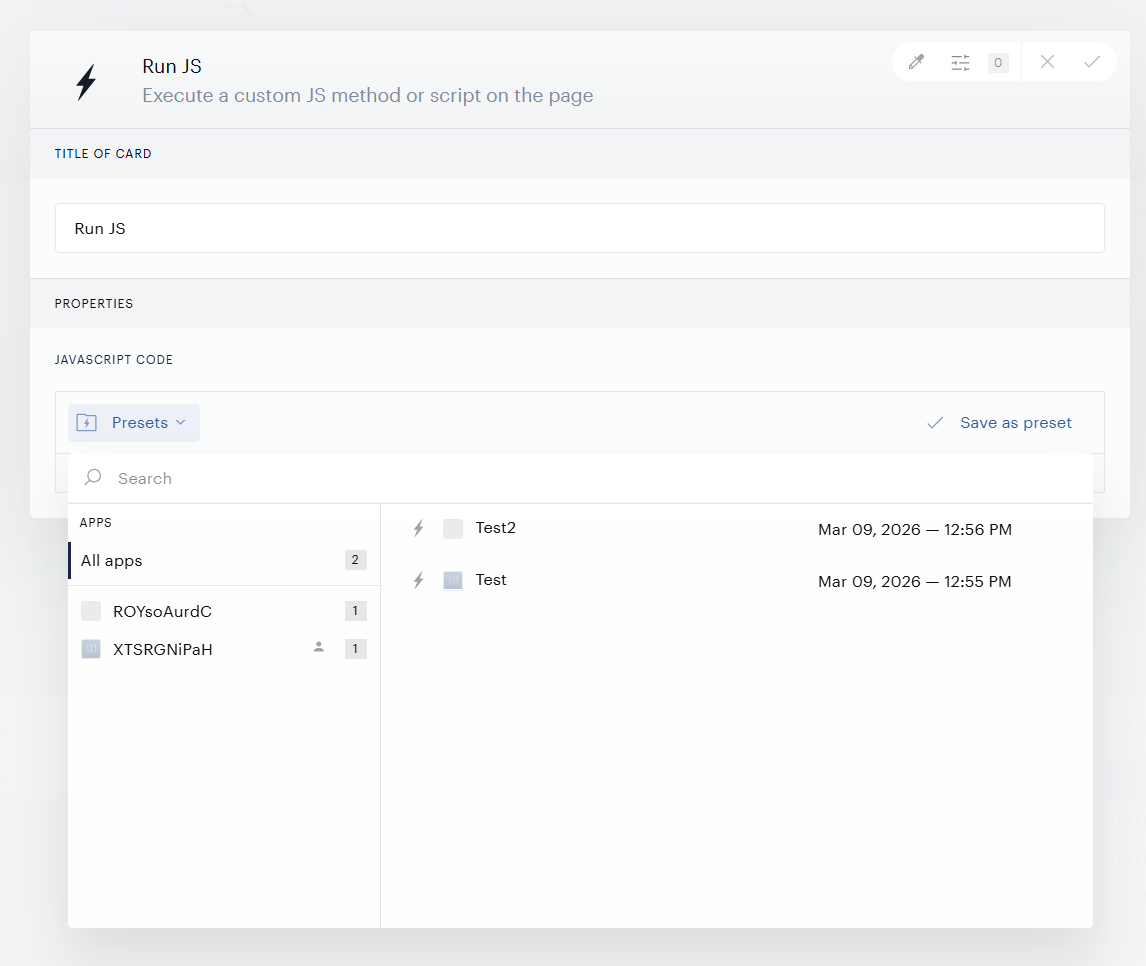
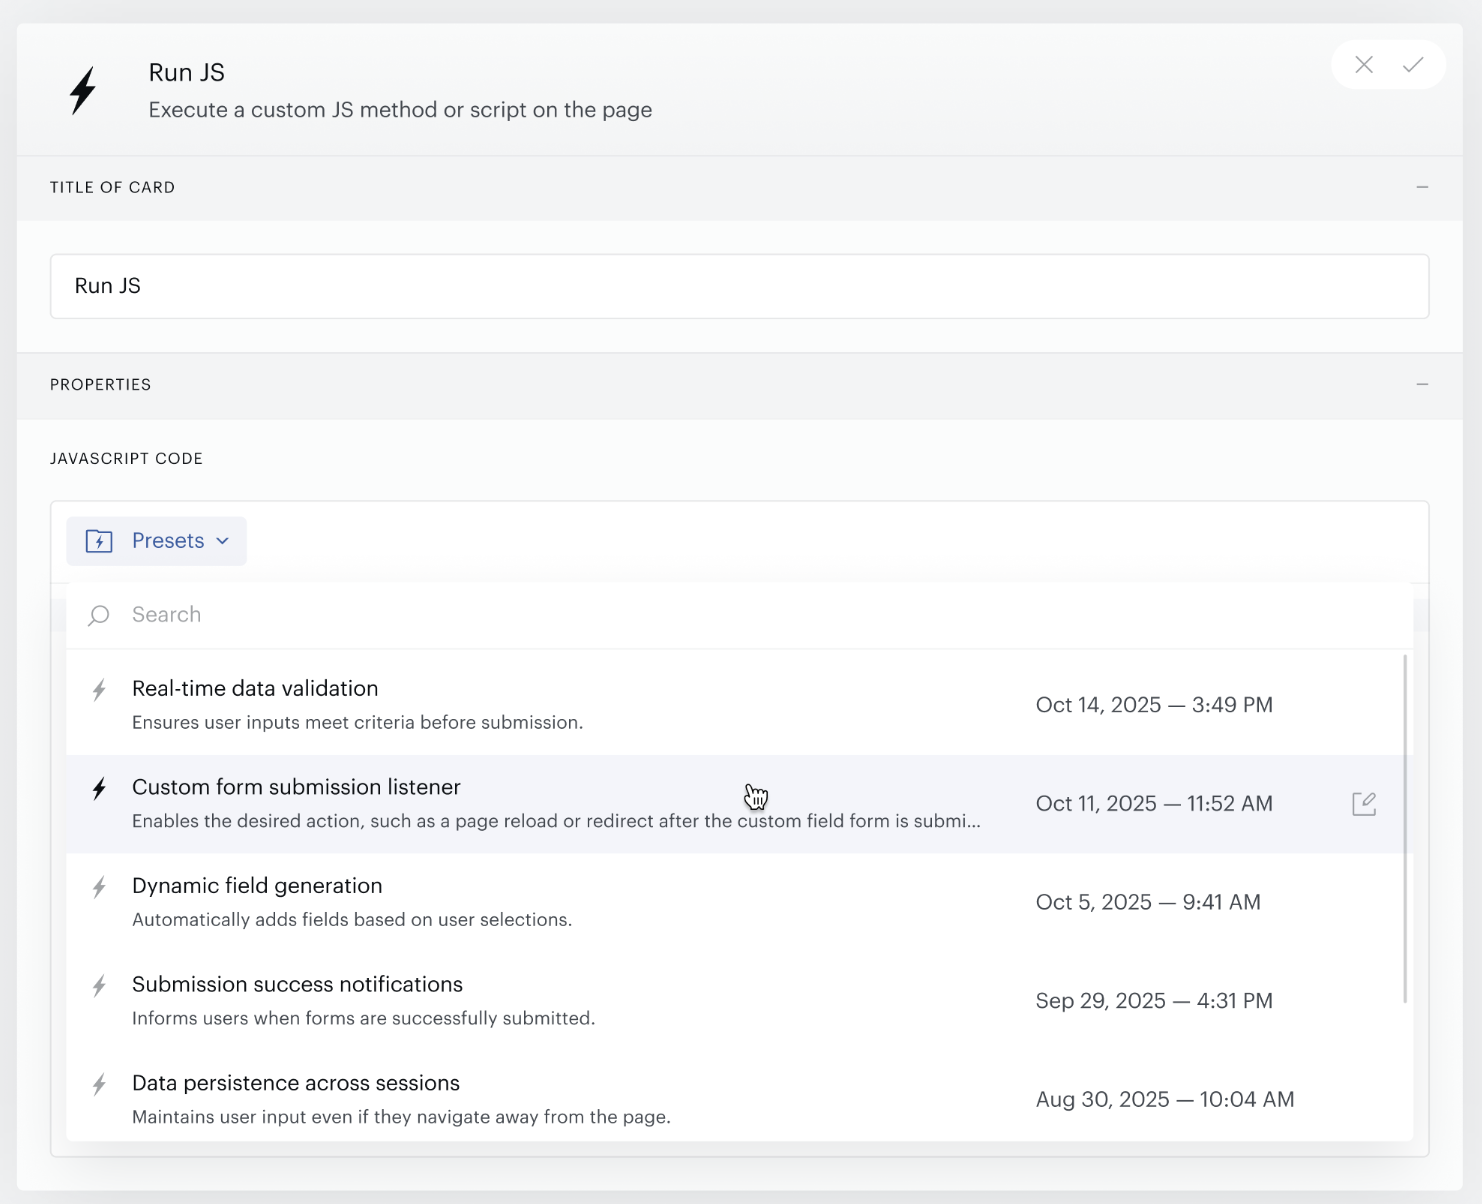
Browse or search the full list of available presets from all accessible applications
-
Select a preset to apply it to the card
After applying a preset
-
The preset's JavaScript code is copied into the Run JS card
-
The script is fully editable
-
Editing the script does not modify the original preset
About the application selector
Each preset displays the icon of the application it belongs to, so you can identify its source at a glance. To narrow the list, choose an application from the selector; only presets from that application will be shown. Selecting All apps restores the full cross-application list.
Editing an existing Run JS preset
You can update an existing preset's name, description, and script. Edit access is determined by preset ownership; a preset can only be edited from the application it was originally created in.
How it works
-
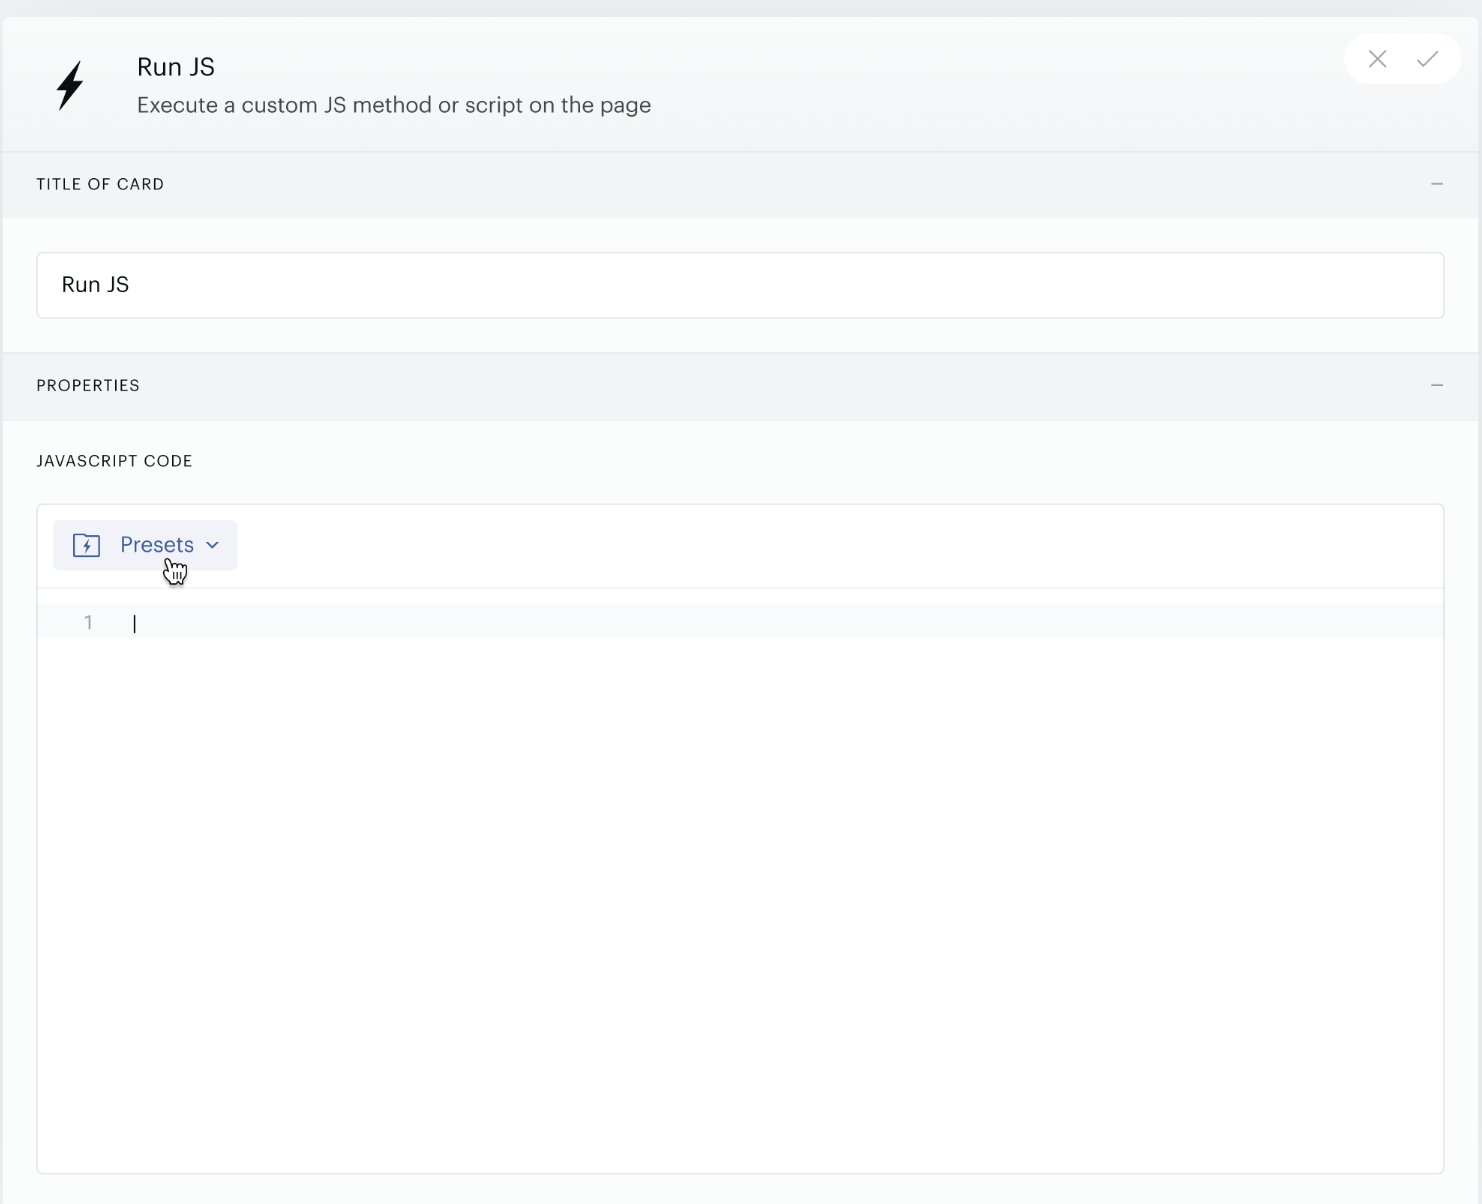
Open a Run JS card
-
Click Presets
-
Locate the preset you want to edit
-
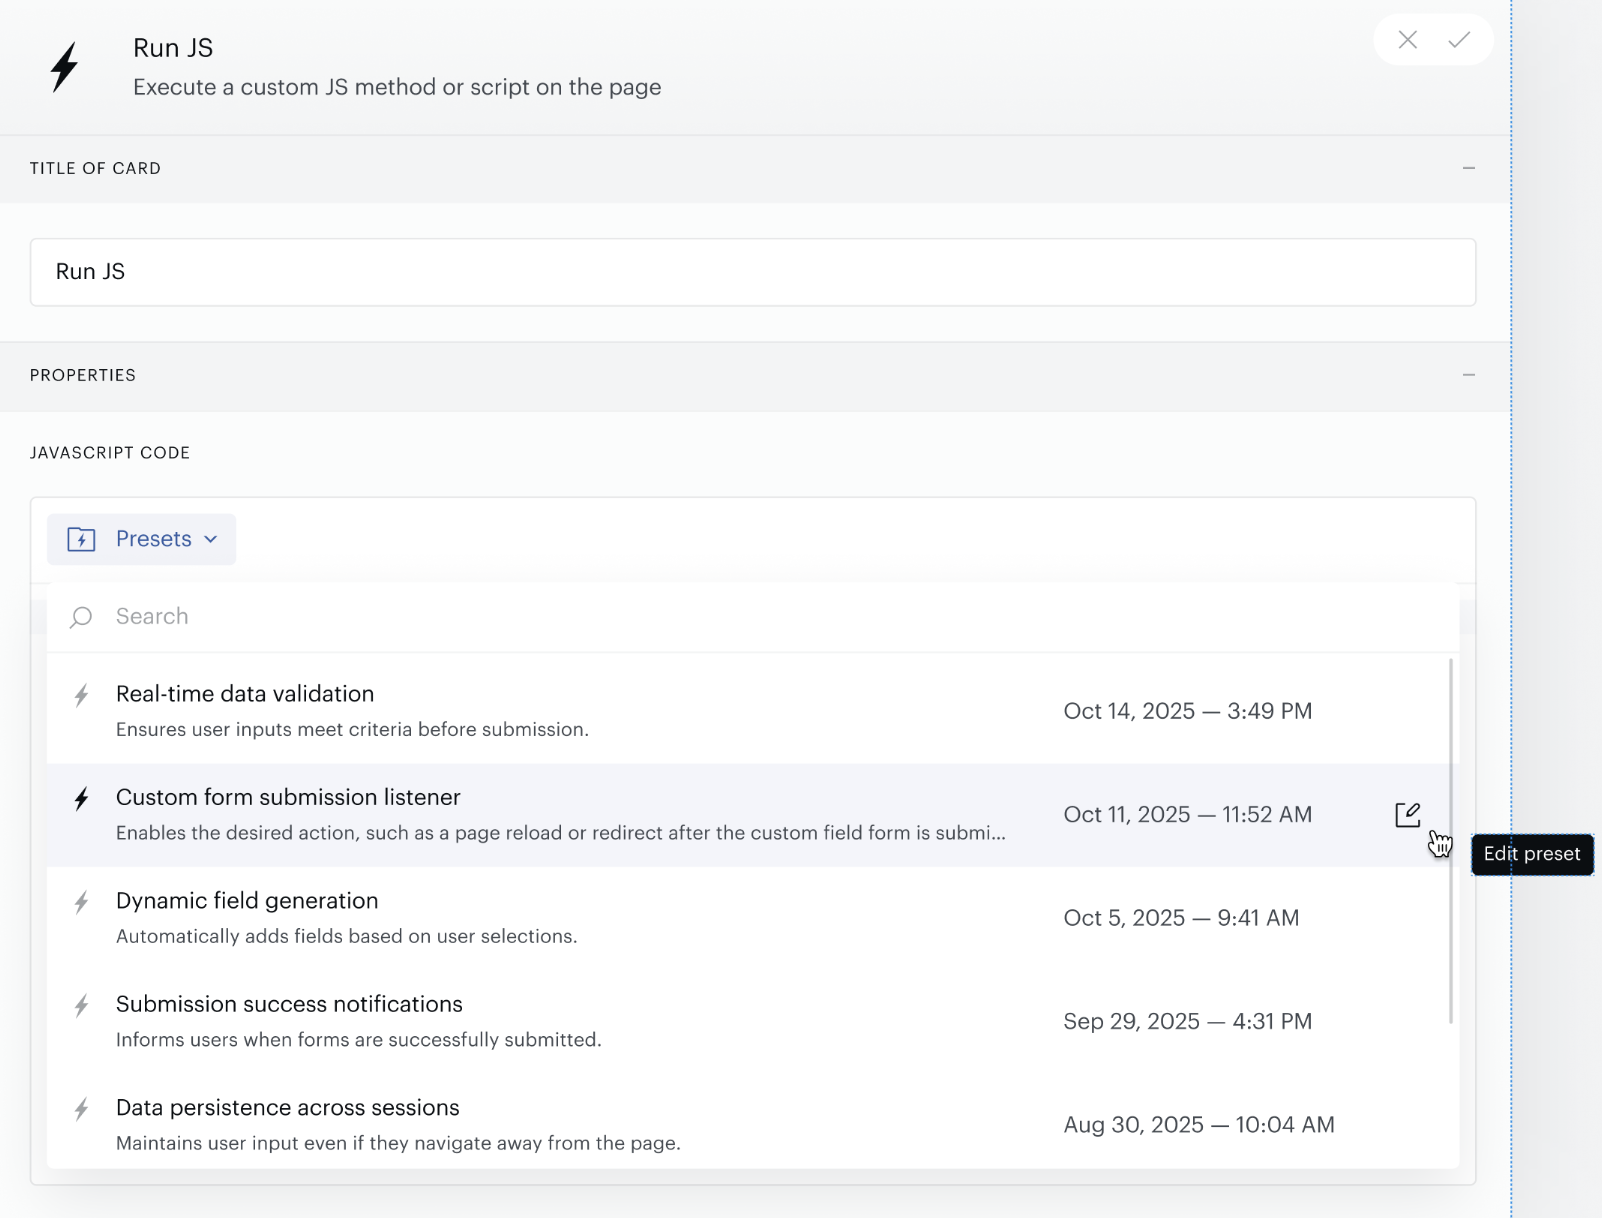
Click the pencil icon next to the preset
-
In the edit modal, update:
-
Preset name
-
Description
-
JavaScript code
-
-
Save your changes
Important! Editing or deleting a preset never changes Run JS cards where it was already applied.
Notes
-
The pencil icon only appears for presets owned by your current application. If a preset was created in a different application, it can be selected and used, but not edited from your current application.
-
To edit a preset owned by another application, log into that application directly.
-
Each application can have up to 256 Run JS Presets.