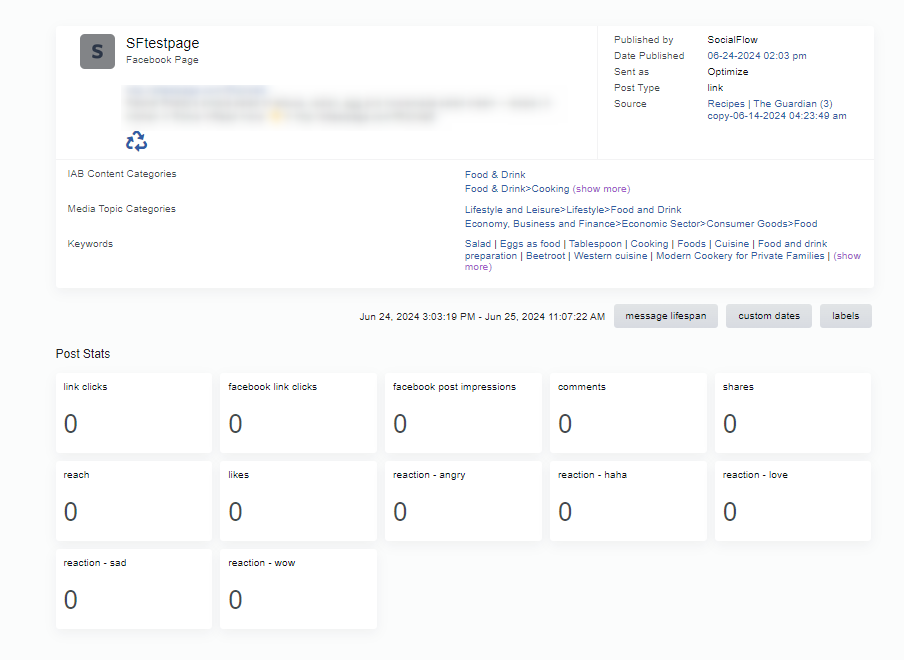
Filtering the Timeline
Clicking on the Filter option at the top of the queue will expand the Timeline filter.
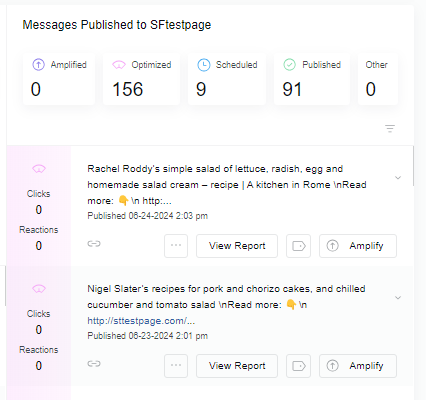
-
Search: Used to look for a particular keyword or phrase.
-
Statuses: Groups the content based on how it was sent out i.e.: Optimized, Scheduled, or Published. You can click the boxes at the top of the queue to filter these from view.
-
Sources: Shows which content source the content came from. You can isolate one feed or source at a time to view only those pieces of content.
Recycling Content
Individually
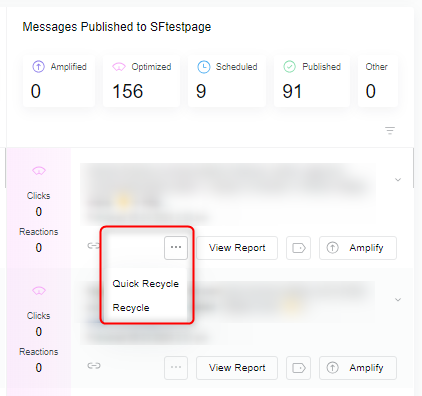
You might want to put evergreen content or content that has performed well back into your Publishing queue. Click the Expand button on the piece of content in your Timeline, then click the recycle arrows.
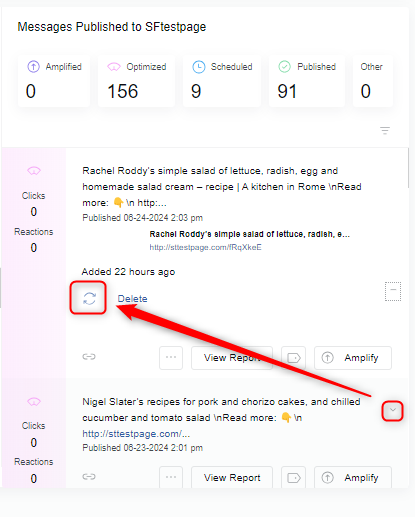
This piece of content will then be recreated exactly as it was published in the Compose box at the top of the Publish page. You will have the option to edit this content as you would be able to with any piece of content in the Compose box (change the copy, add new tracking tags, etc.) and select its publishing status. Once this is complete, that piece of content will be placed into the Publishing queue until it is ready to be published to your social account.
Bulk Recycle
If you’d like to recycle multiple pieces of content within the timeline at once, you can use the Bulk recycle option. Expand the Filter option at the top of the timeline queue and you will see white checkboxes appear to the left of each piece of content.
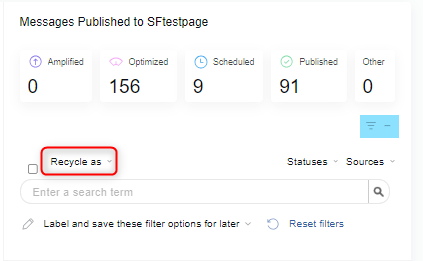
Select the items that you’d like to recycle by checking off the boxes and then click on the “Recycle as” dropdown at the top of the queue. You will be able to choose to recycle this content on Optimize or on Hold and it will then be sent back to the Publishing queue.
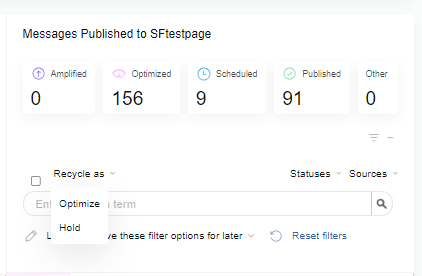
- It is important to note that only content published through the SocialFlow platform can be recycled; anything published natively will not have a recycling option.
Expand
This button allows you to recycle content using the triangular recycle arrows or delete content that has been published, which will remove that content from the respective social account and show it as deleted within the Timeline.
Amplifying Content
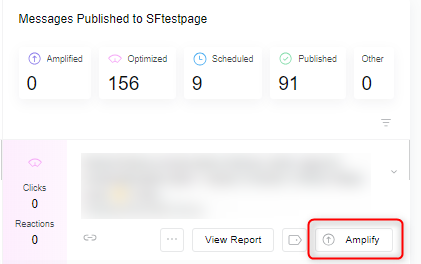
The Amplify button will appear on all of your published messages in the Timeline queue. This button may display in orange any time a message is performing above average in terms of engagement. You can click the amplify button to connect your ads account and boost or promote the post, adding budget and targeting options in order for the message to reach a larger audience.
Label
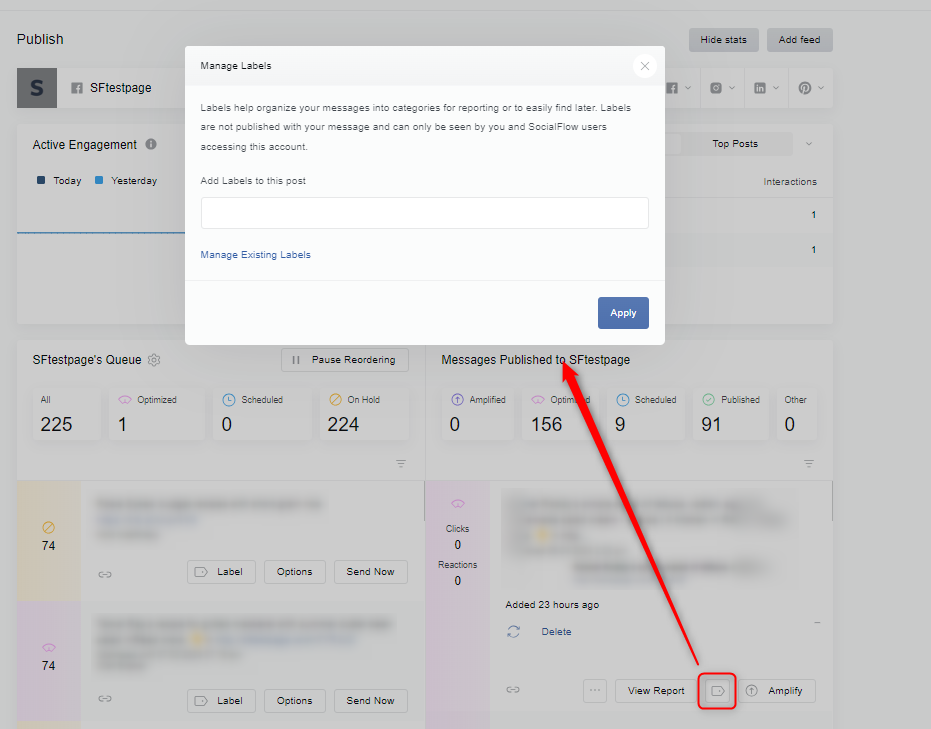
The Label button that appears on your published messages within the Timeline queue allows you to apply labels to your content after it has been published. Labels will help organize your messages into categories and, as with labels that are applied before your content is published, they will never be seen by your audience.
View Report
You can view a report specific to each message you publish. Depending on the channel, it will include data such as: Link clicks, Retweets (w. Downloadable list of handles), Favorites, click performance by location, as well as basic information about publish time and date.