

Re-targeting is another method by which you are able to target your audience. This page describes how to implement re-targeting campaigns where a client wants to show advertisements to visitors or customers of client web sites, possibly dependent on certain actions.
Examples of scenarios that would be useful for re-targeting campaigns:
-
Any visitor that has visited any page the customer site.
-
Only visitors that have visited a subsection or a specific page.
-
Visitors that have created a subscription.
-
Visitors that have put something into their shopping cart.
-
Visitors that have made a purchase (to re-target them with offerings to get another sale).
Individual users must be tagged with information about what actions they have performed, or where in they are in this sales they cycle are. For scenario 1 and 2, this is achieved by including a specific tag on either all pages or the specific pages where re-targeting is wanted. For scenario 3-5, this is achieved by setting the tag when a specific action occurs on the customer site.
Setting Up the CPC Product
This is done through adding a new document template to a particular product definition. Simply follow the steps below to do this.
-
Navigate first to the CPC product that you want to add the ability for advertisers to specify re-targeting criteria
-
Use the sidebar menu to add a new template instance.
-
A form will be presented to you in the main page content. Initial setup defaults to the user defined taxonomy as explained below. Options for setup are listed below. Please refer to the relevant section for specific details.
-
Product defined re-targeting taxonomy
-
User defined re-targeting taxonomy
-
Product defined re-targeting taxonomy
A product defined taxonomy is where the broker would be making available a set of options for selection based on how they have set up re-targeting functionality within their publishing network. In order to do this you would need to follow the steps below.
1. Select the product specific taxonomy option in the edit form as shown below. This will enable the upload field to allow a taxonomy to be uploaded.
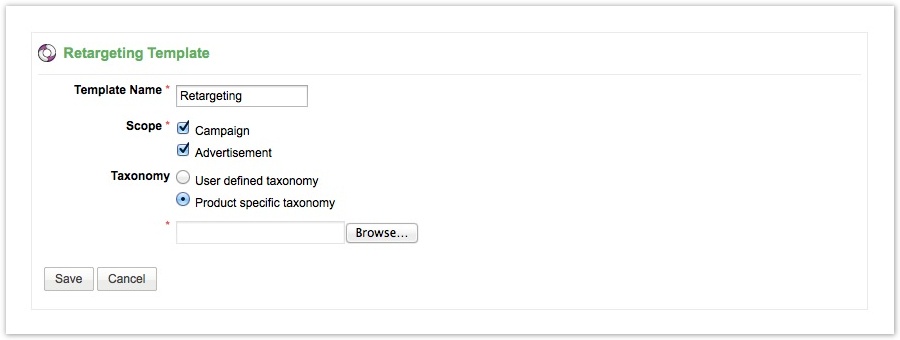
2. Upload a taxonomy upload file and save the details to get to a screen as shown below. An example of a valid taxonomy has been attached to this page.
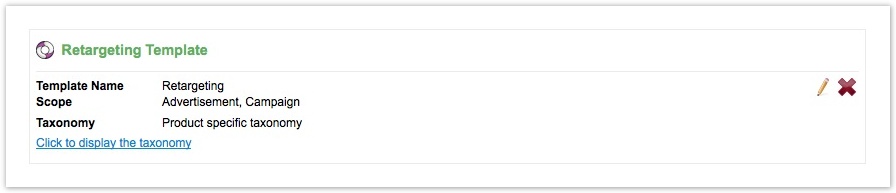
3. You are then able to click the link "Click to display the taxonomy" to view the taxonomy entries available. The screenshot below shows this state.
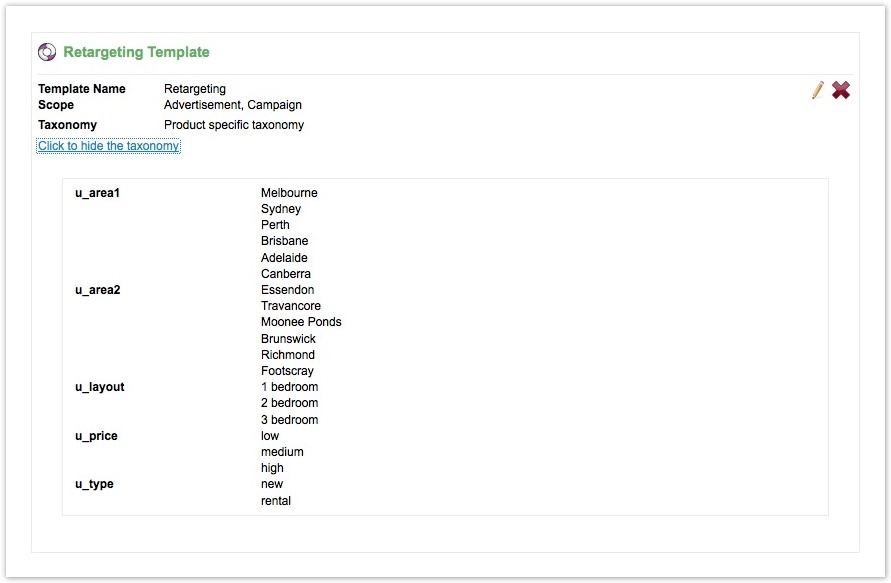
4. Set up the required actions to tag users with re-targeting information. See the section Registering actions below.
Taxonomy file format
There are 2 files attached to this page showing example taxonomy definitions.
-
validTaxonomy.txt: shows the minimum structure to allow a valid taxonomy
-
taxonomyWithLabels.txt: shows an extended format that allows the definition of labels for various locales.
There are 2 main sections to the taxonomy file format
Taxonomy definition
The taxonomy definition is at the top of the file and will be interpreted down to the existence of the first label definition comment (indicated by a line starting with "####"). Each line in this section is broken up based on the presence of any of the following tokens:
-
A tab
-
A colon (:)
-
An equals (=)
-
A comma (,)
You can mix and match these however you like. The example below would result in a taxonomy key of "area" with values "locationone", "locationtwo", and "locationthree" being saved.
|
Labels definition
The labels for the taxonomy can be defined to allow different text to be presented to the advertiser when they are viewing the retargeting editor in order to alter their saved tags. A label section is defined by writing a line starting with four hash characters like so: "####". Following the hash should be the locale string for which the subsequent labels should be made available. This locale will be set for all remaining lines up until the parser encounters another locale string comment.
Each line must match either a single key in the taxonomy. or be a combination of a key.value followed by an equals sign "=" and then the label that will be displayed. So to provide labels for each of the elements in the example taxonomy line above for an Australian locale we would have to add into a taxonomy file the following lines beneath the taxonomy definition.
|
User defined re-targeting taxonomy
This would be used if you want to allow the advertiser to set up their own actions for re-targeting withing their own sites. It is a simpler setup as the advertiser is the one that sets their own taxonomy in this case. Please refer to the Re-targeting page for further details on how this is done.
1. Select the user defined taxonomy option in the edit form as shown below.
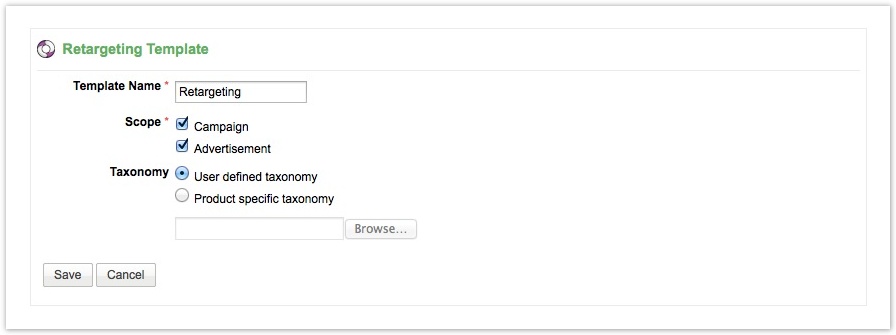
2. Save the template. This will display something like the image below.

Registering actions
In order for us to correctly match against any re-targeting functionality we have to have the actions for a user registered with cX::Insight. Can be done in a few different ways.
Operations are pushed on a call queue, which is then executed after the script is loaded. This tag sets the re-targeting parameter, and the standard Cxense Insight javascript snippet must be included after this in the source to send the event to Cxense Insight (See Complete script example). The setRetargetingParameters line should only be included once for each page to ensure a tag is not overwritten.
Simple example
The script below shows a single value being set for a taxonomy key. In the case of user defined taxonomy the advertiser is given the option to download a file containing a set of individually declared scripts to assist them in setting up the required page content. This file is available on any of the campaigns that are using the re-targeting functionality. Refer to the section withing the audience reporting section of our documentation that specifically describes the re-targeting feature for an example of this file.
|
The script below shows multiple values being set for a single key in the one script block. This may be required in the case that the page registering the actions is doing so for more than one of the operations that you want to set against the user profile.
|
Advanced example
The example below shows a case where actions performed on a page could conditionally set the re-targeting operation with analytics.
|
Complete script example
This is a full example of how the script should look like when inserted to a page, including the required analytics tag (where the relevant account and site id must be inserted). It is important the the re-targeting parameter is set before the analytics event is sent in.
|