
Glossary
Boilerplates: A library of ready to deploy templates included in the Piano platform. Default text, images, and colors are immediately configurable via an included set of content fields. Select a boilerplate template, add it to your library (at which point, it becomes editable) and customize the content fields to your liking. This will allow you to rapidly deploy several variants of a boilerplate template without the need for code-level configuration.
Template/boilerplate categories: The overarching use for your template or boilerplate. Categories include: "Offer", "Social", "Registration", "Metering", "Newsletter", "Adblocker", "Site Licensing", "Push Enrollment", "Identity Management", "Checkout", "My account", "System", "Identity Management", and "Affiliate".
Content fields: Editable fields within a template that are populated with data in order to create variants. You can manage what is displayed to end users without having to write or edit HTML, CSS, or Javascript. Content fields allow you to seamlessly create and deploy new variants of a template.
Use case: Helps identify the template's purpose for Composer reporting on conversions and micro conversions. The use cases serve as a mode of organizing templates according to their intended use case in Template manager and are used on the reporting side to determine conversion type. Template use cases are also used as filtering criteria for Action exclusivity.
Variants: Iterations of templates that inherit all of their HTML/CSS, and allow for changes via content fields. A single template may have none, one, or multiple variants. Variants are used to test variations of a template with different creative elements such as messaging, calls to action, imagery, etc. Variants are available for experience templates.
Templates
To get to your template library, go to Manage → Templates. The library can be viewed as either a tile or a list by clicking on the icon in the top right corner.
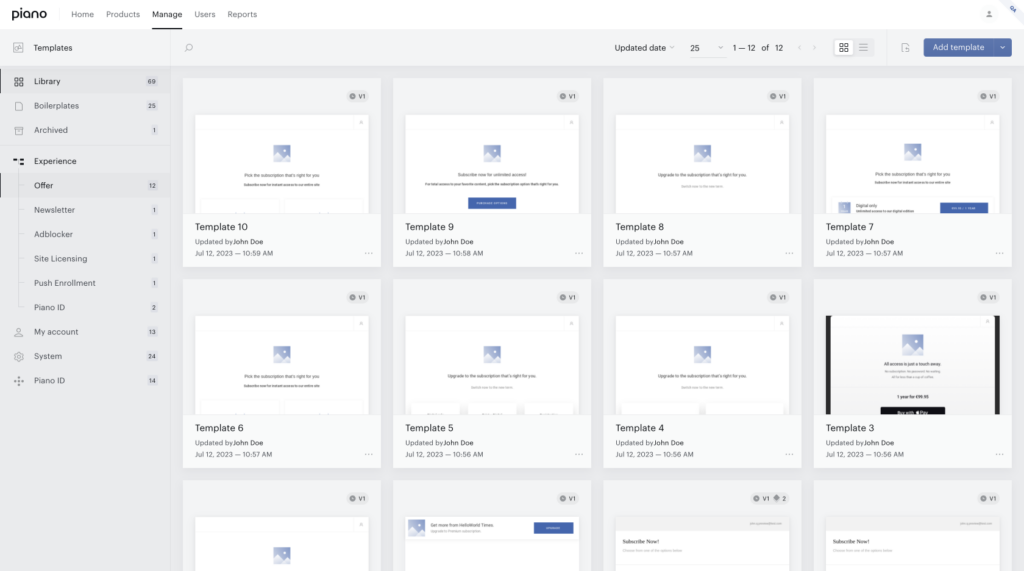
The tile format shows more templates at once while the list better shows the specific variants attached to each template.
On the left-hand side of the library, you can click to jump to a template category.
You can sort for templates by updated date, created date, or name by clicking on the dropdown, and search for templates by name.
Creating templates
There are two options to start creating a template. You can either click the Add a template button, or hit the dropdown to see other options. Clicking the Add a template button will open the following modal:
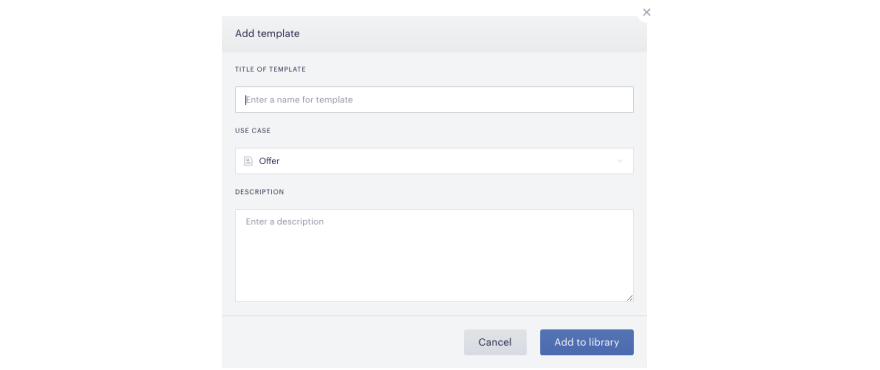
Enter a name for your template. Then, select the use case. Finally, provide an optional description for your own internal reference.
Currently, the following use cases are available:
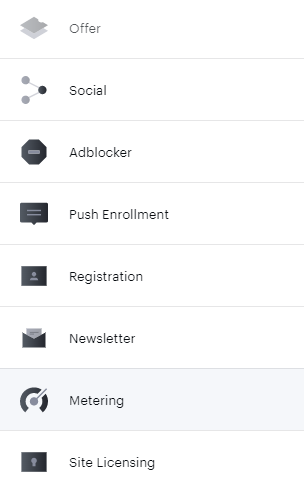
Here are some additional details for each one:
Offer: Present one or more terms in an offer to your users.
Social: Greet or intercept your inbound social users.
Adblocker: Intercept your Adblocking users with an appeal.
Push Enrollment: Present push enrollments to your users.
Registration: Ask your users to register or offer personal information in exchange for access.
Newsletter: Present a newsletter signup to your users.
Metering: Remind your users how many free articles they have left.
Site Licensing: Display the opportunity for users to redeem access as part of a site license.
Importing templates
Select Import templates to import templates from Sandbox, Production (US), or Custom (AP, AU, EU) environments.
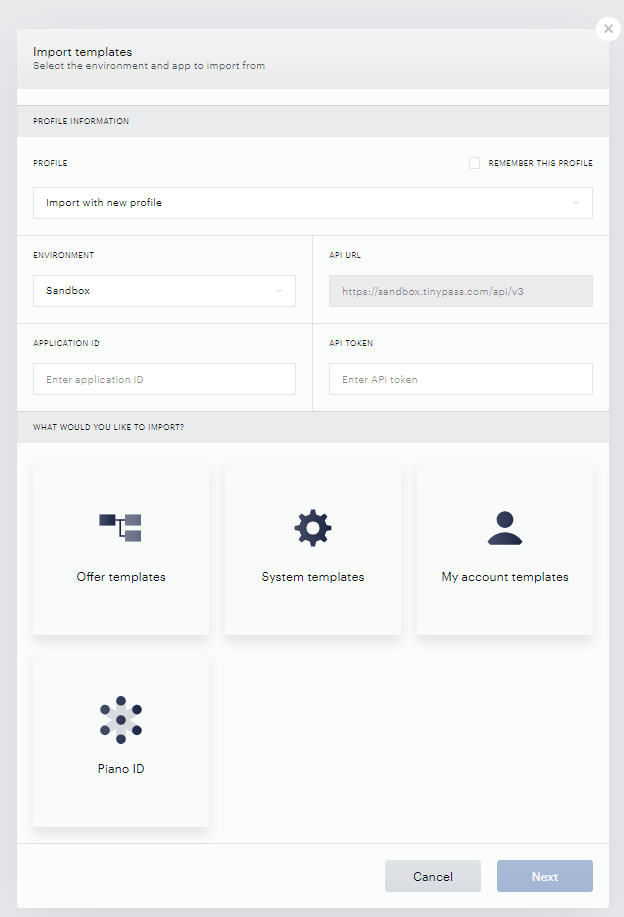
Enter in the following fields
-
Profile: The profile from which you are pulling your templates. If this is your first time importing templates, your only option will be to "Import with new profile". If you have previously imported templates and saved that profile, you will find that profile from the dropdown and the remaining fields will be automatically populated for you.
-
Environment and API URL: Environment from which you are pulling your templates. This will most likely be your Sandbox account. Choose "Production" if you're importing templates from the US dashboard, and "Custom" when importing templates from the AP, AU, or EU dashboards.
For Sandbox and Production, the API URL is already pre-populated, when selecting "Custom", you need to add the API URL manually. You can find the relevant URLs for each dashboard locale here.
-
Application ID: Application ID of the environment you specified.
-
API token: The API token of the environment you specified.
-
Select which template type you would like you import. You can choose more than one.
Please note, that when importing templates, we do not override template versions, template variants, and content fields if they already exist (we verify if they exist based on the entity name). We do create new entities (template versions, template variants, and content fields) upon the import if these entities do not exist yet.
Select Boilerplate template to create a template from one of Piano's boilerplates.
Template versions
Whenever you make an edit to your template, you can choose to save it as a new version. You may delete any version except for the original one and you may publish any version. End users always see the most recently published version of your templates.
Template types
Offer templates
The primary purpose of offer templates is to provide visual containers for the offers you create in Subscription Management + Billing. Offer templates allow you to control the wording, style, and behavior of your offers.
Piano's complete guide to constructing offer templates is here. That guide includes extensive information about the directives, models, and methods available when using offer templates. While Piano provides a default offer template as an example, you can create as many distinct offer templates as you want, tailoring each with HTML, CSS, and Angular to match your branding and marketing needs.
Click here to read more about how to create an offer template, and then customize the offer template using our offer template guide.
Or have a look at our Template Demo site containing examples of different offer template styles, along with instructions and use cases.
Once you've constructed your offer template, you can use Composer's Show Offer card to link it to an offer. There are various ways these templates can be configured:
-
Modal: Makes your offer template appear as a pop-up message. If you select modal, you'll have the additional option of deciding whether or not you want your offer to be dismissible (inline templates are non-dismissible by nature).
-
Inline: Makes your offer template obscure text or video on the page or fill any other container you create for it. Inline offer templates can be placed inside of any selector on your page.
-
Landing page: Piano clients will often use an inline offer template to fill an entire page, creating a landing page devoted to a particular offer or promotion or marketing message.
-
Fixed: You can use the inline display mode to create fix-position offer templates or messages that fly-in from the top, bottom, or side of the page.
-
Simple: Offer templates can be used without any Piano offer. We call these "simple templates" because they don't include any Piano terms and therefore won't start the Subscription Management + Billing checkout flow. With simple templates, you will use Composer's Show Template card to trigger the template. You will, once again, have the option of showing the template inline or as a modal. Simple templates are typically used to present marketing messages, such as an advertisement for an event. Clients also frequently use simple templates to ask ad blockers to whitelist their sites or promote email newsletters. Composer-only clients can use simple templates to link to third-party applications of any type.
System templates
Offer templates are always the first screen shown during checkout. System templates are used for the remainder of the checkout process. You can create an unlimited number of offer templates, but you cannot create new system templates. You're free to make as many alterations as you like to offer templates, but we recommend that you only alter the text and CSS of system templates because many of the code blocks within these system templates are essential to the proper functioning of the Subscription Management + Billing checkout process. Extensive modifications to system templates should be done in consultation with your Piano implementation team.
System templates are exclusive to Piano clients using Subscription Management + Billing. There are a range of system templates, not all of which are utilized during any given checkout flow. Some system templates take over the entire screen (examples: confirmation screen, receipt, print address collect screen, etc). Others system templates are for a single component or multiple components of a checkout screen (examples: promo code components, consent components, back/close button components, etc).
Please follow this link to learn more about system templates.
My Account templates
The My Account templates determine what your users will see when they go to view information that pertains to their access or profile. These can be edited to meet the style of your site, to hide irrelevant components of My Account, or to customize the wording of My Account. For many My Account templates, we recommend only modifying the text or CSS, as modifying the HTML can cause errors.
You cannot create My Account templates, but you can adjust each component found within My Account by editing these templates.
For further information about My Account templates, click here.
Identity Management templates
The Identity Management templates are used to customize all components related to user registration or sign-in, especially for stylistic purposes. For information about the individual Identity Management Templates, see this article.
Notification templates
Email Manager notification templates are used to control the wording and style of emails your users receive after transactional events, such as subscribing or canceling. These emails can also be configured to be sent according to a certain schedule (for example: a certain number of days before or after a user's credit card expires). If you are using Subscription Management + Billing with Identity Management or any third-party user provider, all emails sent through Piano's system are optional and customizable and will appear to be sent from your own domain — making them indistinguishable from emails sent from your own email system.
Piano's emails are fully integrated into the rest of our platform, meaning you're able to automatically individualize your emails by inserting customer-specific variables about your users' identities, your product offerings, and your business profile. Below you can learn more below about all the emails we enable, along with the default email wording we provide to get you started.
See here for a full breakdown of all notification templates.
Preview
Full Size Preview
To preview your template, you can select "Preview" from the template menu
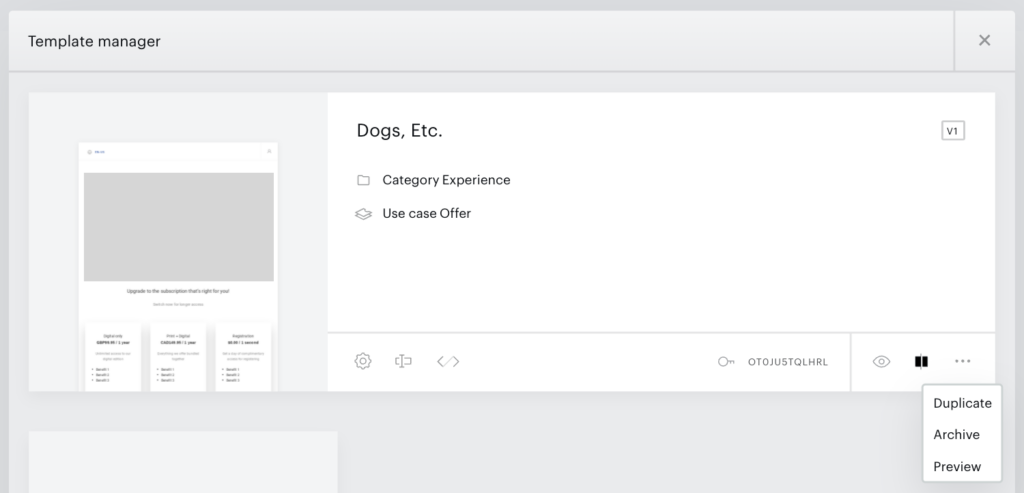
If you are already editing your template, you can click on the 
Actions within the Preview Tab
Within the preview tab, you can perform the following actions:
-
Apply any offer from the “Select Offer” dropdown
-
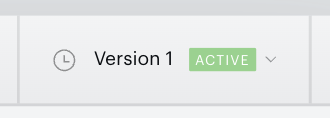
View a previously saved version of your template version dropdown menu
-
Refresh to get the latest template changes by clicking on the Refresh button*
-
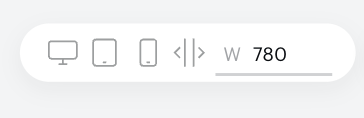
Change the viewport by selecting Desktop, Tablet, or Mobile icon, or set a custom width
Split Screen Preview
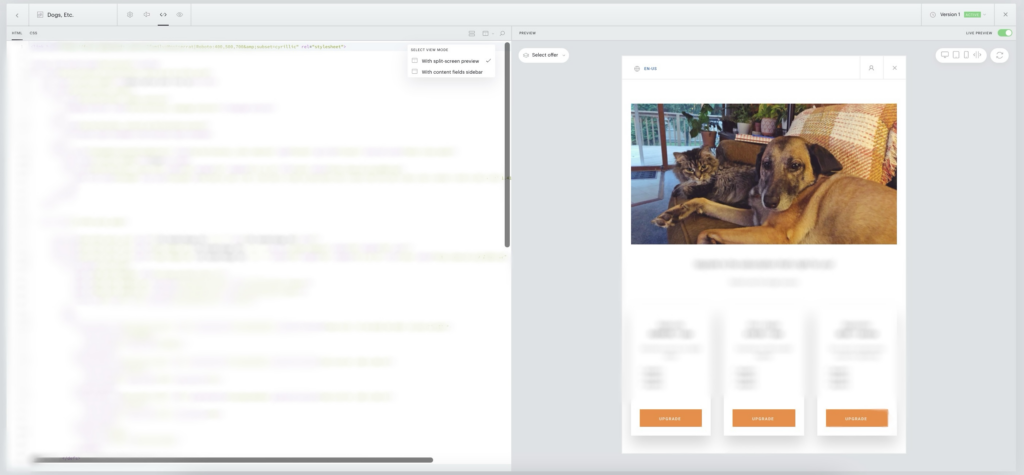
You can now view your changes alongside the HTML and CSS code, either in a real-time preview that shows your changes as you go or a manually triggered preview that only shows your changes when you click to refresh.
View Modes
To access split-screen preview or code without preview, select the option of your choice in the Select View Mode menu 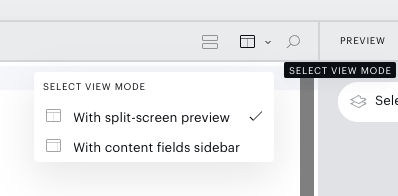
Split-Screen Preview Actions
Within the split-screen preview, you can perform the following actions:
-
Access content fields in a new menu
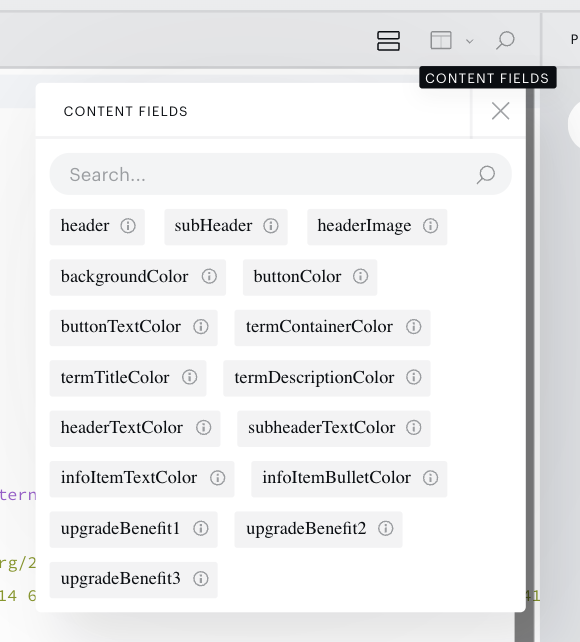
-
Toggle live preview on and off
-
Apply any offer from the “Select Offer” dropdown
-
View a previously saved version of your template version dropdown menu
-
Refresh to get the latest template changes (when live preview is off) by clicking on the Refresh button
-
Change the viewport by selecting Desktop, Tablet, or Mobile icon, or set a custom width
Split-Screen Preview Example
Example of what the split-screen preview looks like:
Comparing Template Code
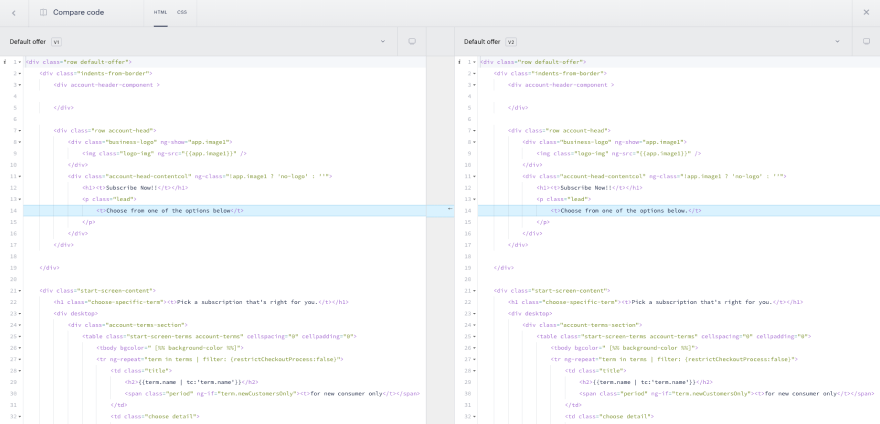
To compare the code of two templates, go to the template manager and click on the Compare code icon ( 
You may select different templates or template versions for comparison. You cannot compare the code of two variants as the code is the same, only content fields can be changed in variants.
Comparing System Template Code
You can also compare code of a system template to the default version of that template. Go to the template manager of the system template, then click the Compare code icon 
Compare Previews
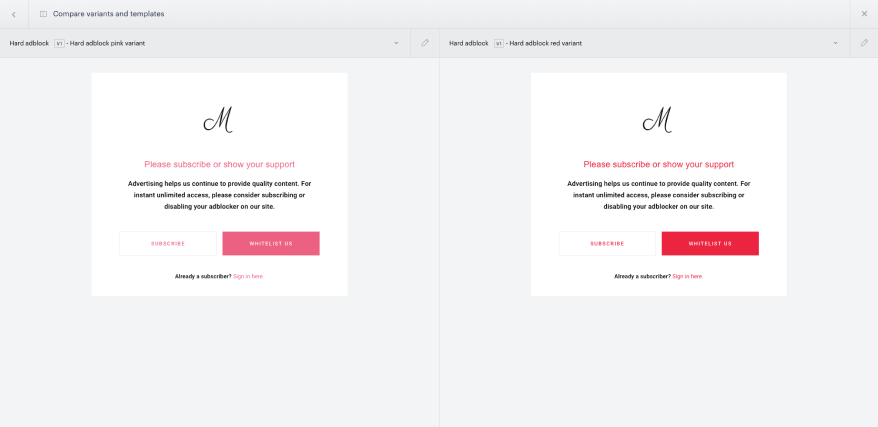
You may want to compare two variants by previewing them. Go to the variant manager screen of any variant and click on the Compare previews icon 
Archive
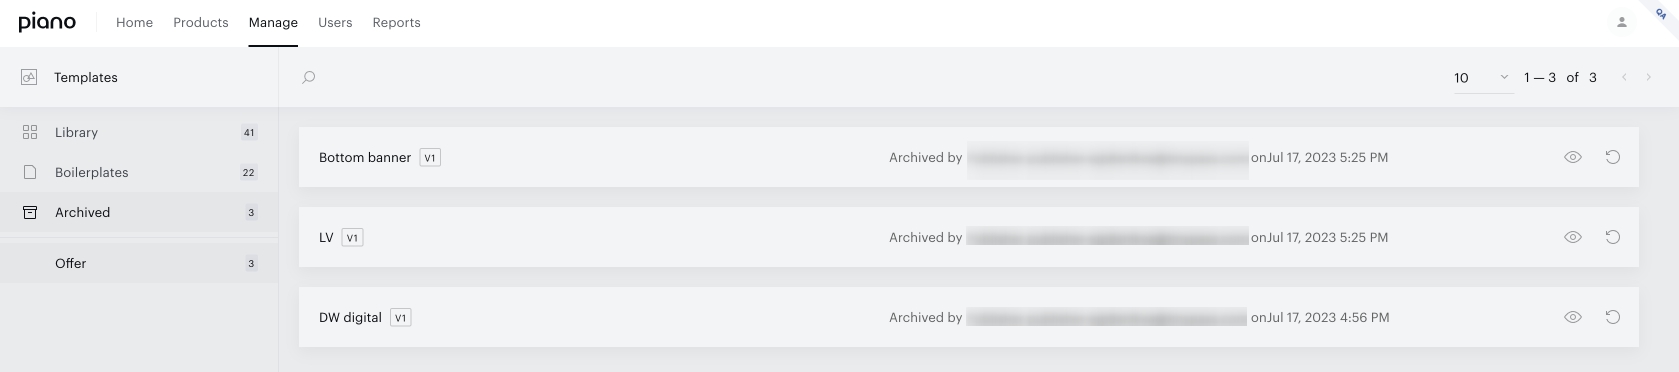
Archive templates
To archive a template from the template library simply click on the ( 
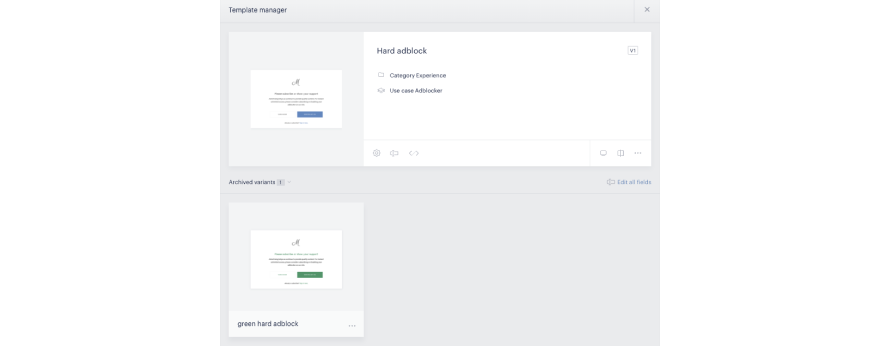
Archive variants
To archive a variant, simply click on the template it is associated with, find the variant you would like to archive, click on the ( 

Full history
To view a history of all actions affecting a particular template, click on the ( 
Revert
In case you'd like to revert any or all System, My Account or Identity Management templates back to their default version, you can do so by clicking on the below icon from the overview under Manage → Templates:

In the new window, you'll now be able to select specific templates that you'd like to revert, a specific category of templates or you can select all available templates with one single click. To complete the action, select Revert.
The default version of the individual template will now be active and saved as a new version, but you're still able to view any previously saved versions if needed.