Freakout is a digital marketing technology company that created the first Demand Side Platform (DSP) in Japan. The Freakout platform enables marketers and advertisers to buy real-time impressions across the leading display ad exchanges and supply side platforms (SSPs).
This integration provides the ability to use Piano Audience segments in FreakOut DSP.
User matching
Before starting the matching process, you need to complete Piano Audience setup (the integration requires one or more siteGroupId).
Matching user IDs of Piano and FreakOut relies on the Cookie Sync tag which should be put on your website pages. The entire process usually takes a month or two, so it's a good practice to put the tag in advance. Make sure that the tag is used for alive and the most visited webpages because it's traffic that defines matching speed.
-
Modify the standard tag and put it on your website.
-
Standard TAG Collapse source
<!-- Piano script begin -->
<script type="text/javascript">
    var cX = cX || {}; cX.callQueue = cX.callQueue || [];
    cX.callQueue.push(['setSiteId', '<SITE_ID>']);
    cX.callQueue.push(['sendPageViewEvent']);
</script>

<script type="text/javascript">
    (function(d,s,e,t){e=d.createElement(s);e.type='text/java'+s;e.async='async';
    e.src='http'+('https:'===location.protocol?'s://s':'://')+'cdn.cxense.com/cx.js';
    t=d.getElementsByTagName(s)[0];t.parentNode.insertBefore(e,t);})(document,'script');
</script>
<!-- Piano script end -->
-
Modified TAG Collapse source
<!-- Piano script begin -->
<script type="text/javascript">
    var cX = cX || {}; cX.callQueue = cX.callQueue || [];
    cX.callQueue.push(['setSiteId', '<SITE_ID>']);
    cX.callQueue.push(['sendPageViewEvent']);
     <!-- Added cookie sync -->
    cX.callQueue.push(['sync','frk']);
</script>

<script type="text/javascript">
    (function(d,s,e,t){e=d.createElement(s);e.type='text/java'+s;e.async='async';
    e.src='http'+('https:'===location.protocol?'s://s':'://')+'cdn.cxense.com/cx.js';
    t=d.getElementsByTagName(s)[0];t.parentNode.insertBefore(e,t);})(document,'script');
</script>
<!-- Piano script end -->
-
Contact your Piano account manager or the support and request access to the FreakOut DSP connectivity tab.
-
The Piano account manager or the support whitelists you.
-
Schedule segments to be exported.
-
Notify FreakOut about the folder name on the FreakOut sFTP server (which will be the customerId).
-
FreakOut tunes the processing of the data from your folder.
-
FreakOut notifies you when ready.
-
You are able to use segments.
Configuring Piano Audience
-
Create a FreakOut configuration
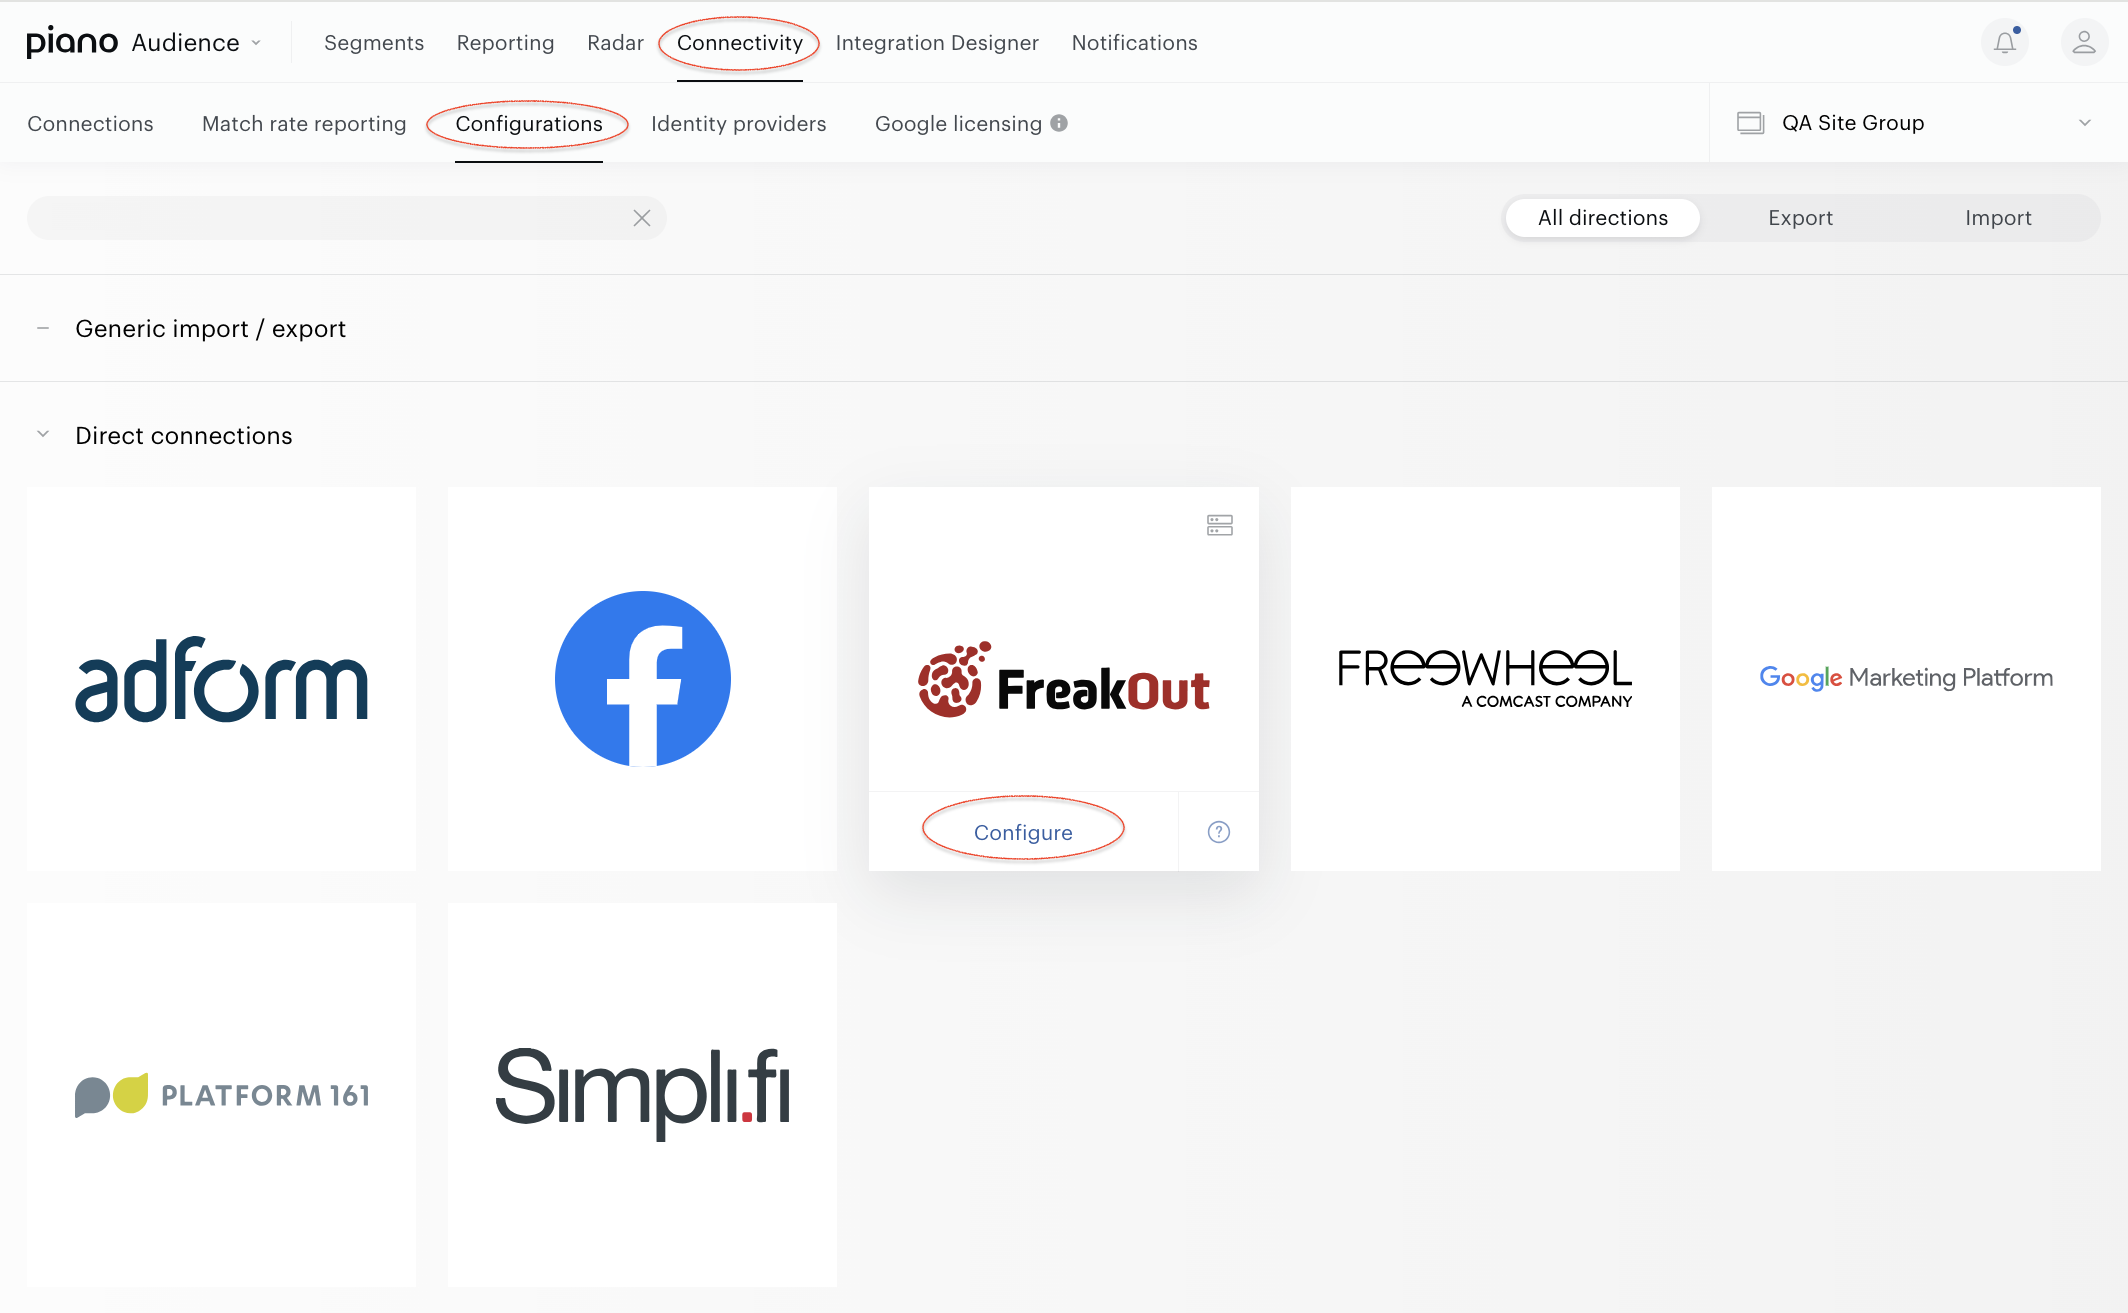
With your site group selected, from the Piano Audience home page, go to the Connectivity tab → the Configurations tab →the FreakOuticon and click the Configure button.
-
Configure the connection
In the New Connection menu, you want to set the project name. It will be shown in Piano Audience only to simplify managing numerous integrations.
When everything is set, click the Test connection button. A request to the specified account on the partner’s side will be sent, and, if everything works correctly, you'll get a corresponding notification. The Create button in the upper right corner will be activated. Click it. Create will turn to the Save button you can use any time during further configuration.
-
Configure segments
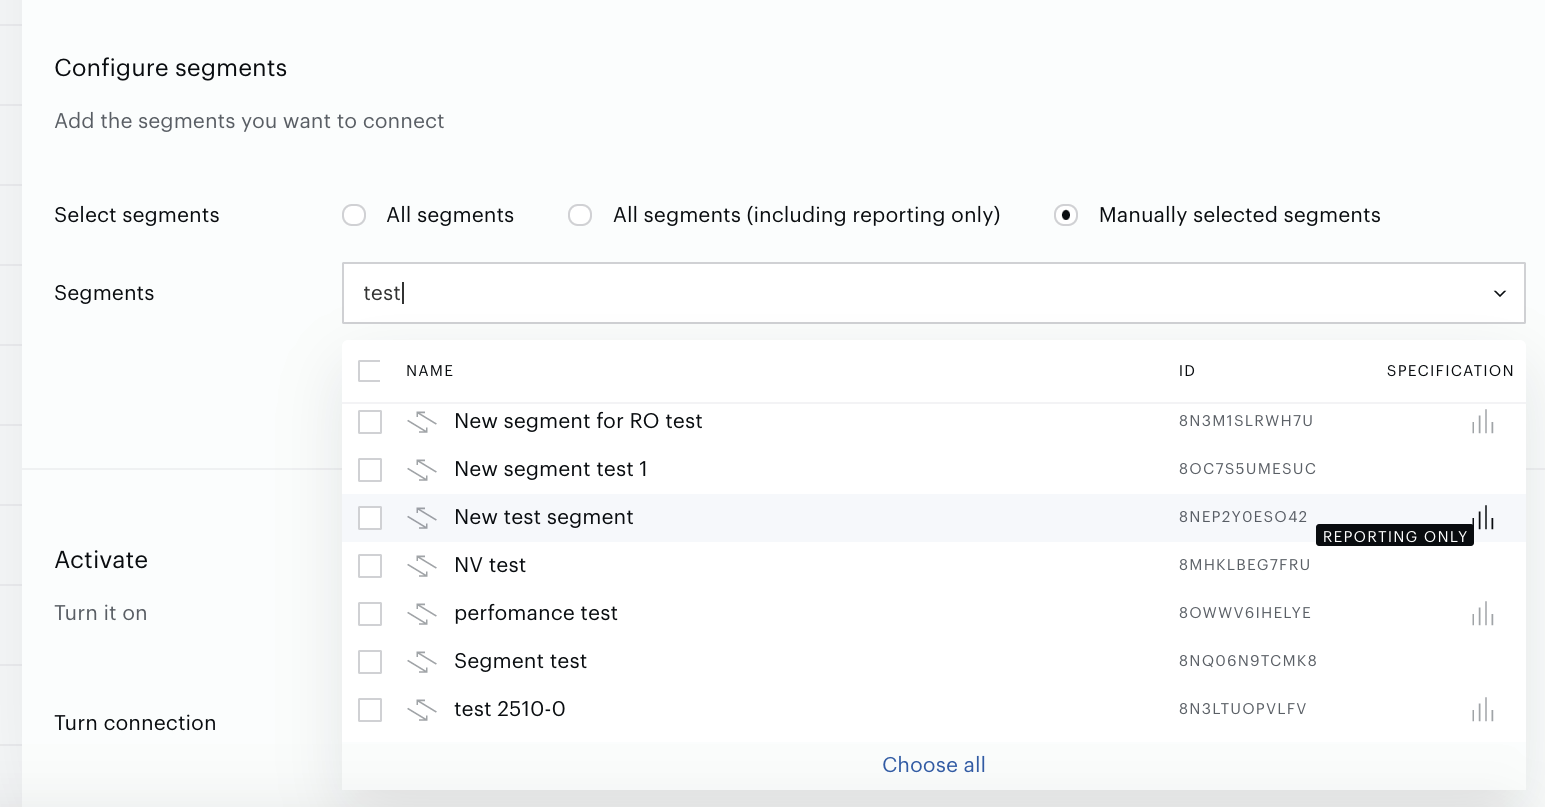
Successful test connection enables the Configure segments form where:
-
All segments means that all active full-usage segments will be sent to Freak Out; any newly created active full usage segment will be added automatically.
-
All segments (including Reporting only) includes Reporting only segments.
-
Manually selected segments allows both to send some part of active segments and to check if a needed segment is active now. If a needed segment is inactive, you can activate it on the Segments tab. To select a segment, click its name. Multiple selection is supported.
Set the parameter.
-
Export segments
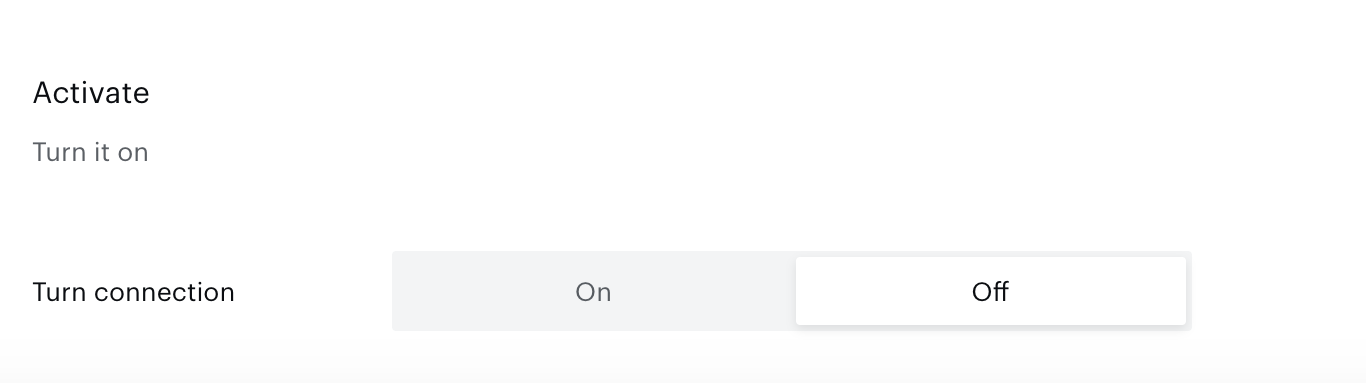
You can click Export now in the Configure segments section for almost immediate export of selected segments without waiting for the next scheduled data transfer. The other option is configuring scheduled data transfer in the Activate section below. There, you can either set up a daily data transfer by turning connection on, or hold the created configuration without activation yet and set the connection to "off".
When ready, click Create or Save (if editing) in the top right corner of the page.
Monitoring and update
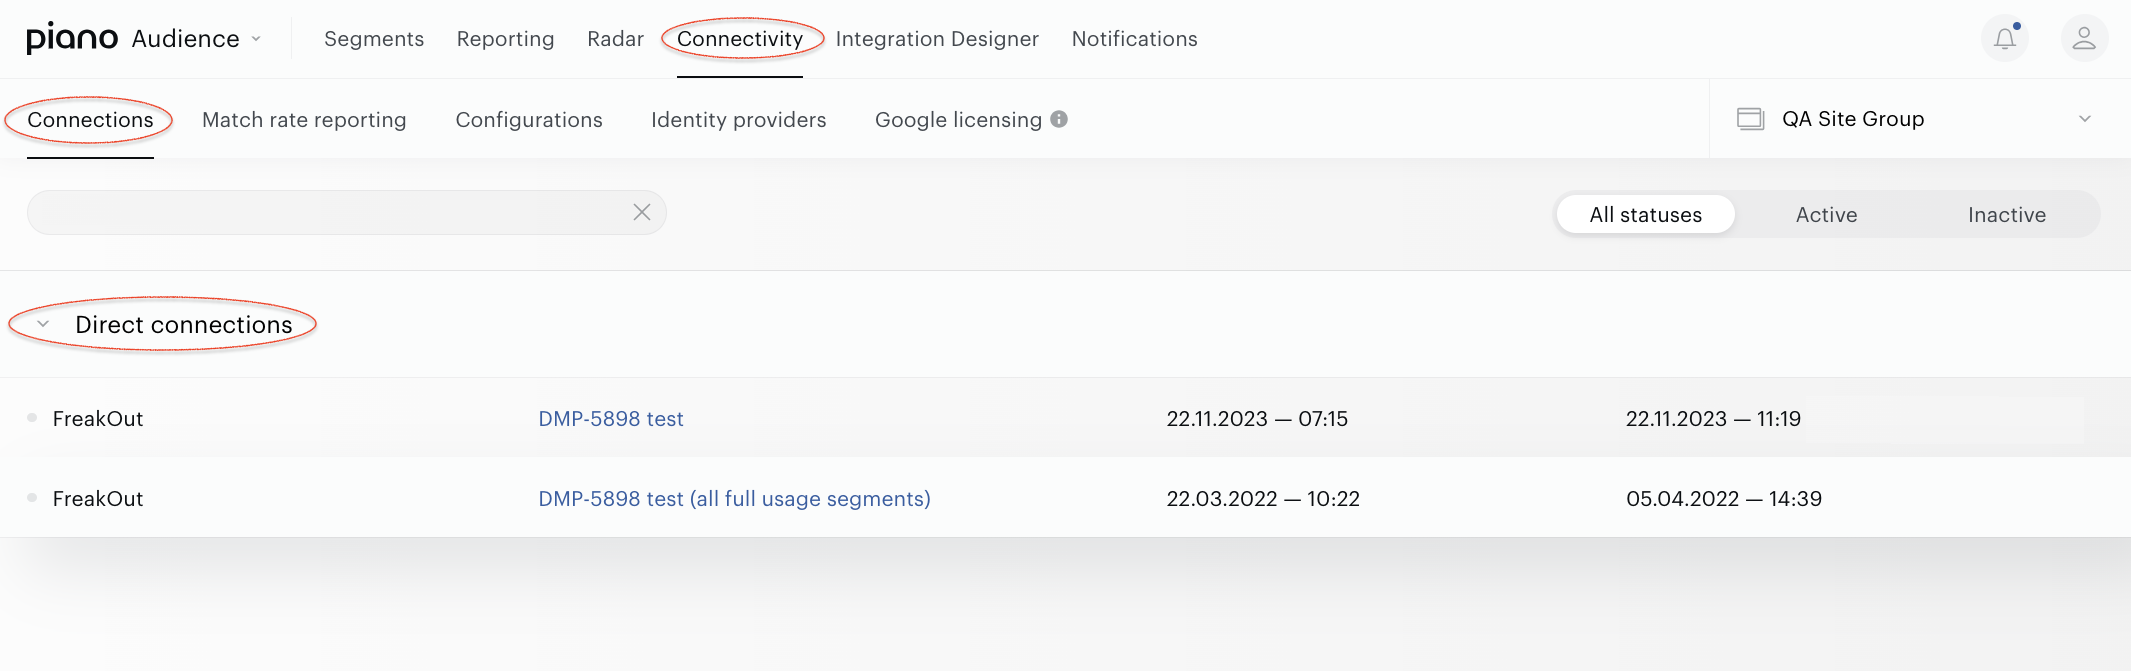
Configured connections can be viewed and edited in the Connections tab. They are also available under the Match rate reporting tab.