Xandr is an American multinational technology company whose cloud-based software platform enables and optimizes programmatic online advertising. Xandr is a so-called 'programmatic full stack', i.e. they offer an ad server, SSP, DSP, DMP (first of all, for 3rd-party data licensing), and advertising-related analytics (formerly Yieldex) - all in one platform.
In June 2019, Xandr rebranded its AppNexus DSP, launching Xandr Invest, to serve as its central ad-buying hub. In 2022, Microsoft finalized the acquisition of Xandr, making it a subsidiary of the company.
The Xandr integration enables all Xandr customers to use any data in Piano Audience for audience segments and targeting.
Overview
We provide three types of integration with Xandr:
-
Client- and server-side integration using your Xandr account.
-
Client- and server-side data sharing using Piano Audience as Xandr Data Provider (see Data Providers in Xandr's docs).
-
Server-side population of audience data.
The key differences between them are as follows:
-
Data Sending: Classic S2S integration with your own account on Xandr's side.
-
Data Sharing: Sharing segments with a particular account on Xandr's side. A member ID should be provided through our Audience UI during the configuration step. Segments will be created on the mentioned account and on Piano's technical account with the Xandr (Member ID: 7701) side (just due to some technical limitations on Xandr's side, but it's an absolutely usual flow for Xandr).
-
Data Populating: Segments should be created in Xandr before integration starts. Their IDs should be provided through Audience UI. After that, the data will be sent to the specified segments.
The table below summarizes key particular features of Data Sharing and Data populating:
|
|
Data Sharing |
Data Populating |
|
Goal |
Sharing or selling segments |
Selling |
|
Where are segments created? |
Piano Audience |
Xandr and Piano Audience |
|
Required granting |
No |
Yes |
|
Xandr account |
Your account, partner/buyer account |
Your account, partner / buyer account |
|
Segment selection |
Selection from the list of available segments |
Manual matching of segments in Piano Audience |
Prerequisites
Piano Audience setup completed (the siteGroupId(s) are needed for this integration).
Client-side integration with your own account
The integration consists of two parts:
-
Segments are synchronized with a defined Xandr account every day by Piano service.
-
Segment members are transferred to Xandr in real-time using a special ad tag.
To configure sending of segments, you need to perform the steps defined in the Use with your own account (data sending) section below - except the user mapping step.
To send segment members through your website, the Ad tag on the pages should be modified as follows:
To send the current user's list of segment IDs to Xandr, we use the "code" field (see Client Side Segment Calls) and the cX.getUserSegmentIds() helper function.
You should specify the member ID you are going to use for integration and persistentQueryId (see the segments helper function - getUserSegmentIds)
Tag
<head>
...
<script type="text/javascript">
var cX = cX || {};
cX.callQueue = cX.callQueue || [];
cX.callQueue.push(['invoke', function() {
   var memberId         = 'TODO insert your memberId here';
   var persistedQueryId = 'TODO insert your persisted query id here';
   var protocol = location.protocol;
   var segments = cX.getUserSegmentIds({ persistedQueryId: persistedQueryId }, { identities: [{ id: cX.getUserId(), type: 'cx'}] }) || [];
   if (segments.length > 0) {
     var body = document.getElementsByTagName('body')[0];
     var element = document.createElement('img');
     element.setAttribute('src', protocol + '//ib.adnxs.com/seg?member=' + memberId + '&add_Code=cxsegment_' + segments.join(',cxsegment_'));
     element.setAttribute('width','1');
     element.setAttribute('height','1');
     body.appendChild(element);
   }
}]);
</script>
...
</head>
If a user is a member of multiple segments, you will see this request being fired if you inspect the webpage in Developer Tools in your browser:
http://ib.adnxs.com/seg?add_Code=cxsegment_8mriw5dbns8e,cxsegment_8ndp37w5k0ph,cxsegment_8noti8hv3gyp,cxsegment_8nzvqwj90pti,.........
When these requests go out for each successful pageload, it will enable Xandr to perform targeting, and also provide statistics about activity on each segment. It will populate the following columns in your Xandr "Segment Pixel List":
-
"Total Loads"
-
"Monthly Uniques"
-
"Avg. Daily Uniques"
Server-side integration with your own account
When using the server side option, Piano will upload respective datasets based on Xandr's BSS Avro file format.
-
User mapping
In case of full server-side integration (not only segments but also the members of those segments being sent directly from Piano to Xandr), one of the following tags should be placed on the websites with high traffic:
Synchronous tag
<script type="text/javascript" src="http://cdn.cxense.com/cx.js"></script>
<script type="text/javascript">
    cX.sync('appnexus');
</script>
Asynchronous tag
<script type="text/javascript">
// Async load of cx.js
(function(d,s,e,t){e=d.createElement(s);e.type='text/java'+s;e.async='async';
e.src='http'+('https:'===location.protocol?'s://s':'://')+'cdn.cxense.com/cx.js';
t=d.getElementsByTagName(s)[0];t.parentNode.insertBefore(e,t);})(document,'script');
var cX = cX || {}; cX.callQueue = cX.callQueue || [];
cX.callQueue.push(['sync','appnexus']);
</script>
Using with your own account (data sending)
Both server-side and client-side integrations are available. Please make sure that you have performed the steps corresponding to the needed option as described above - setting the user mapping tag or modifying the Ad tag.
The configuration of the server-side part on Xandr's side is described above.
The configuration of the server-side part on Piano Audience's side is described below.
-
Create a connection
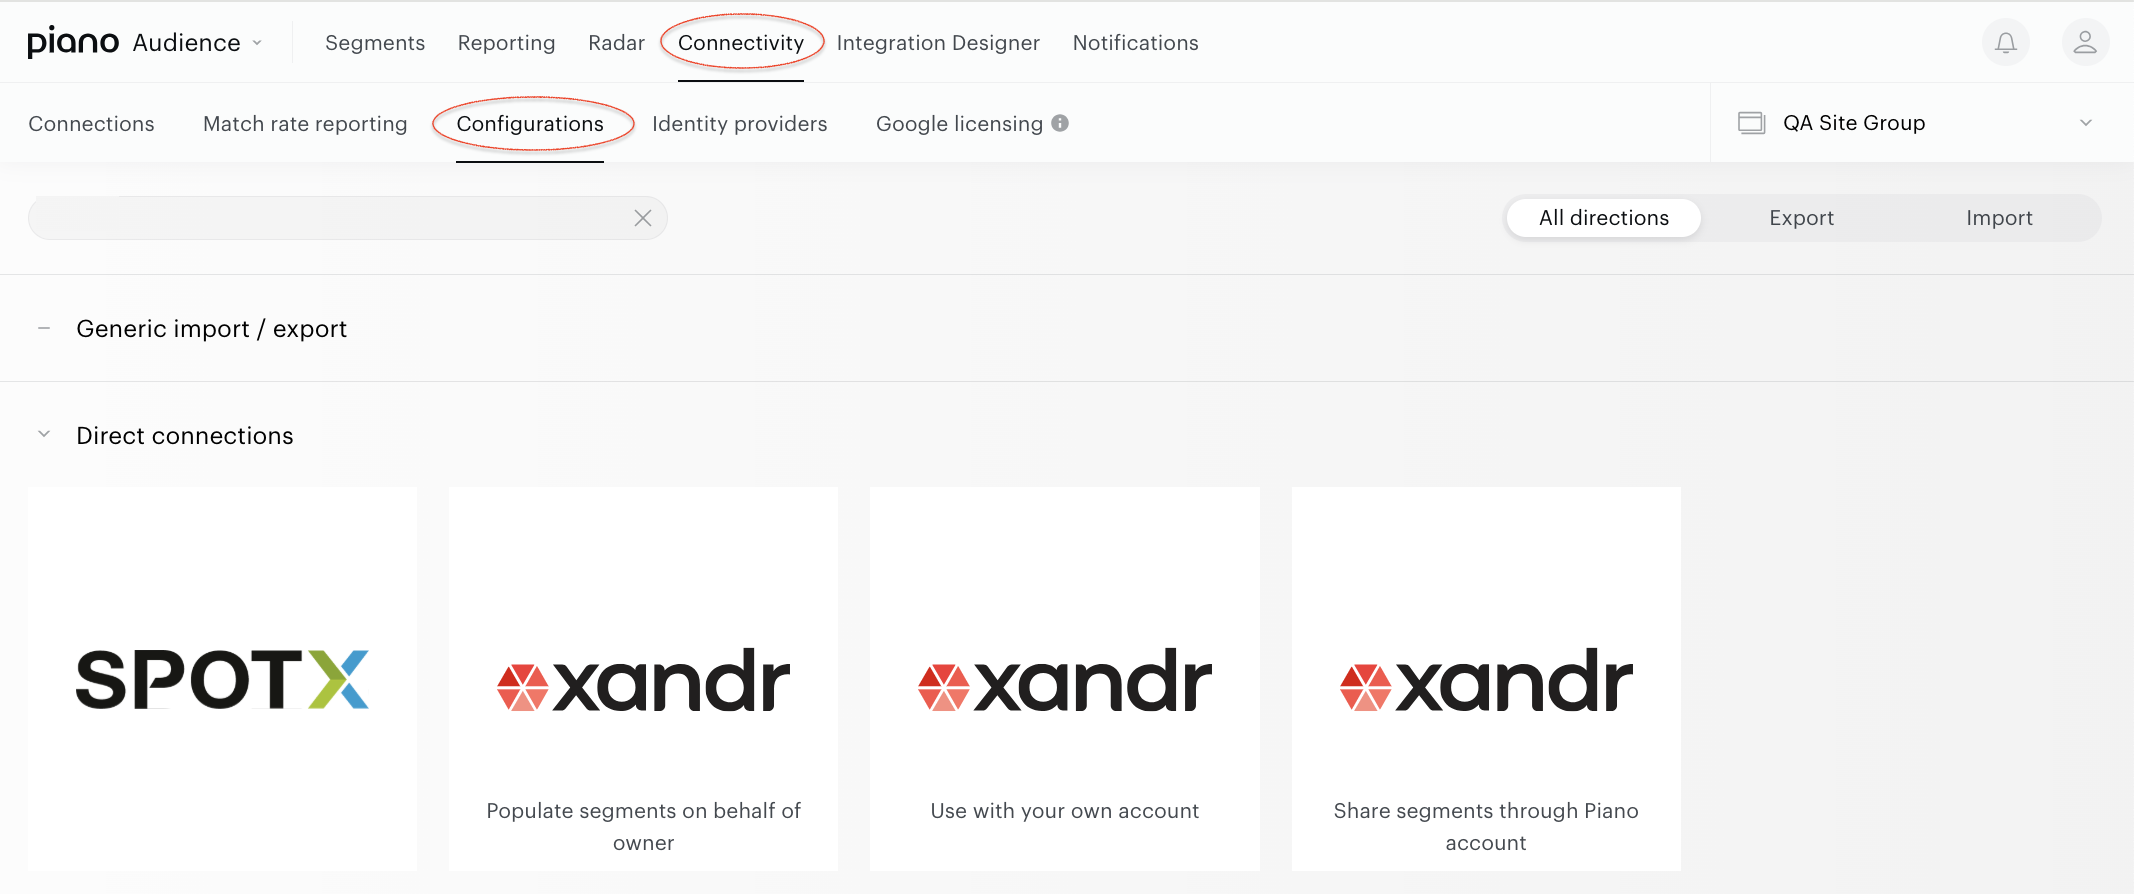
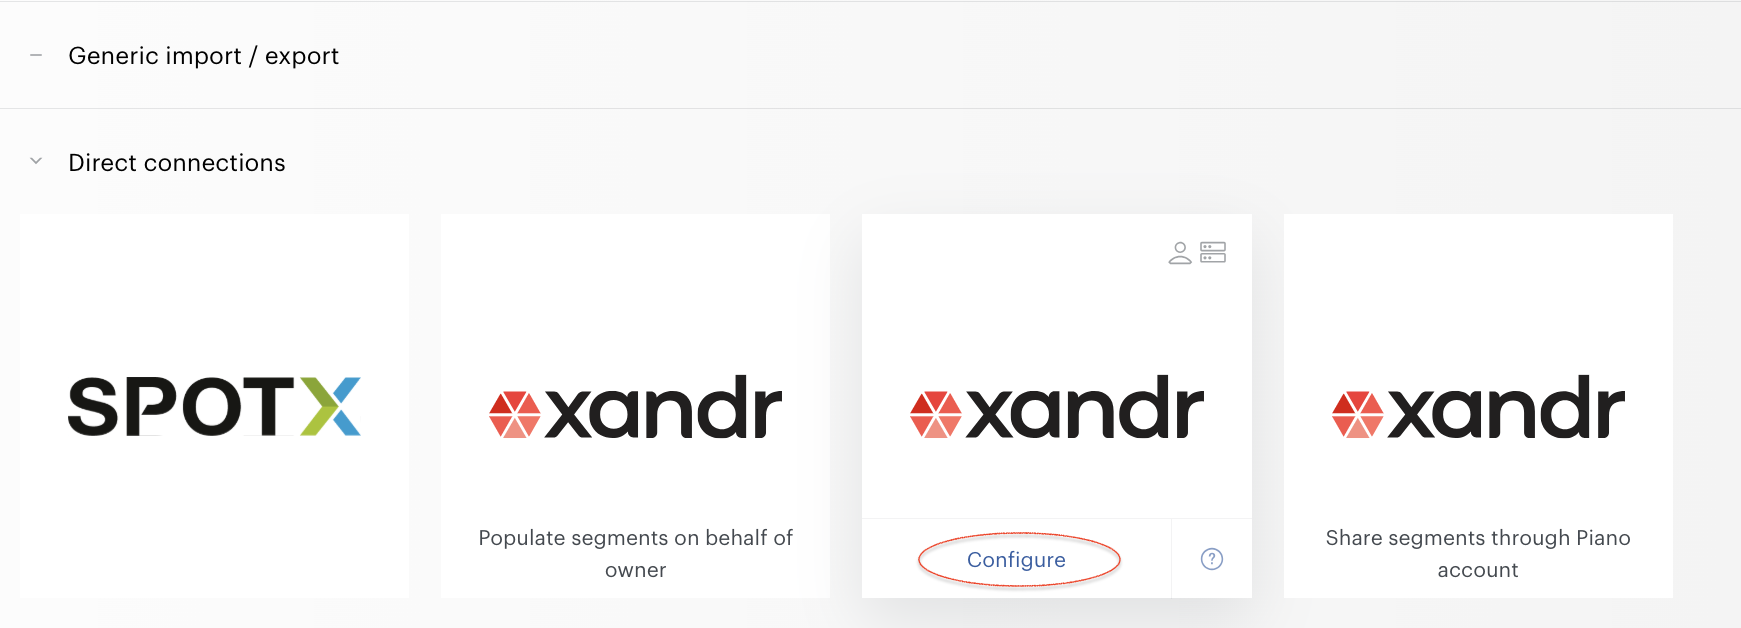
From the Piano Audience home page, go to the Connectivity tab → the Configurations tab →the Xandr (Use with your own account) icon and click the Configure button with your site group selected.
-
Configure the connection
The connection can be either server-side or client-side. Please make sure that you performed the steps corresponding to the needed option described above - set the user mapping tag or modify the Ad tag.
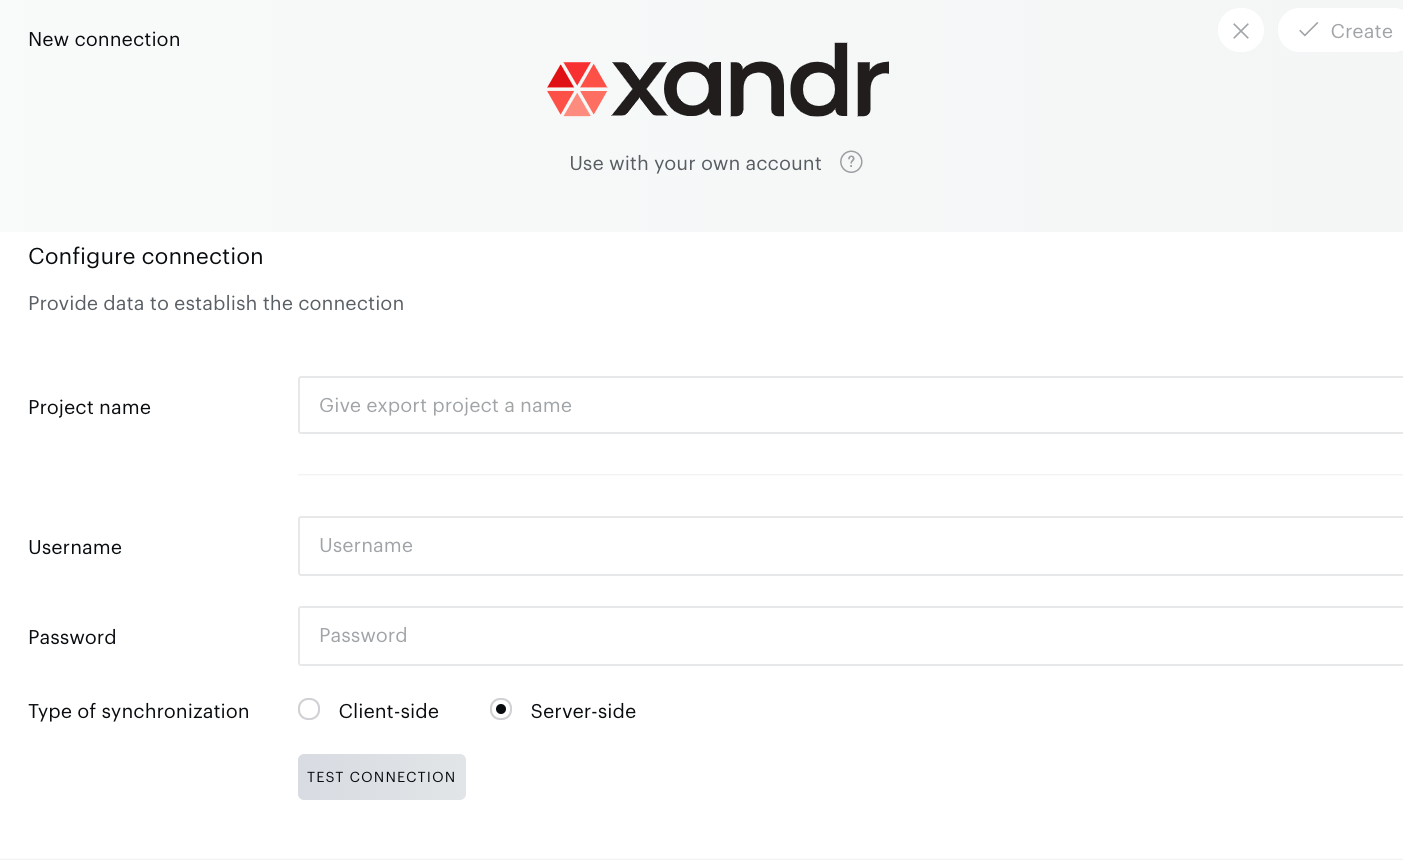
In the New Connection menu, you want to set:
-
Project name: to be shown in Piano Audience only, intended to simplify managing numerous integrations.
-
Username: the name of your Xandr account.
-
Password: the password of your Xandr account.
-
Type of synchronization: client-side (to send segments only) or server-side (to send segments and their members).
Set the parameters and click Test Connection.
A successful test connection activates new configuration sections and the Create button at the top right of the window. Click it before you go on. The button will turn to Save which you can use to save any further changes in your connection. In case of any problems, you will see a message. If you don't know how to fix your problem, please contact the Support or Professional Services team.
-
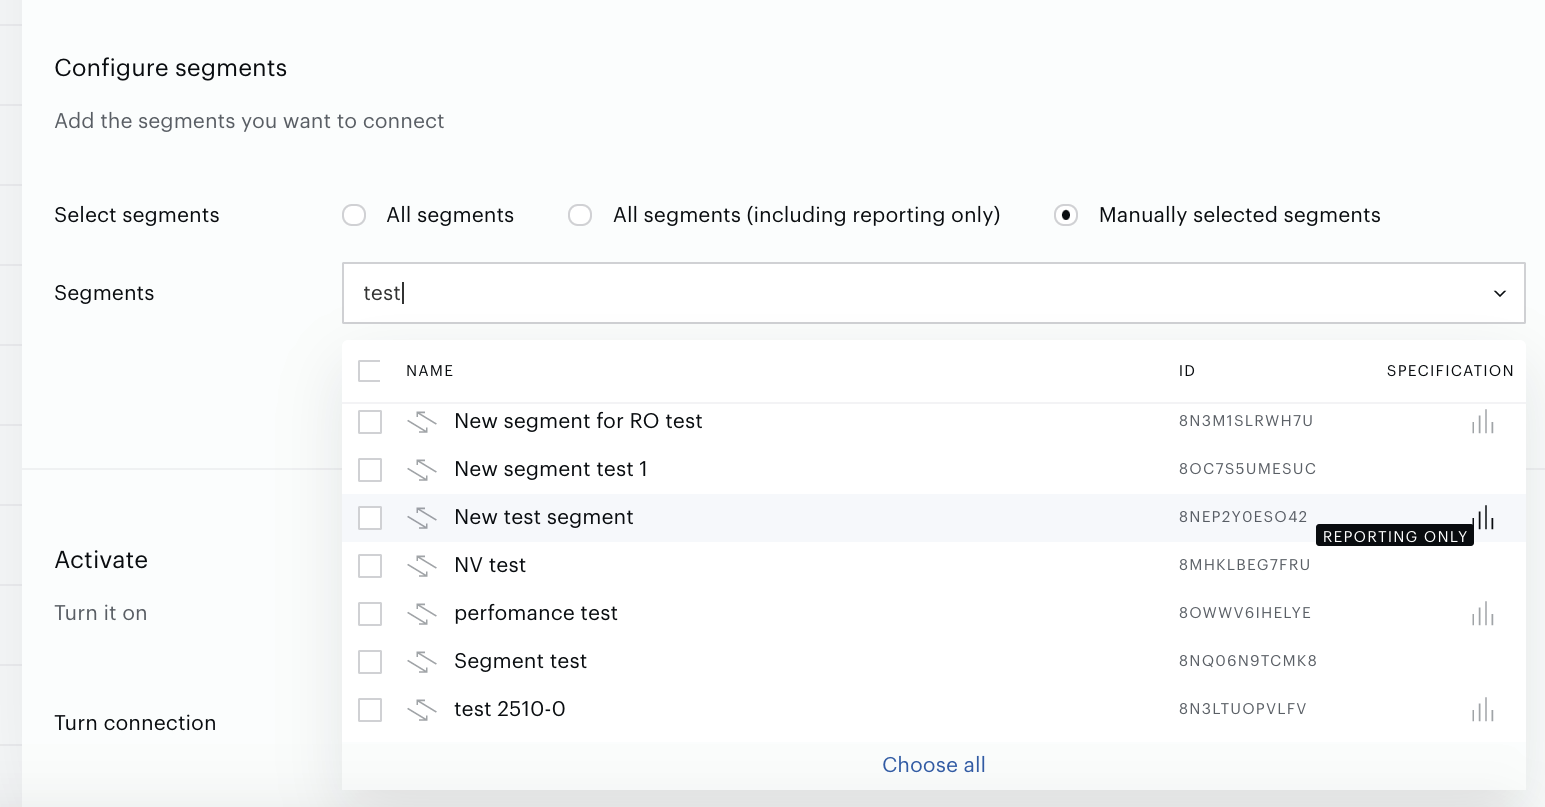
Configure segments
A successful test connection enables the Configure segments form where:
-
All segments means that all active full-usage segments will be sent to Xandr; any newly created active full-usage segment will be added automatically.
-
All segments (including Reporting only) includes reporting-only segments.
-
Manually selected segments allows both to send some part of active segments and to check if a needed segment is active now. If a needed segment is inactive, you can activate it on the Segments tab.
Set the parameter.
-
Export segments
You can click Export now in the Configure segments section for almost immediate export of selected segments without waiting for the next scheduled data transfer.
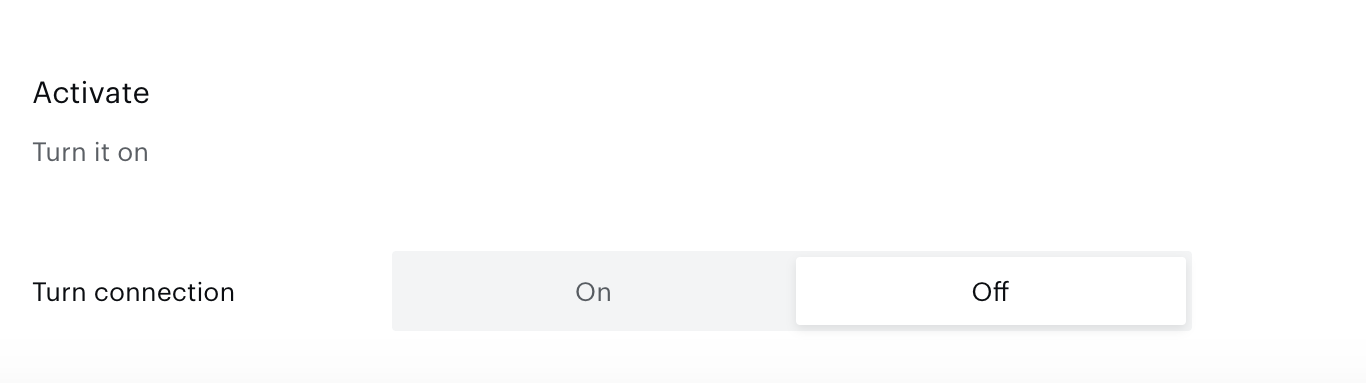
The other option is configuring scheduled data transfer in the Activate section below. There, you can either set up a daily data transfer by turning connection on, or hold the created configuration without activation yet.
When ready, click Create or Save (if editing) in the top right corner of the page.
Sharing segments through Piano account (data sharing)
-
Create a configuration
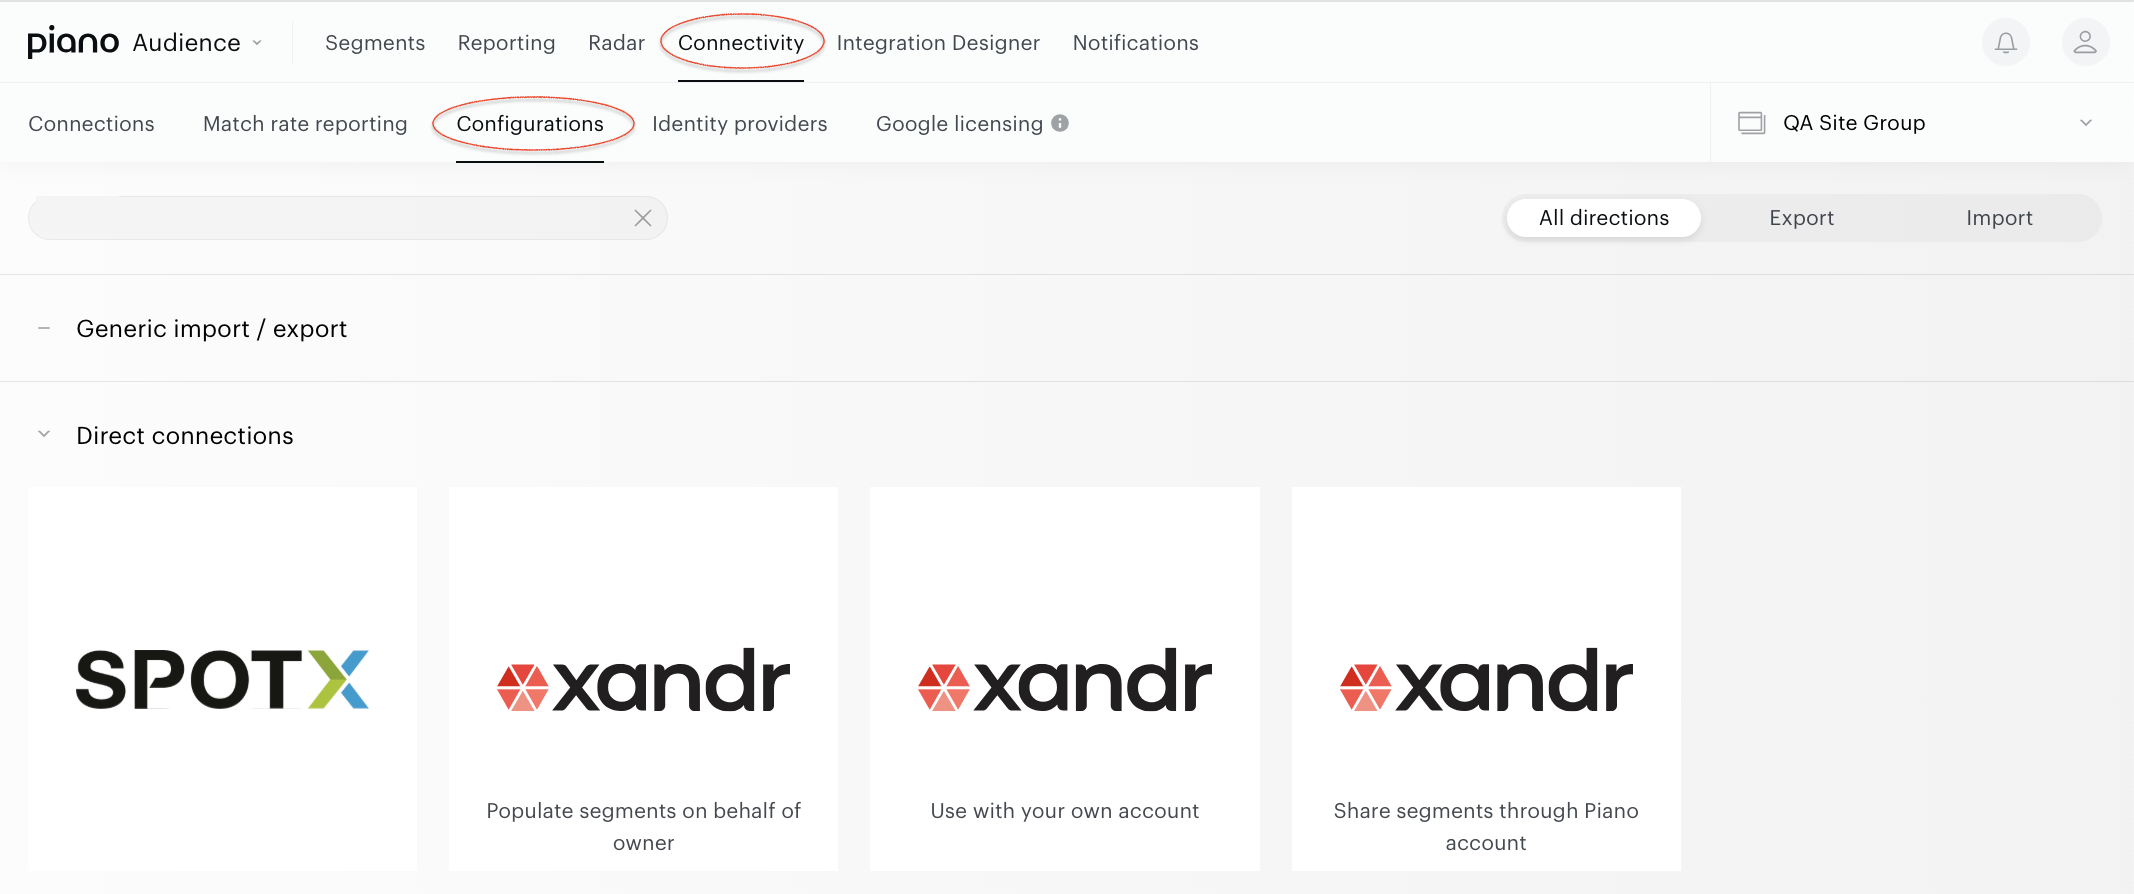
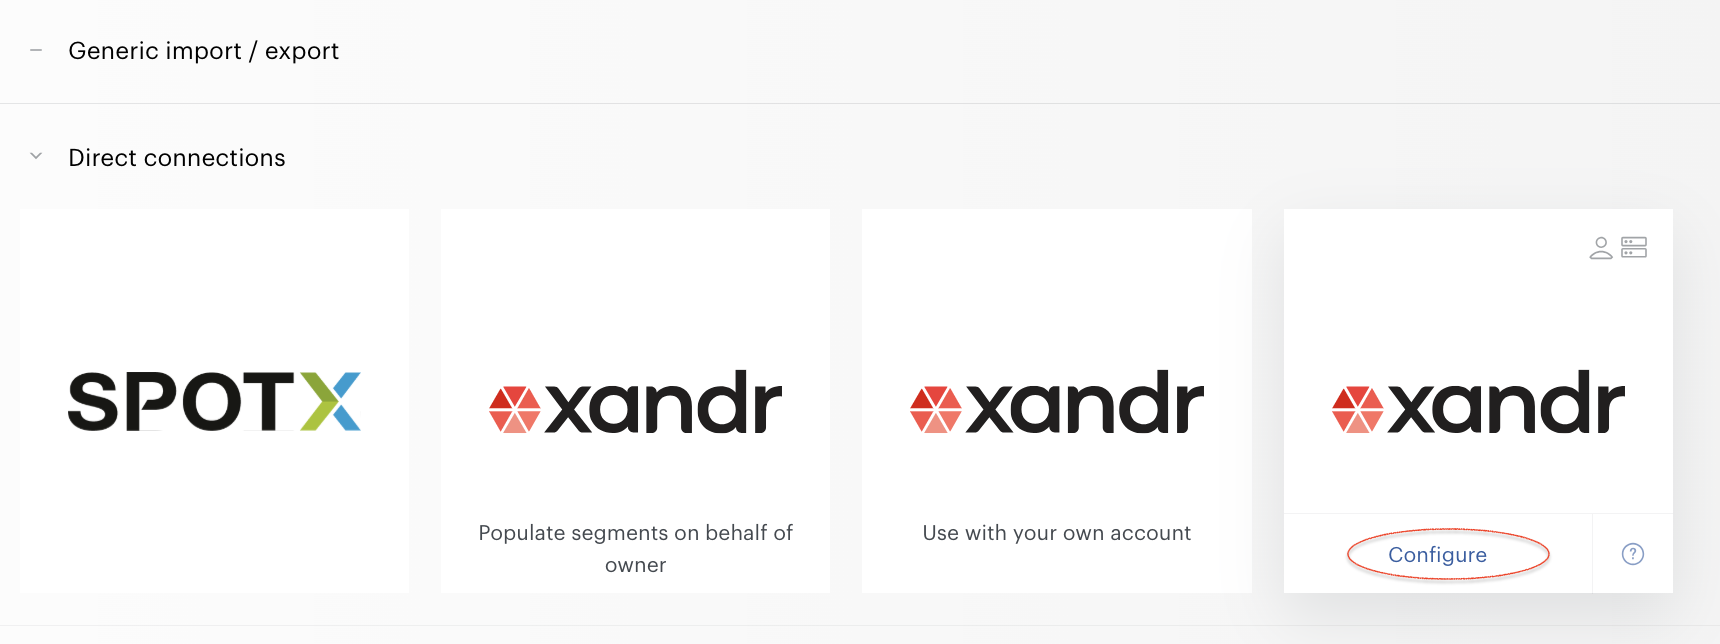
From the Piano Audience home page, go to the Connectivity tab → the Configurations tab →the Xandr (Share segments through Piano account) icon, and click the Configure button with your site group selected.
-
Configure the connection
The connection can be either server-side or client-side. Please make sure that you performed the steps corresponding to the needed option described above - set the user mapping tag or modified the Ad tag.
In the New Connection menu, you want to set:
-
Project name: to be shown in Piano Audience only, intended to simplify managing numerous integrations.
-
Member ID: the Member ID of your Xandr account, which you can obtain from your Xandr support representative; in other words it is ID of the member that owns this segment(s).
-
Type of synchronization: client-side (to send segments only) or server-side (to send segments and their members).
Set the parameters and click Test Connection.
A successful test connection activates new configuration sections and the Create button at the top right of the window. Click it before you go on. The button will turn to Save which you can use to save any further changes in your connection. In case of any problems, you will see a message. If you don't know how to fix your problem, please contact the Support or Professional Services team.
The selection of segments, activation, and creation of connections are the same as for Data sending described above.
Populating segments on behalf of owner (data populating)
Segments should be created on Piano's side, but the difference is that the same segments (i.e. objects with particular names and IDs) should be created on Xandr's side too. Such integration can also be used for selling (in such a case, segments should be created on the buyer's or the partner's account on Xandr's side) or for sending of segments to your own account with Xandr.
Xandr documentation provides the following details:
If you are using the Batch Segment API service, there is also an alternative option, mainly used for 1st party segments, that does not require sharing segments from one member to another:
-
Have your client (the data buyer) create segments in their own member, through the API Segment service or Xandr's UI, and tell you the IDs (or codes, if you are using codes) of those segments.
-
Have the client submit a support ticket allowing you (the data provider) to populate their segments using Batch Segment.
-
Xandr will then grant you (the data provider) permission to populate these segments on behalf of the client.
Create a configuration
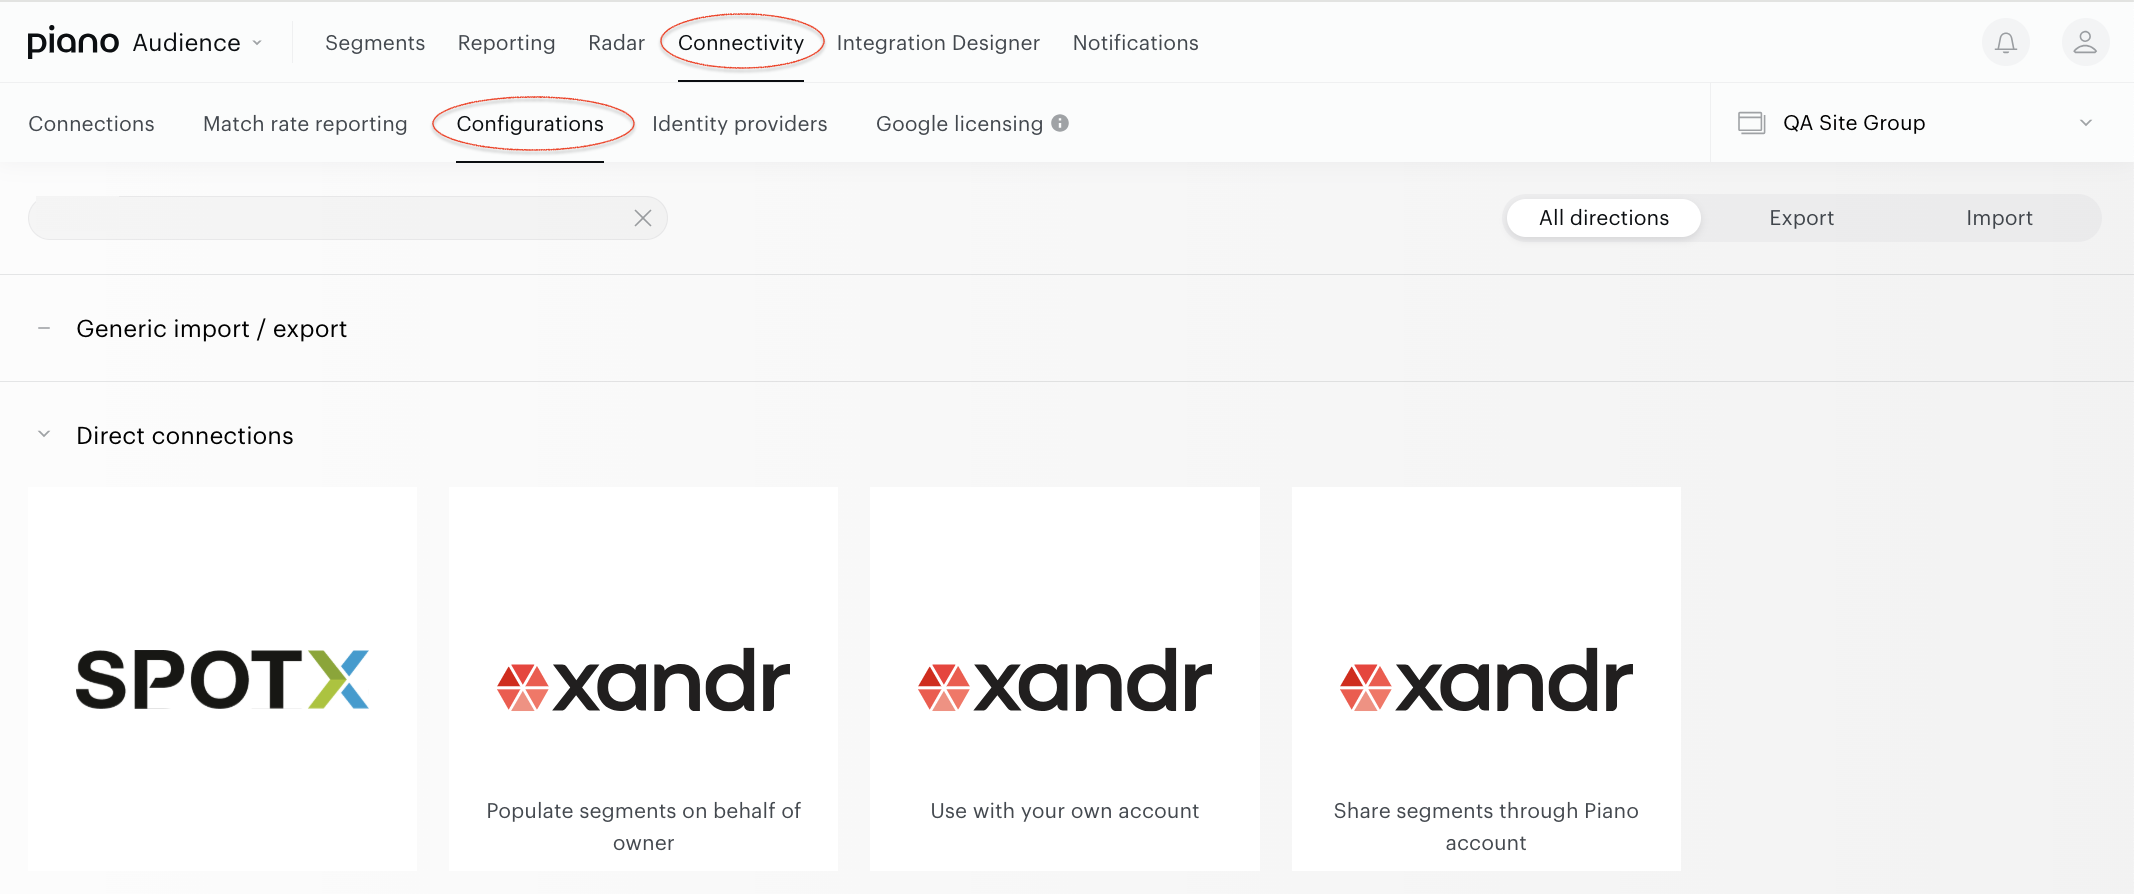
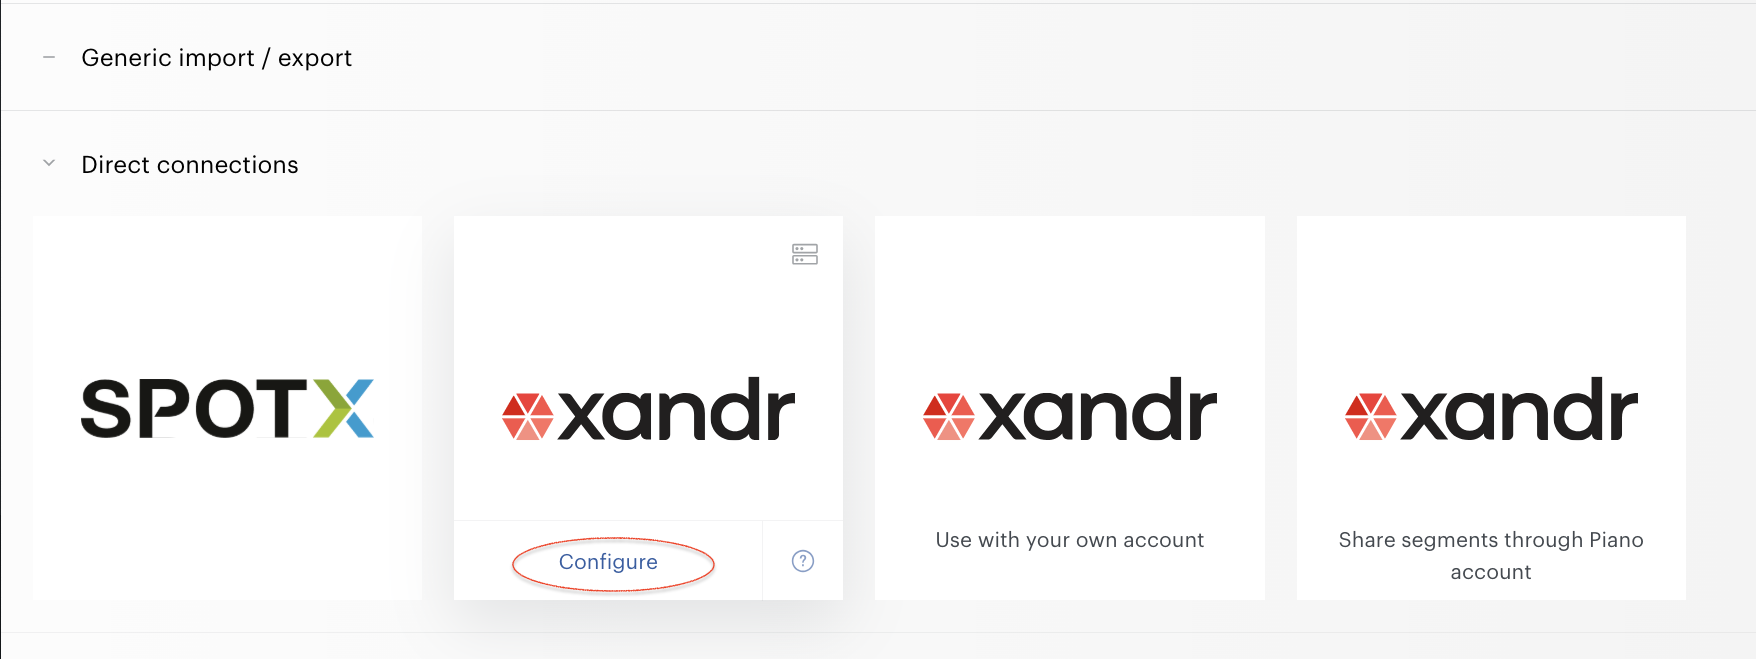
From the Piano Audience home page, go to the Connectivity tab → the Configurations tab →the Xandr (Populate segments on behalf of owner) icon, and click the Configure button with your site group selected.
-
Configure the connection
The connection can be either server-side or client-side. Please make sure that you performed the steps corresponding to the needed option described above - set the user mapping tag or modified the Ad tag.
In the New Connection menu, you want to set the Project name: to be shown in Piano Audience only, intended to simplify managing numerous integration
Define the segments on Xandr's side which should be populated: select a segment on Piano's side and put the ID of the corresponding segment on Xandr's side. Use the Add another segment button to set a list of segments. During the execution of the integration, these segments will be 'filled in' by data from Piano segments according to mapping.
-
Export segments
You can click Export now in the Configure segments section for almost immediate export of selected segments without waiting for the next scheduled data transfer.
The other option is configuring scheduled data transfer in the Activate section below. There, you can either set up a daily data transfer by turning connection on, or hold the created configuration without activation yet.
When ready, click Create or Save (if editing) in the top right corner of the page.