This article describes how you can integrate your SpotX and Piano Audience. A special point is the necessity to notify SpotX's team about your intention to do it.
User matching
Decide which tag is more convenient for you and put it on all the websites of your network (our recommendation is to choose the asynchronous version). You need the tag working on the sites with high traffic since to provide a high Match Rate with SpotX.
-
Asynchronous tag
<script type="text/javascript">
    // Async load of cx.js
    (function(d,s,e,t){e=d.createElement(s);e.type='text/java'+s;e.async='async';
        e.src='http'+('https:'===location.protocol?'s://s':'://')+'cdn.cxense.com/cx.js';
        t=d.getElementsByTagName(s)[0];t.parentNode.insertBefore(e,t);})(document,'script');
    var cX = cX || {}; cX.callQueue = cX.callQueue || [];
    cX.callQueue.push(['sync','spx']);
</script>
-
Synchronous tag
<script type="text/javascript" src="//cdn.cxense.com/cx.js"></script>
<script type="text/javascript">
    cX.sync('spx');
</script>
Creating a connection
-
Notify SpotX
According to the procedure agreed with SpotX, the Piano team should notify them about all new customers prior to the start of data transfer. It means that, before you see your segments on the SpotX side, you need to talk to your contact person on the Piano side (e.g. Customer Success Manager or someone from the Support team). Please let them know that you are going to start using this integration and provide them with the needed details about the involved teams/partners/subsidiaries/etc. of your network. You should use your SpotX integration only after confirmation from Piano.
-
Configure the connection
With your site group selected, from the Piano Audience home page, go to the Connectivity tab → the Configurations tab →the SpotX icon and click the Configure button.
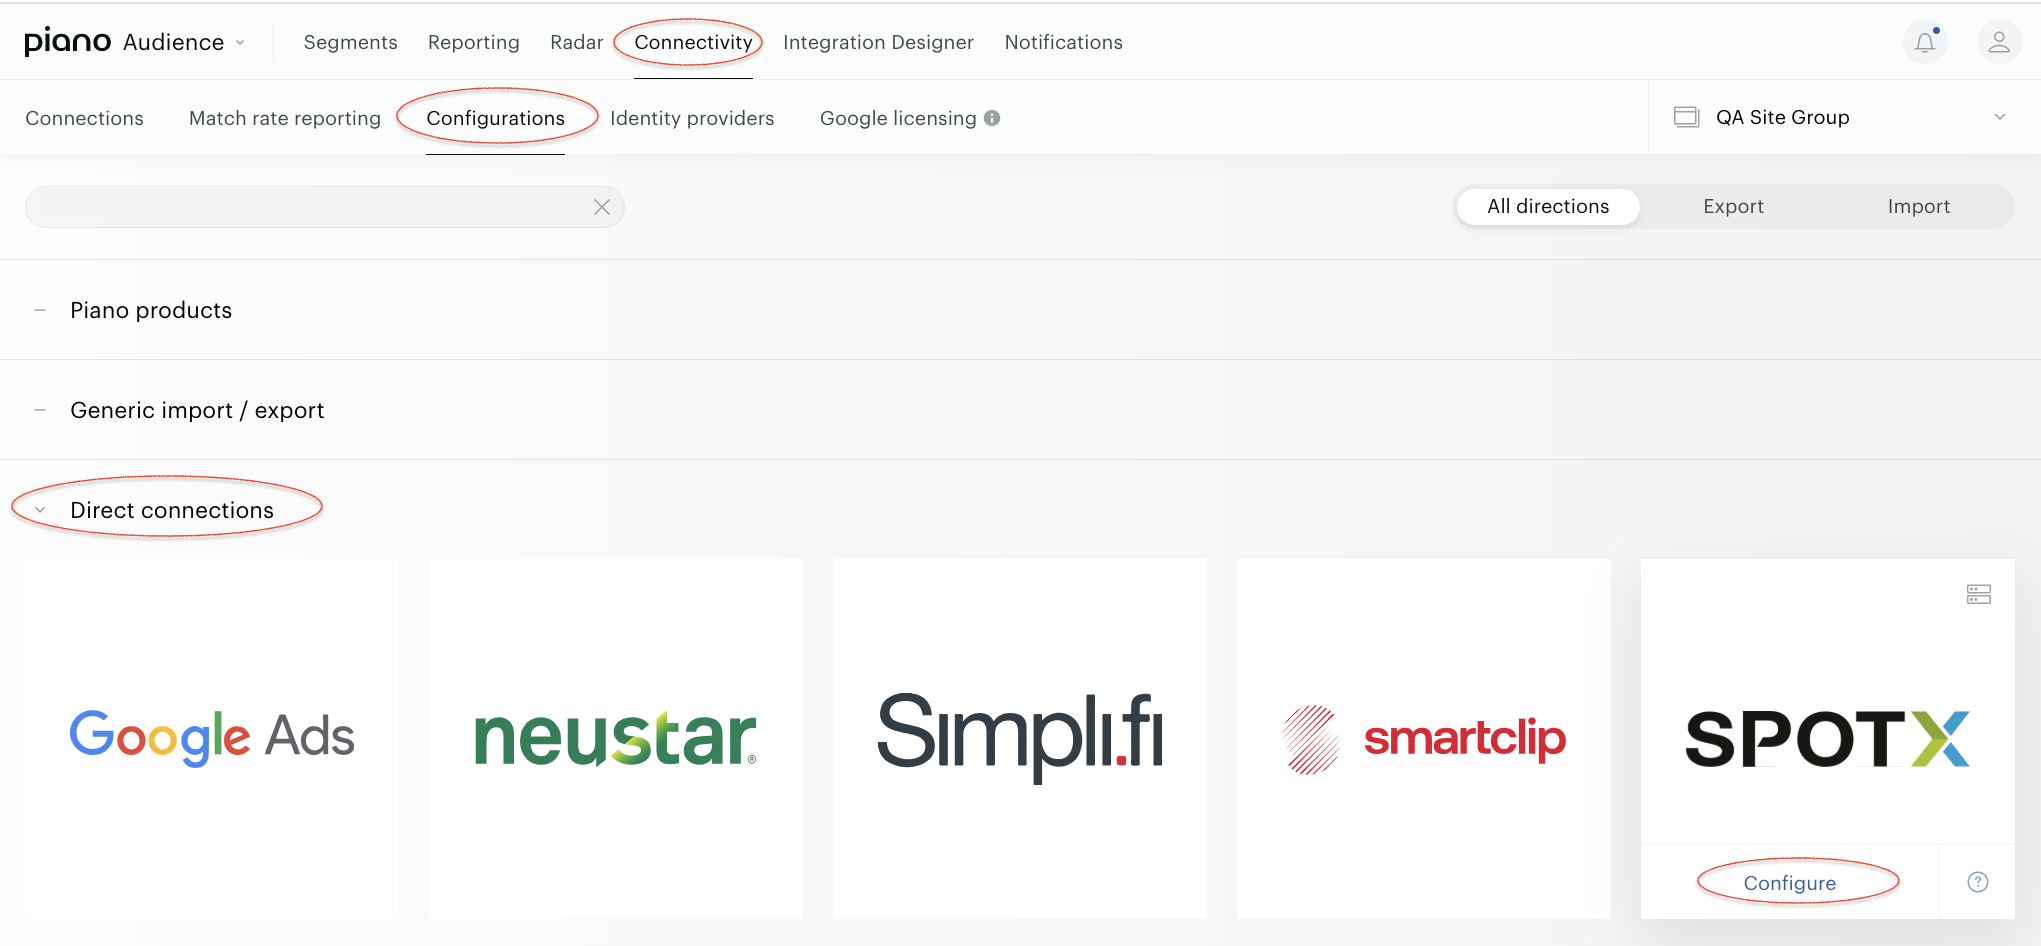
The configuration form will appear. After that you have to make settings in each section: Configure connection, Configure segments and Activate.
Define the name of your export project just for your convenience - it will simplify the further work with list of all the existing connections and Match Rate reporting (e.g. if you have several connections with one 3rd party system, such a name can help to differentiate it).
-
Configure segments
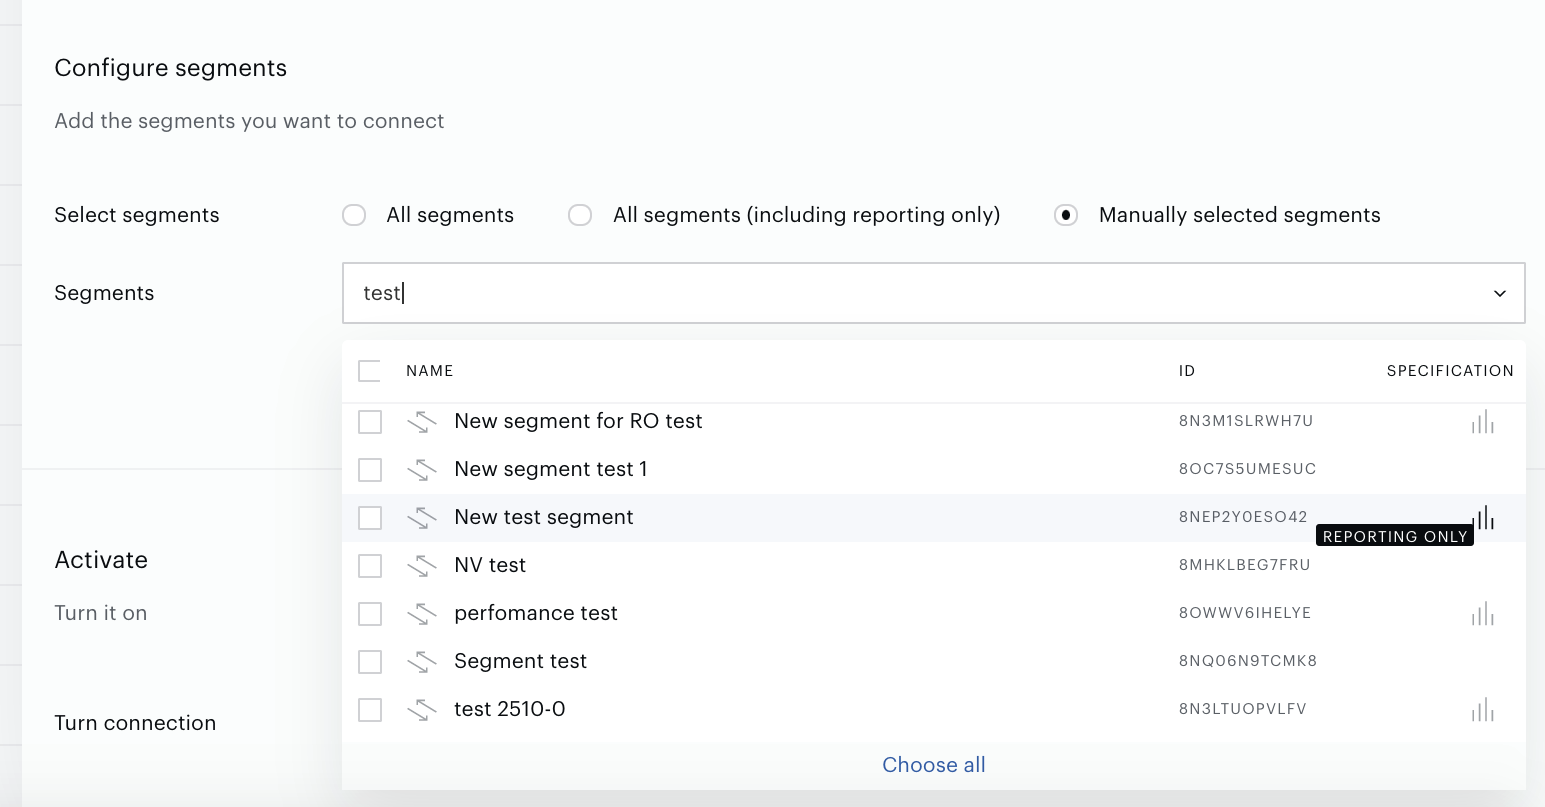
Successful test connection enables the Configure segments form where:
-
All segments means that all active full usage segments will be sent to SpotX; any newly created active full usage segment will be added automatically.
-
All segments (including Reporting only) includes Reporting only segments.
-
Manually selected segments allows both to send some part of active segments and to check if a needed segment is active now. If a needed segment is inactive, you can activate it on the Segments tab. To select a segment, click its name.
Set the parameter.
-
Export segments
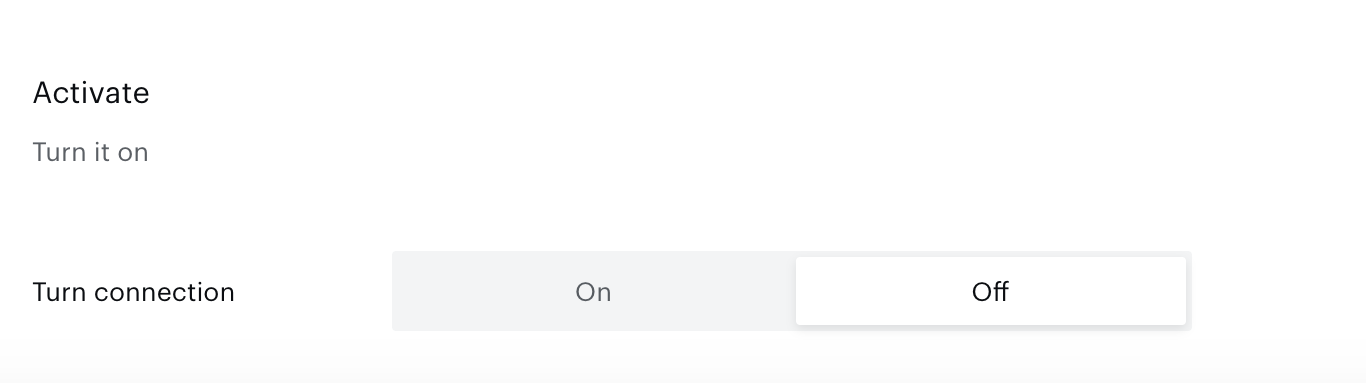
You can click Export now in the Configure segments section for almost immediate export of selected segments without waiting for the next scheduled data transfer. The other option is configuring scheduled data transfer in the Activate section below. There, you can either set up a daily data transfer by turning connection on, or hold the created configuration without activation yet and set the connection to "off".
When ready, click Create or Save (if editing) in the top right corner of the page.
Monitoring and update
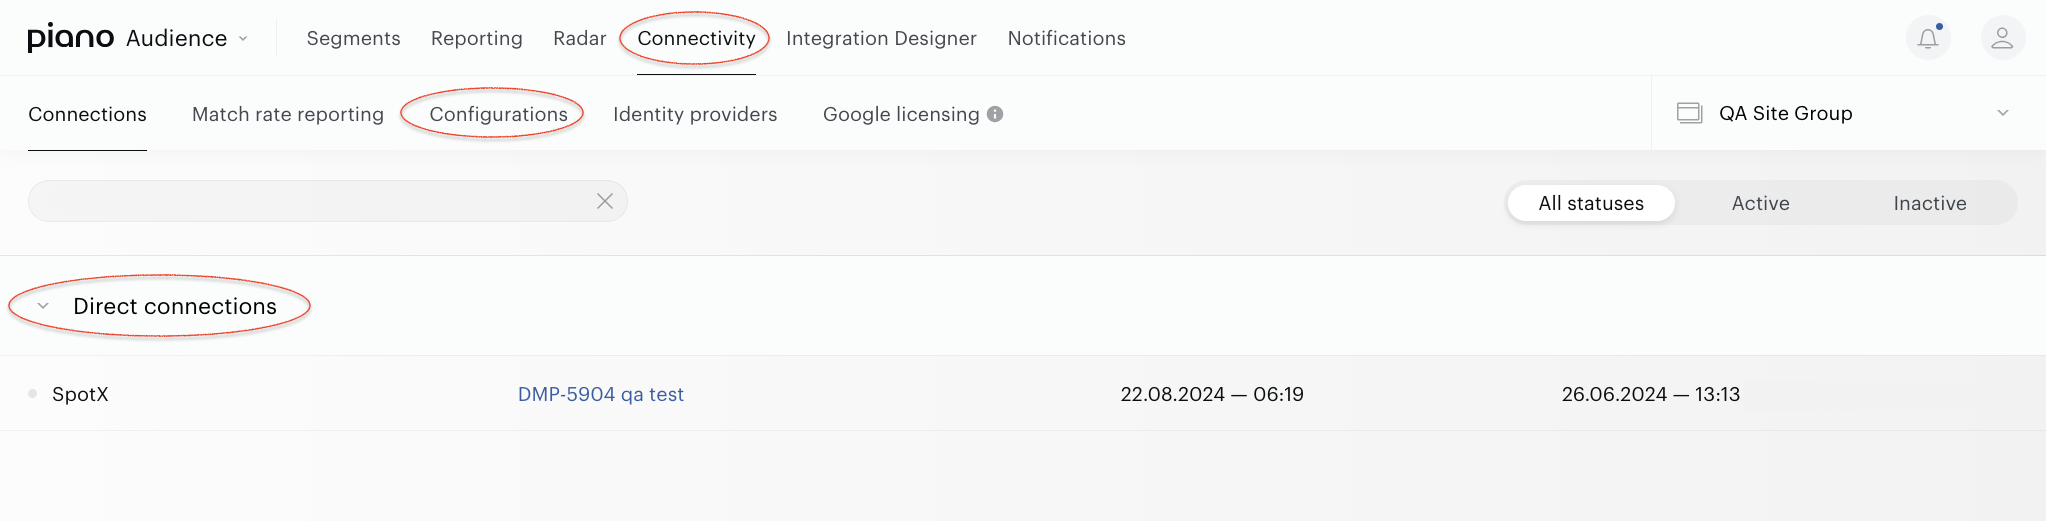
Now you can see your connection on the list of existing connections (Connectivity → Connections) and Match Rate report (Connectivity → Match Rate Reporting).
To change the settings (project name, segment list or connection status) please find the needed connection on the list of existing connections (Connectivity → Connections) and find connection: