
Magnite (until April 2020 - Rubicon) is a sell-side ad platform. The former Rubicon Project platform is now called “Magnite DV+”. The integration provides the full segmenting and targeting capabilities of Piano Audience within Magnite. Piano Audience supports both C2S / S2S and SmartTags integration types.
Setting the cookiesync tag
Magnite and Piano Audience have a server-side integration. User ID mapping is stored on Piano Audience' side. Membership data will be uploaded to Magnite by schedule - once a day. If you use server-side integration you need to decide which tag is more convenient for you and put it on all the websites of your network.
Synchronous tag
<!-- Piano Audience sync script begin -->
<script type="text/javascript" src="resources/gdpr_cmp_stub.js"></script>
<script type="text/javascript" src="//cdn.cxense.com/cx.js"></script>
<script type="text/javascript">
    cX.sync('rub');
</script>
Asynchronous tag
// Async load of cx.js
    (function(d,s,e,t){e=d.createElement(s);e.type='text/java'+s;e.async='async';
        e.src='http'+('https:'===location.protocol?'s://s':'://')+'cdn.cxense.com/cx.js';
        t=d.getElementsByTagName(s)[0];t.parentNode.insertBefore(e,t);})(document,'script');

    var cX = cX || {}; cX.callQueue = cX.callQueue || [];
    cX.callQueue.push(['sync','rub']);
Configuring Piano Audience
SmartTags integrations
-
Create a Magnite DV+ configuration (SmartTags)
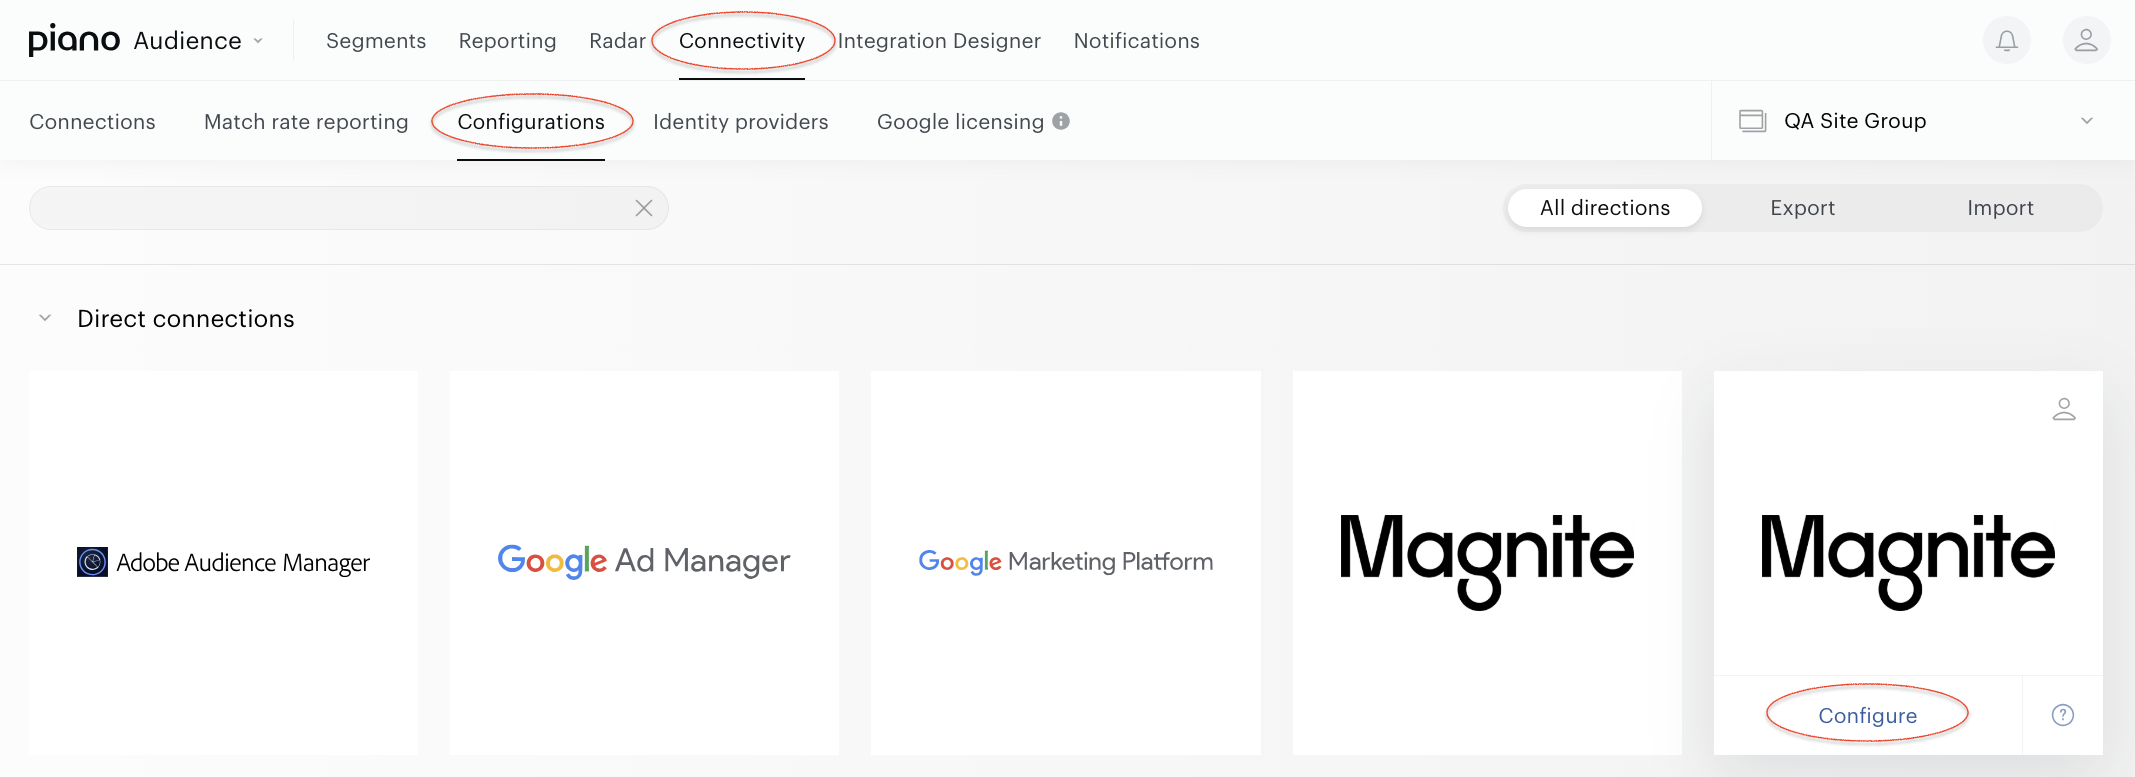
With your site group selected, from the Piano Audience home page, go to the Connectivity tab → the Configurations tab →the Magnite (SmartTags)icon and click the Configure button.
-
Configure the connection (SmartTags)
In the New Connection menu, you want to set:
-
Project Name: to be shown in Piano Audience only, intended to simplify managing numerous integrations.
-
Publisher ID: your account ID at Magnite DV+.
-
Pixel Name: a parameter required by API. As of December 2020 the default is "CxSegments".
When everything is set, click the Test connection button. A request to the specified account on the partner’s side will be sent, and, if everything works correctly, you'll get a corresponding notification.* The Create button in the upper right corner will be activated. Click it. Create will turn to the Save button you can use any time during further configuration.
*In case you see the below error, please contact Magnite directly to resolve:
Invalid request: {"error":true,"message":"Not authorized.","statusCode":403}
-
Configure segments (SmartTags)
Successful test connection enables the Configure segments form where:
-
All segments means that all active full-usage segments will be sent to Magnite; any newly created active full usage segment will be added automatically.
-
All segments (including Reporting only) includes reporting-only segments.
-
Manually selected segments allows both to send some part of active segments and to check if a needed segment is active now. If a needed segment is inactive, you can activate it on the Segments tab. To select a segment, click its name.
Set the parameter.
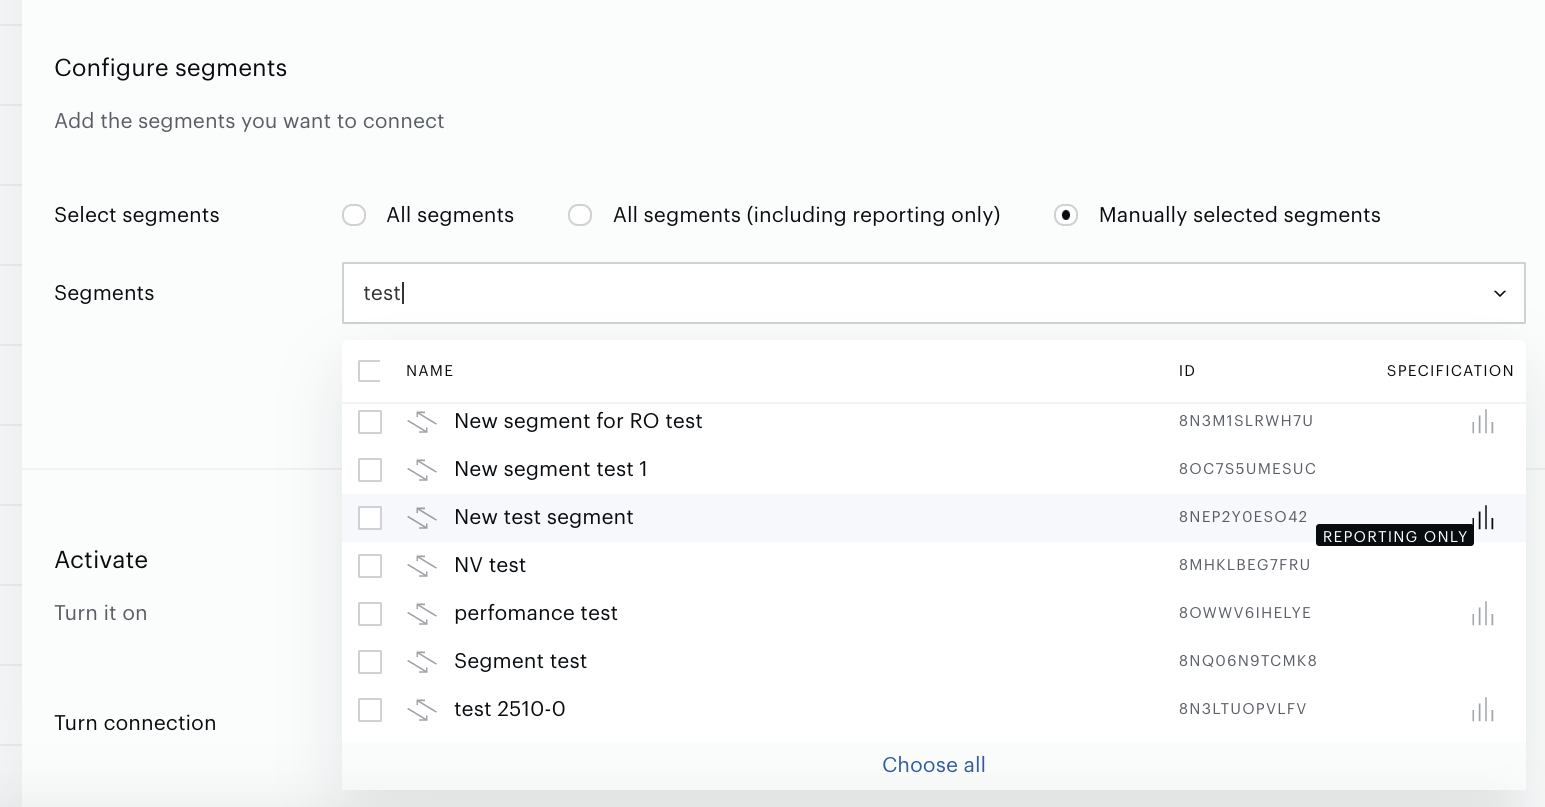
Select segments to export (multiple selection is supported).
-
Export segments (SmartTags)
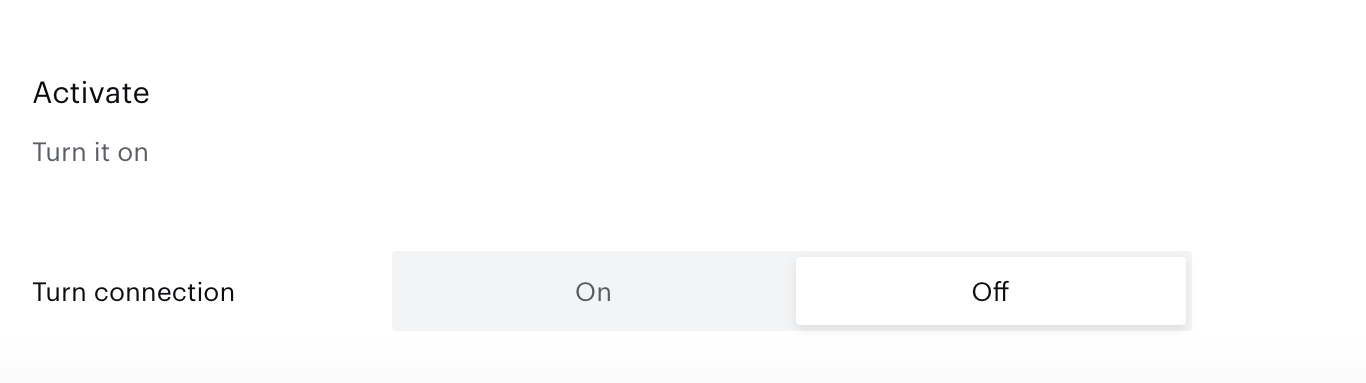
You can click Export now in the Configure segments section for almost immediate export of selected segments without waiting for the next scheduled data transfer. The other option is configuring scheduled data transfer in the Activate section below. There, you can either set up a daily data transfer by turning connection on, or hold the created configuration without activation yet and set the connection to "off".
When ready, click Create or Save (if editing) in the top right corner of the page.
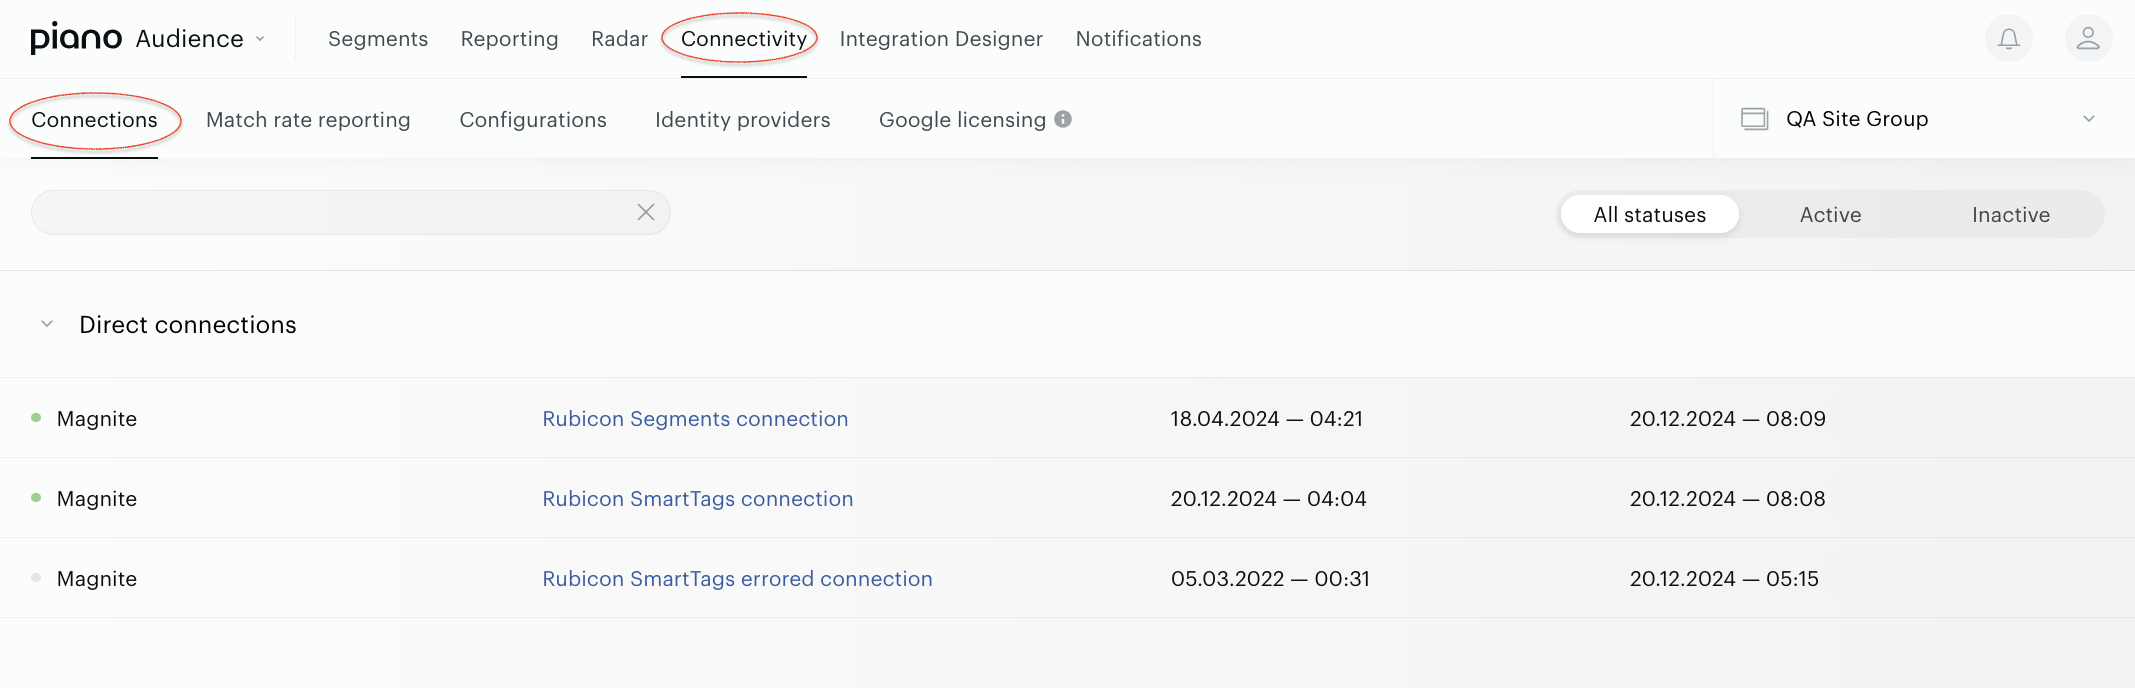
Configured connections can be viewed and edited in the Connections tab.
Magnite DV+ integration (C2S or S2S)
-
Create a Magnite DV+ configuration (C2S or S2S)
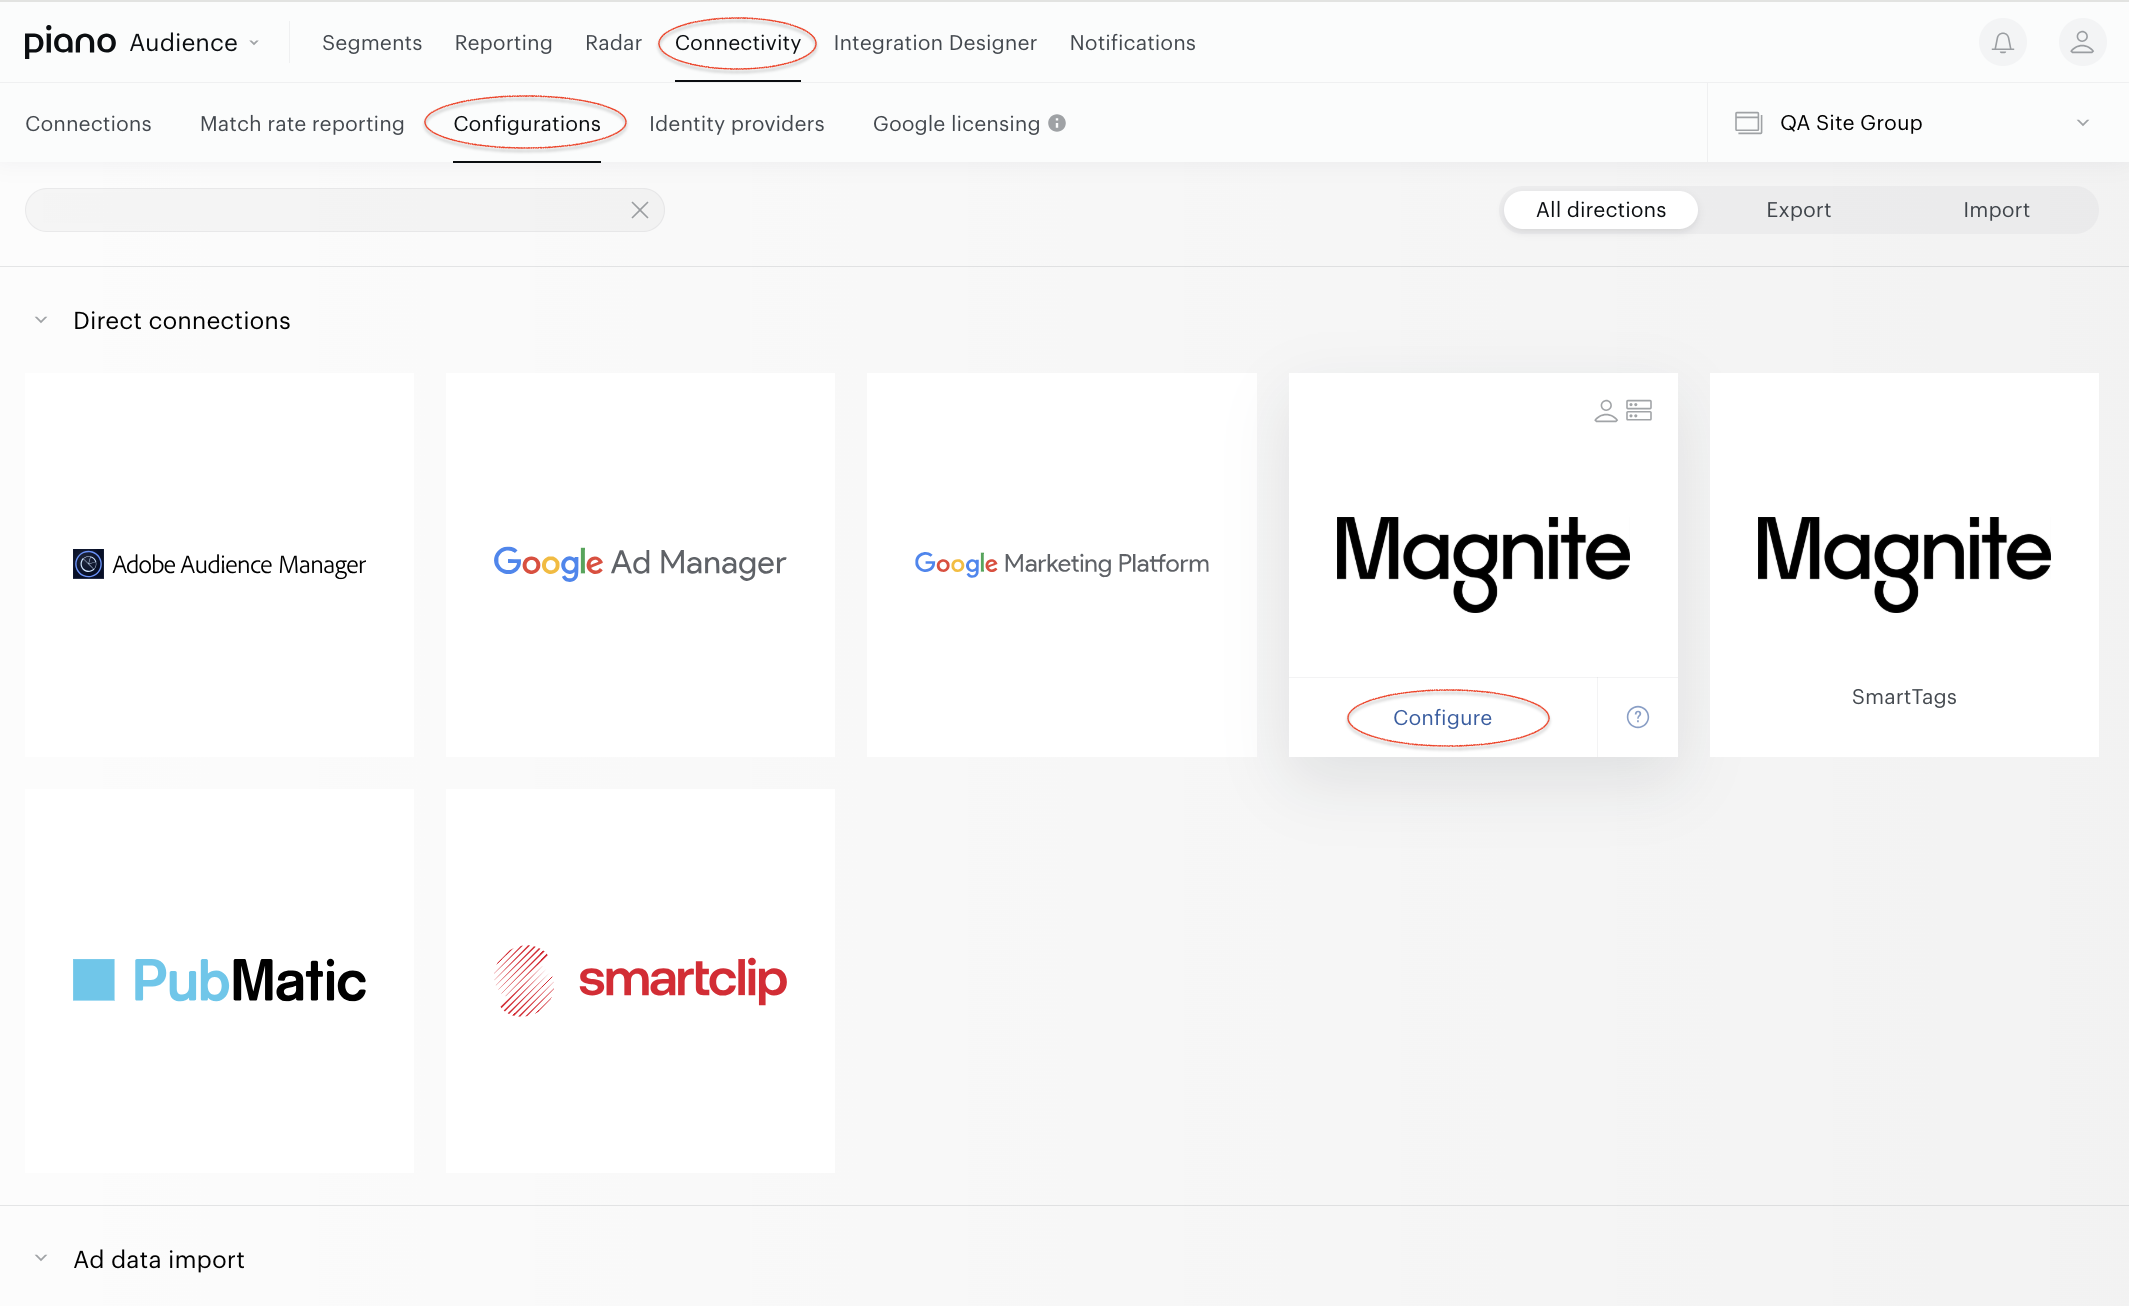
With your site group selected, from the Piano Audience home page, go to the Connectivity tab → the Configurations tab →the Magniteicon (not SmartTags!) and click the Configure button.
-
Configure the connection (C2S or S2S)
In the New Connection menu, you want to set:
-
Project Name: to be shown in Piano Audience only, intended to simplify managing numerous integrations.
-
Publisher ID: your accout ID at Magnite DV+.
-
Partner ID: Piano account ID at Magnite DV+ (contact Magnite support or your Magnite account manager for more information).
-
Type of synchronization: Select "Client-side" to send segments only or "Server-side" to send segments together with the members of those segments.
Set the parameters and click Test Connection. If test connection is successful, the Create button in the upper right corner will be activated. Click it.
-
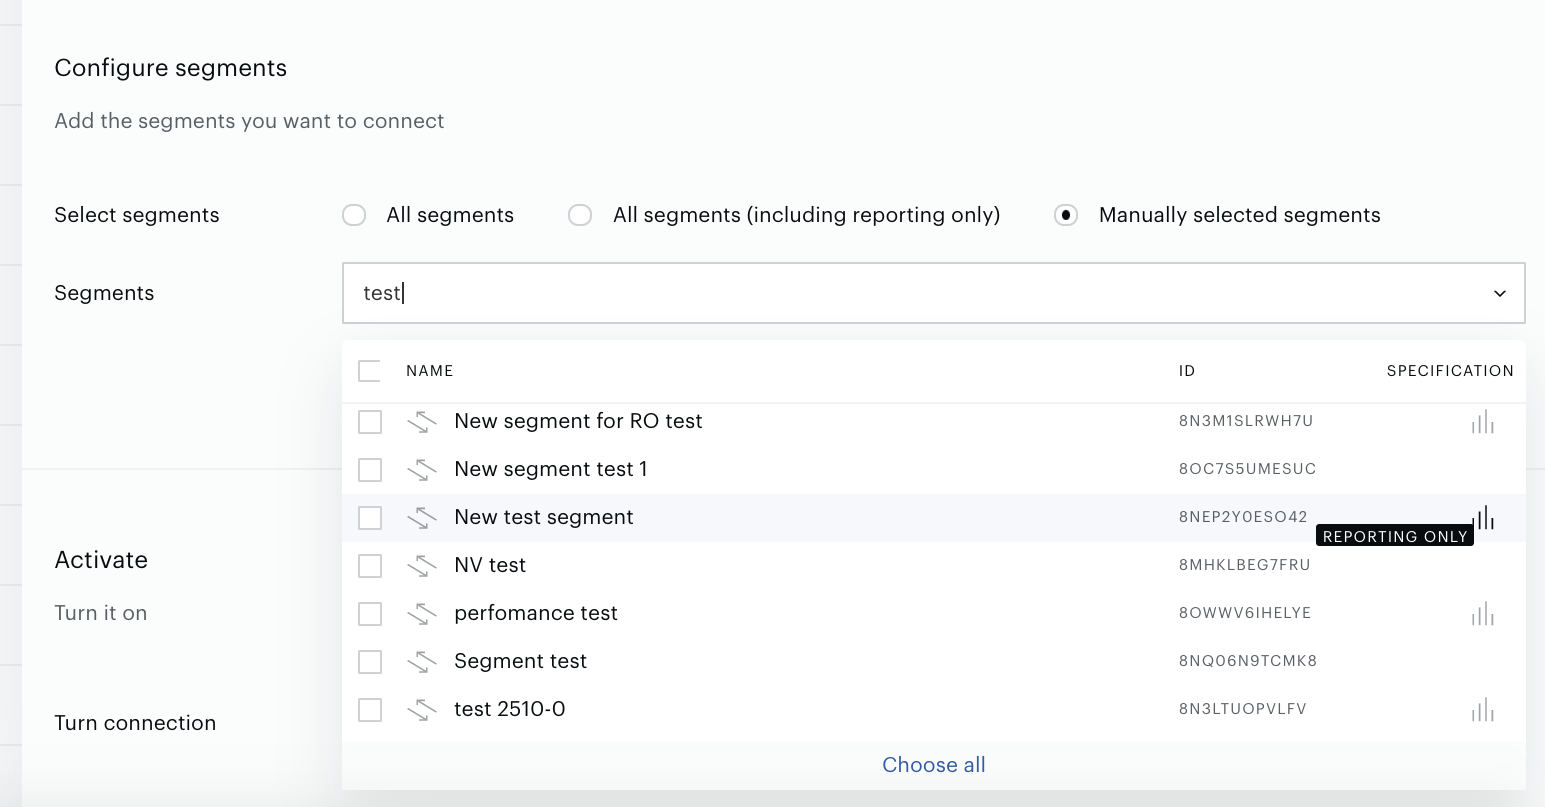
Configure segments (C2S or S2S)
Successful test connection enables the Configure segments form where:
-
All segments means that all active full-usage segments will be sent to Magnite; any newly created active full usage segment will be added automatically.
-
All segments (including Reporting only) includes reporting-only segments.
-
Manually selected segments allows both to send some part of active segments and to check if a needed segment is active now. If a needed segment is inactive, you can activate it on the Segments tab. To select a segment, click its name.
Set the parameter.
-
Export segments (C2S or S2S)
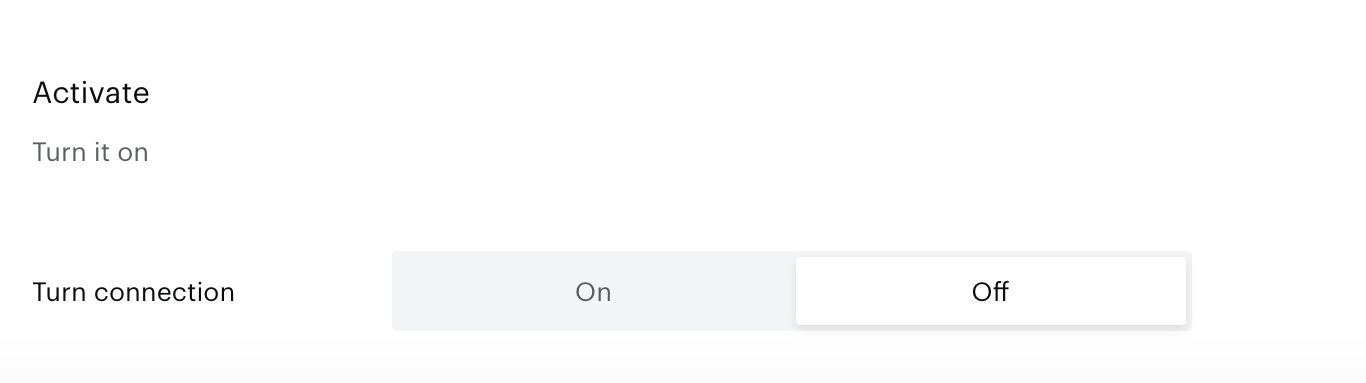
You can click Export now in the Configure segments section for almost immediate export of selected segments without waiting for the next scheduled data transfer. The other option is configuring scheduled data transfer in the Activate section below. There, you can either set up a daily data transfer by turning connection on, or hold the created configuration without activation yet.
When ready, click Create or Save (if editing) in the top right corner of the page.
-
Monitoring and update
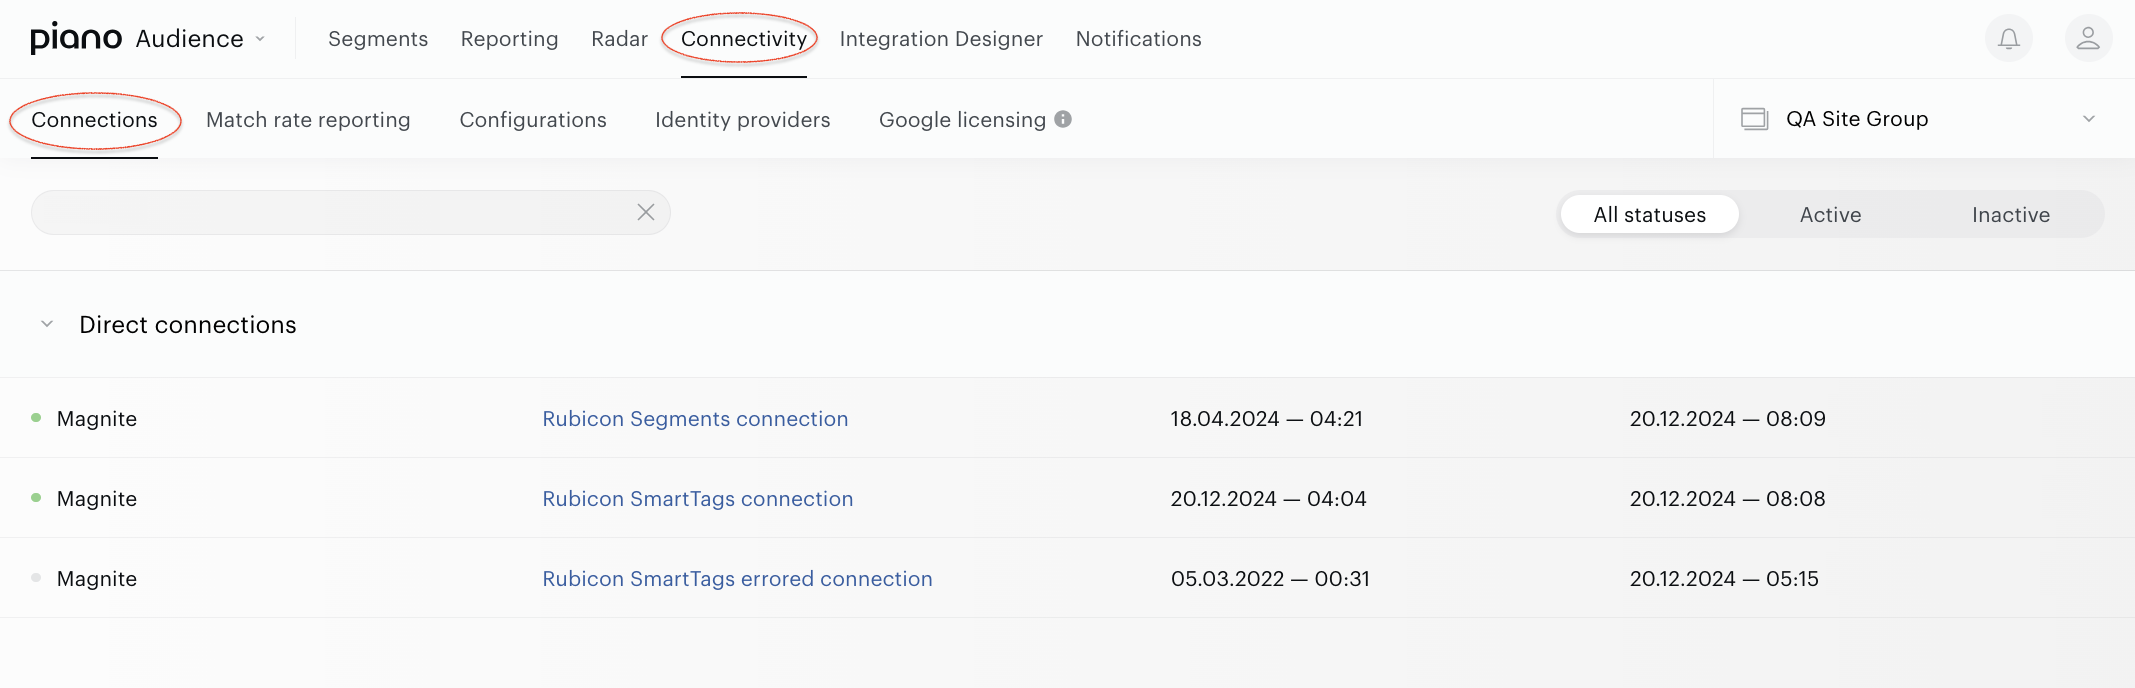
Configured connections can be viewed and edited in the Connections tab.
Configuring Magnite DV+
-
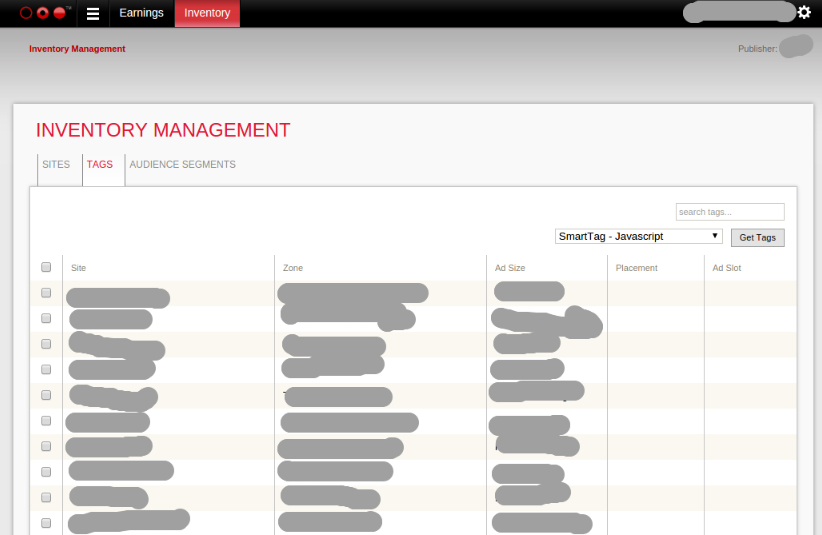
Go to Inventory → Tags.
-
Select one or more target sites and click Get Tags.
-
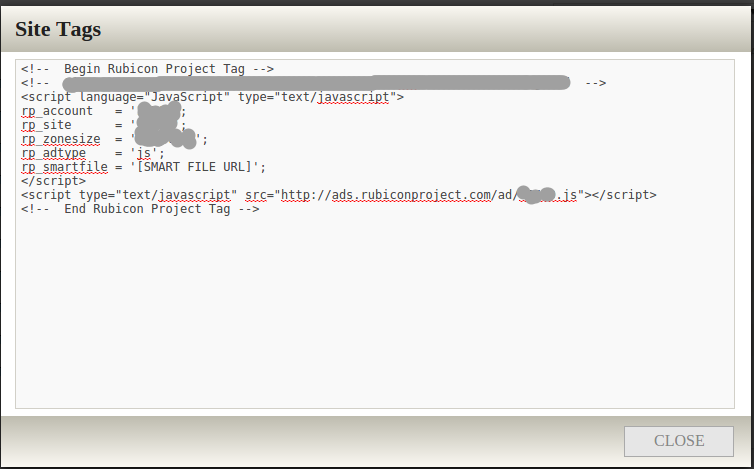
Copy the content of the pop-up window.
-
Modify your Ad tag as described.
-
Add the Ad tag to your site pages.
Modifying the Ad tag
-
Load the
cx.jslibrary (this code can be placed anywhere on the page before the Magnite DV+ Ad tag). -
Add the code reading Audience' segment IDs of the current user and pass them to the Magnite DV+ Ad tag (see also: cX.getUserSegmentIds).
-
Set the
persisted_query_idyou have previously created.
Note: Fields , , will be filled by Magnite DV+.
</div>
<div data-puniqid="c238447d1874a2d">
<pre><!-- Synchronous load of cx.js library -->
<script type="text/javascript">
    document.write('<scr' + 'ipt type="text/javascript" src="http' +
        (location.protocol === 'https:' ? 's://s' : '://') + 'cdn.cxense.com/cx.js"></scr' + 'ipt>');
</script>

<!--  Begin Magnite DV+ Tag -->
<script language="JavaScript" type="text/javascript">
    // If this tag is placed in an iframe on a different domain than the main page, we need to
    // send an analytics event to a dummy site to setup cross-site user id link so that we can read
    // user segment ids. Uncommented the next two lines if this is the case:
    // cX.setSiteId('1234');
    // cX.sendPageViewEvent();

    rp_account   = '<account>';
    rp_site      = '<site>';
    rp_zonesize  = '<zone-size>';
    rp_adtype    = 'js';
    rp_smartfile = '[SMART FILE URL]';

    // Read the user segment ids from Piano Audience
    var cxSegments = cX.getUserSegmentIds({ persistedQueryId: 'persisted_query_id' });
    rp_visitor   = { CxSegments: cxSegments };
</script>
<script type="text/javascript" src="http://ads.rubiconproject.com/ad/<account>.js"></script>
<!--  End Magnite DV+ Tag -->