Adobe Audience Manager is a data management platform (DMP) that integrates online and offline data from every available source to deliver a unified view of audiences. You can identify your most valuable segments and use them across any digital channel.
The integration enables usage of segments created in Piano Audience at Adobe Audience Manager. It includes setting up Adobe Audience Manager, setting up Piano Audience, and modifying the Ad tag.
Prerequisites
You will need to be subscribed to Adobe Audience Manager. If you wish to share segments to your advertisers, you would need to enable sharing capabilities within Adobe Audience Manager. You will also be required to have an Amazon S3 instance to be able to transfer data files for pick up and ingestion into Piano Audience.
Piano Audience setup must be completed (the siteGroupId(s) are needed for this integration).
User matching
One of the following tags should be placed on websites with high traffic.
-
Synchronous tag
<script type="text/javascript" src="//cdn.cxense.com/cx.js"></script>
<script type="text/javascript">
cX.sync('aam');
</script>
-
Asynchronous tag
<script type="text/javascript">
// Async load of cx.js
(function(d,s,e,t){e=d.createElement(s);e.type='text/java'+s;e.async='async';
e.src='http'+('https:'===location.protocol?'s://s':'://')+'cdn.cxense.com/cx.js';
t=d.getElementsByTagName(s)[0];t.parentNode.insertBefore(e,t);})(document,'script');
var cX = cX || {}; cX.callQueue = cX.callQueue || [];
cX.callQueue.push(['sync','aam']);
</script>
Configuring Piano Audience
-
Create a configuration
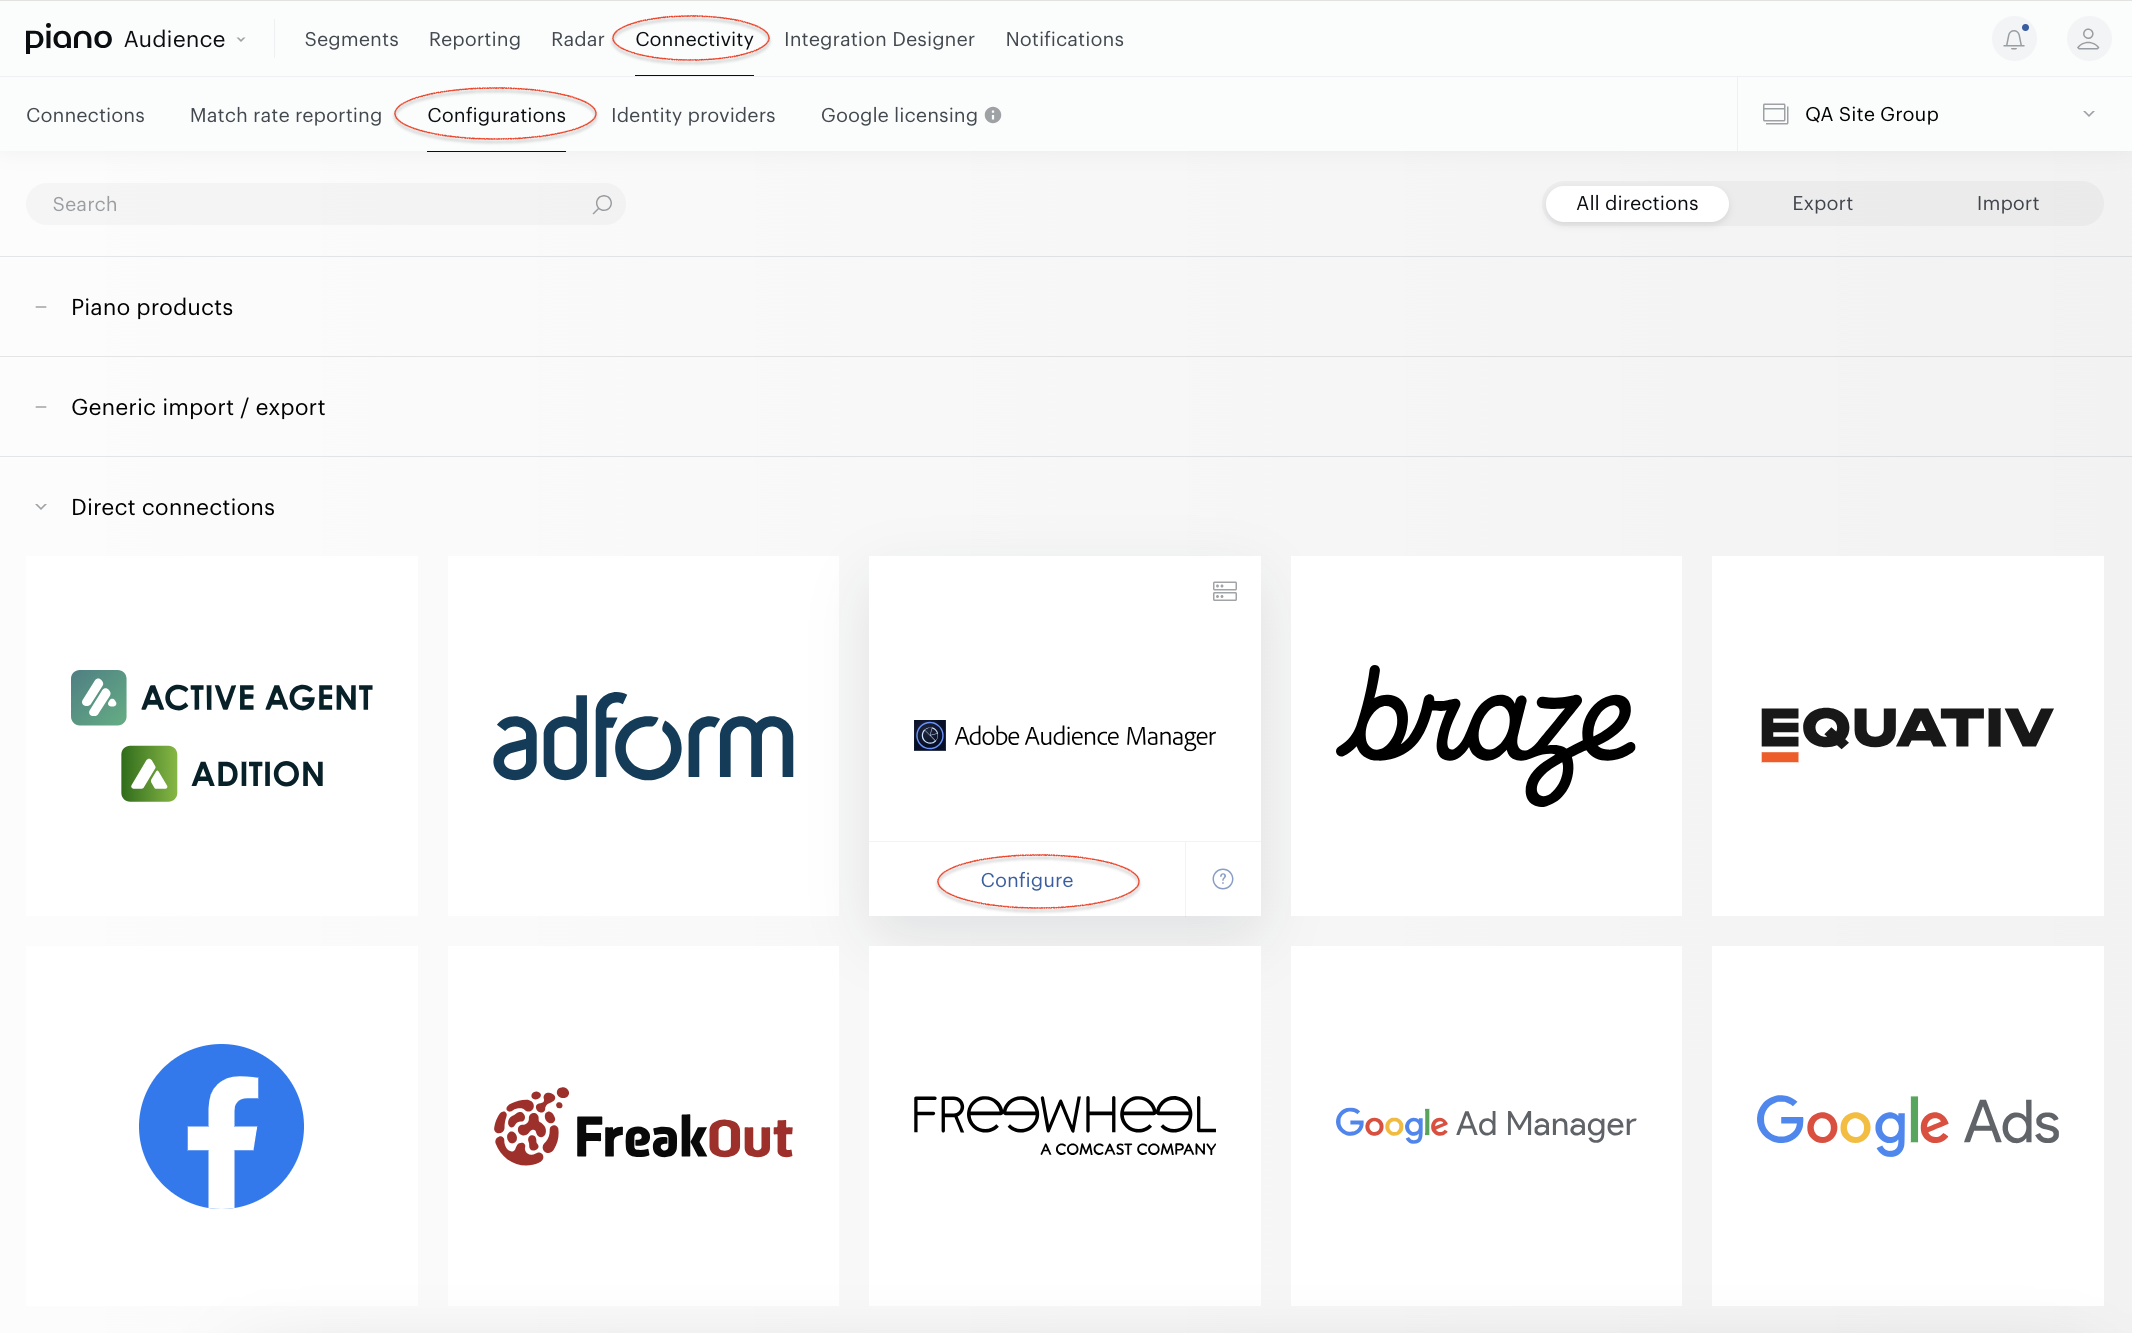
With your site group selected, from the Piano Audience home page, go to the Connectivity tab → the Configurations tab →the Adobe Audience Managericon and click the Configure button.
-
Configure the connection
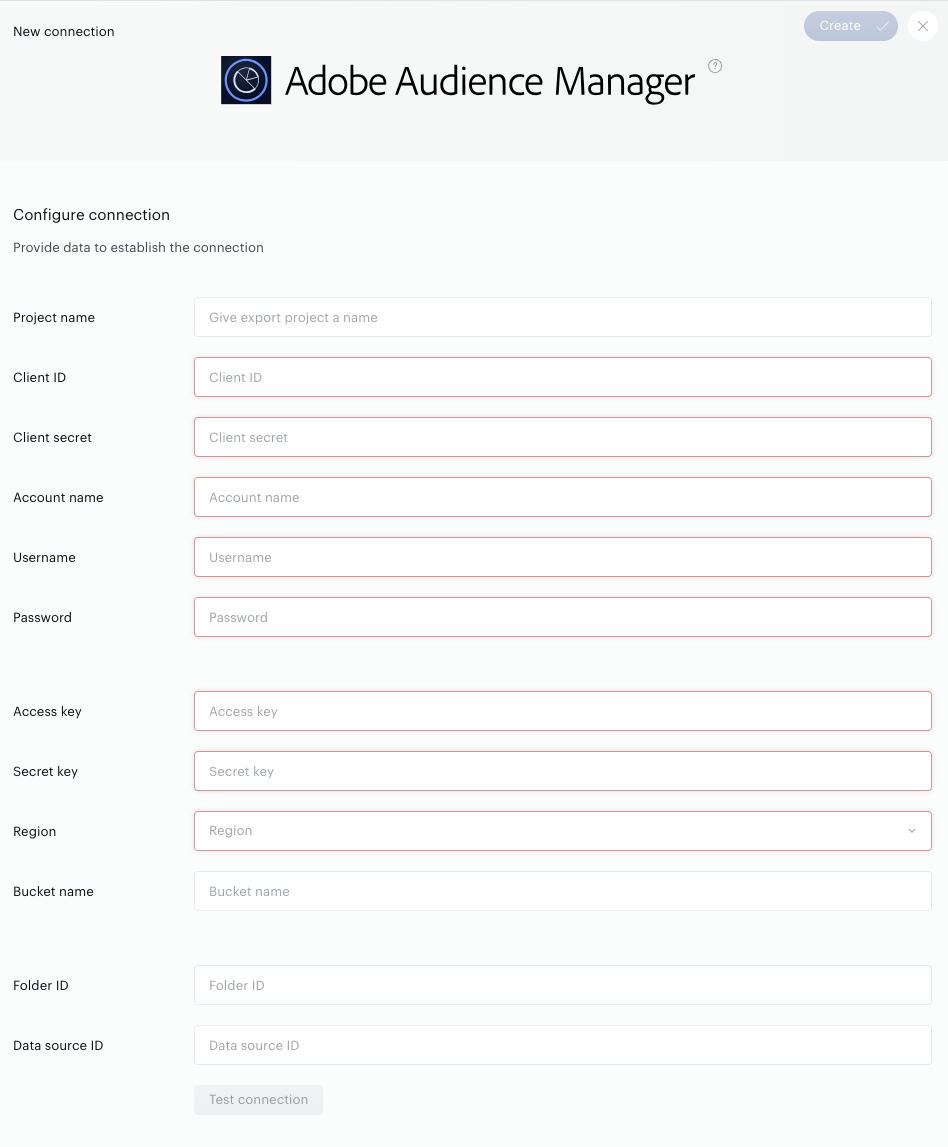
In the New Connection menu, you want to set:
-
Project name: It will be shown in Piano Audience only to simplify managing numerous integrations.
-
Client ID and Client secret: Client ID and secret key for API access (from Adobe Audience Manager).
-
Account name: Your Adobe Audience Manager account name.
-
Username and Password: Your Adobe Audience Manager login credentials.
-
Access Key, Secret Key, Region, and Bucket name: Designated Amazon S3 destination/instance where Audience Manager would transfer the data to.
-
Folder ID and Data source ID: Folder ID and Data Source ID you noted in the steps outlined above.
When everything is set, click the Test connection button. A request to the specified account on the partner’s side will be sent, and, if everything works correctly, you'll get a corresponding notification. The Create button in the upper right corner will be activated. Click it. Create will turn to the Save button you can use any time during further configuration.
-
Configure segments
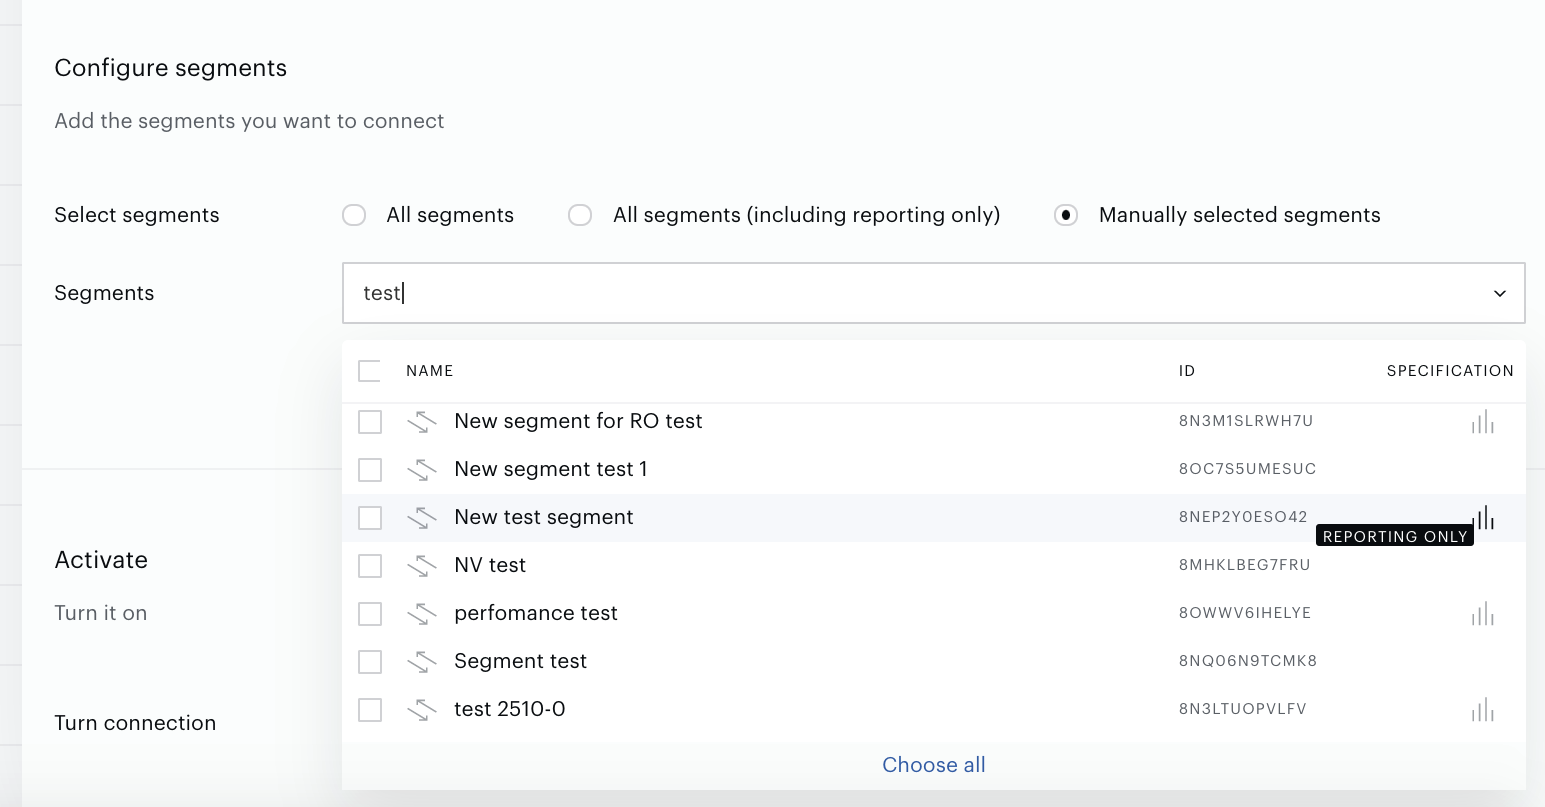
Successful test connection enables the Configure segments form where:
-
All segments means that all active full-usage segments will be sent to Platform 161; any newly created active full usage segment will be added automatically.
-
All segments (including Reporting only) includes reporting-only segments.
-
Manually selected segments allows both to send some part of active segments and to check if a needed segment is active now. If a needed segment is inactive, you can activate it on the Segments tab. To select a segment, click its name. Multiple selection is supported.
Set the parameter.
-
Export segments
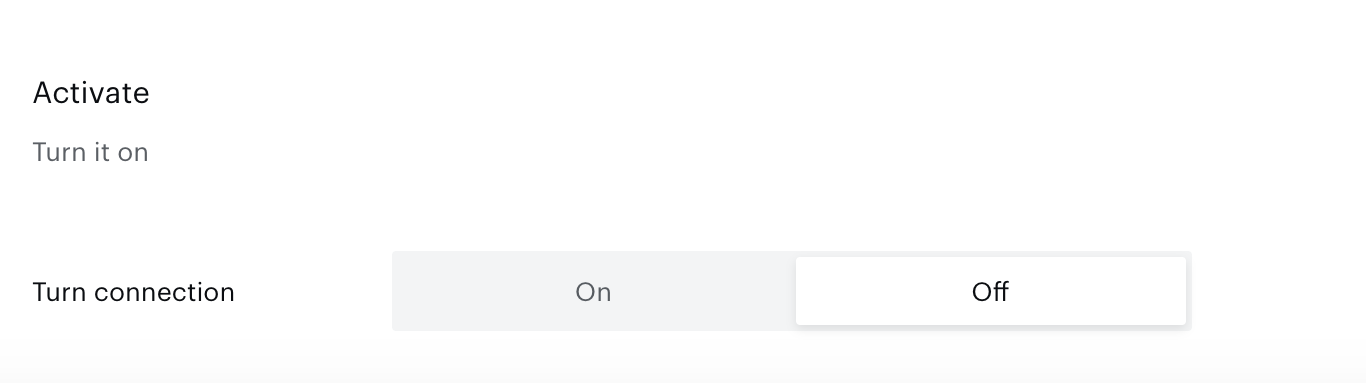
You can click Export now in the Configure segments section for almost immediate export of selected segments without waiting for the next scheduled data transfer. The other option is configuring scheduled data transfer in the Activate section below. There, you can either set up a daily data transfer by turning connection on, or hold the created configuration without activation yet and set the connection to "off".
When ready, click Create or Save (if editing) in the top right corner of the page.
Monitoring and update
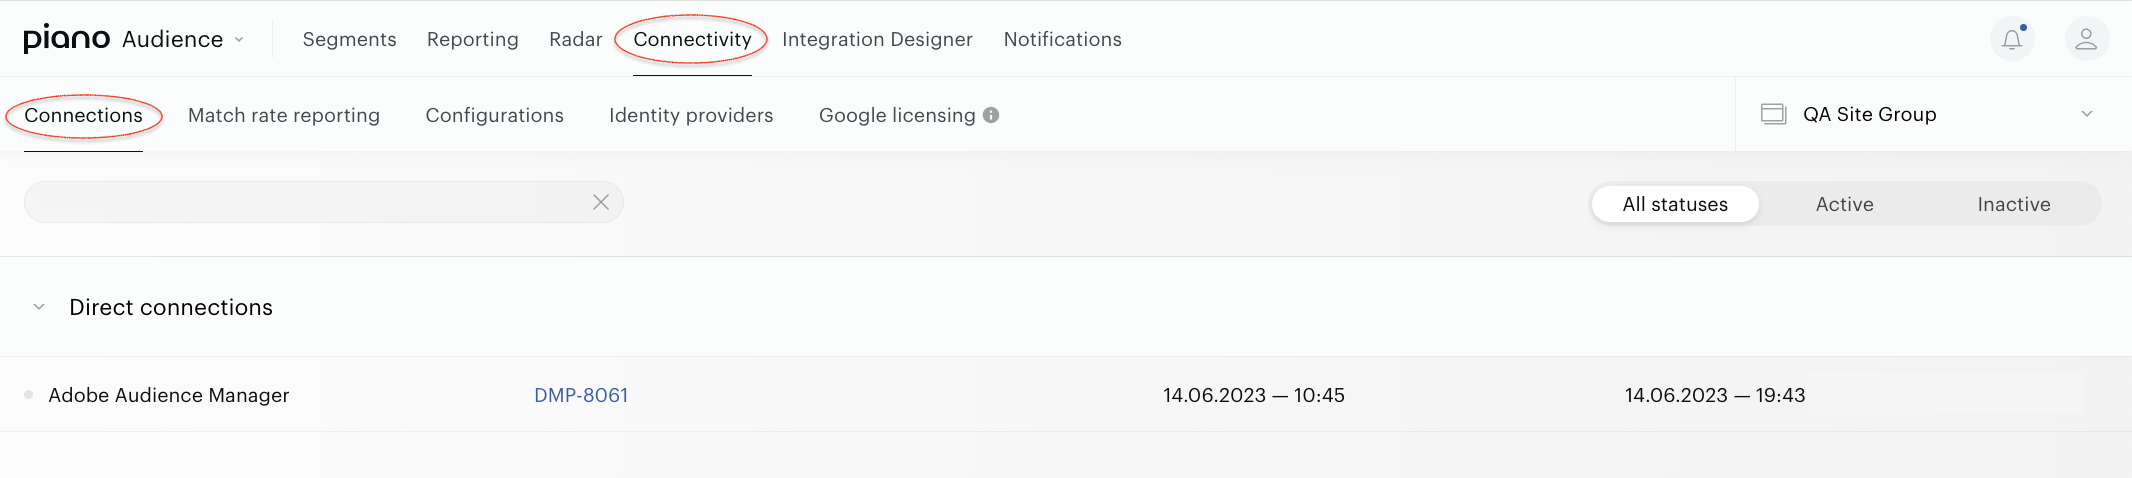
Configured connections can be viewed and edited in the Connections tab. They are also available under the Match rate reporting tab.
Data is normally exported once a day. The Export now button allows to export segments (not membership data) almost immediately.
By default, if segments export is enabled, then all site group segments are exported. The same applies to membership export.