The integration is intended to transfer segments created in Piano Audience to Adition and Active Agent. The same configuration is used for both tools, segments appear in the existing accounts automatically.
Setting the CookieSync tag
The CookieSync tag (one of the below variants) should be placed on the pages of the relevant webites. Some time (a month or two) is required for matching users between Piano and Active agent / Adition, it is a good practice to put the tag in advance. Make sure that the tag is placed on alive websites because it is traffic that defines the matching process rate.
Synchronous tag
<script type="text/javascript" src="http://cdn.cxense.com/cx.js"></script>
<script type="text/javascript">
cX.sync('adition');
</script>
Asynchronous tag
<script type="text/javascript">
// Async load of cx.js
(function(d,s,e,t){e=d.createElement(s);e.type='text/java'+s;e.async='async';
e.src='http'+('https:'===location.protocol?'s://s':'://')+'cdn.cxense.com/cx.js';
t=d.getElementsByTagName(s)[0];t.parentNode.insertBefore(e,t);})(document,'script');
var cX = cX || {}; cX.callQueue = cX.callQueue || [];
cX.callQueue.push(['sync','adition']);
</script>
Configuring Piano Audience
-
Create an Active Agent / Adition configuration
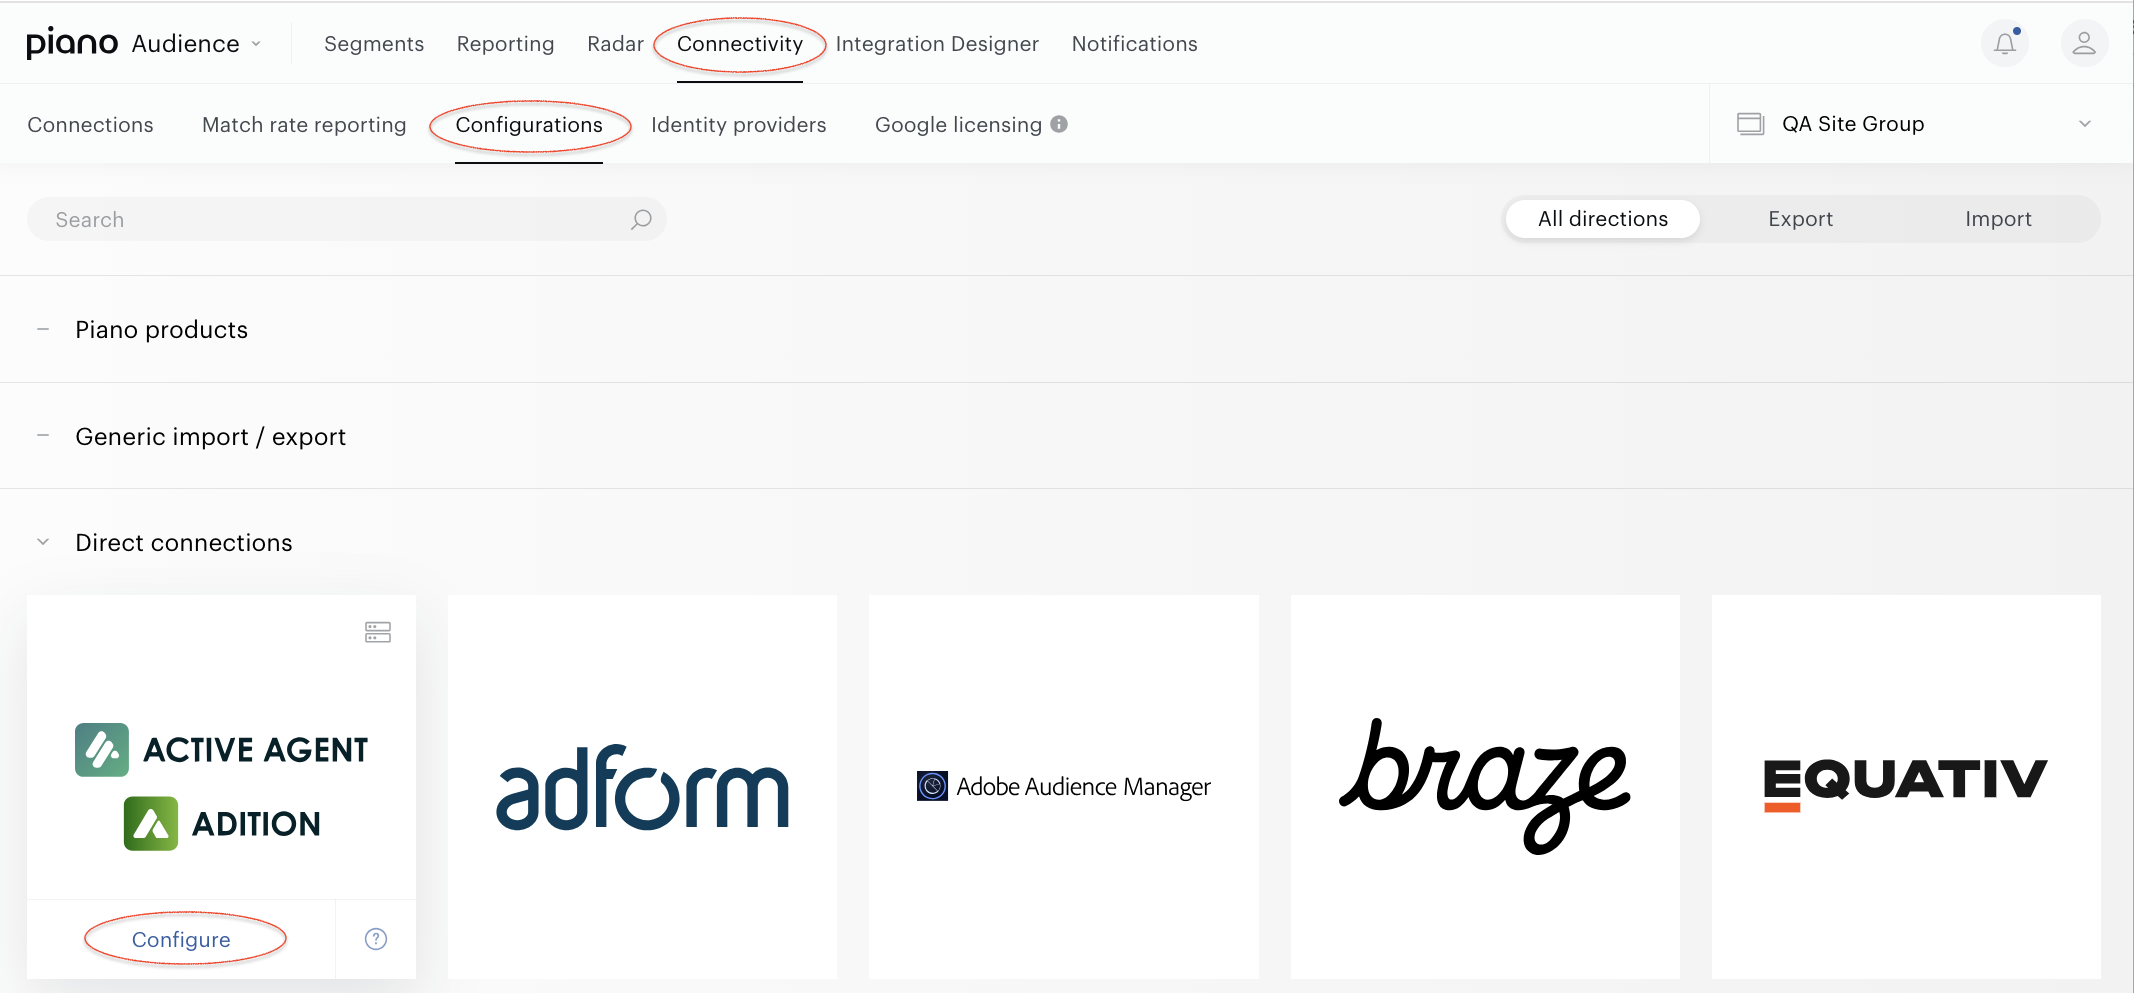
With your site group selected, from the Piano Audience home page, go to the Connectivity tab → the Configurations tab. Hover on the Active Agent / Aditionicon and click the Configure button.
-
Configure the connection
In the New Connection menu, you are to set:
-
Project name: will be shown in Piano Audience only to simplify managing numerous integrations.
-
Targeting attribute creation: defines how the targeting attribute is created on the Active Agent / Adition side:
-
Manually: to create a targeting attribute with sub-keys equal to the IDs of the needed Piano segments before the integration starts.
-
Automatically: automatic creation, requires two additional parameters: your username and password at Active agent / Adition.
-
-
Network code: your network ID at Active Agent / Adition.
Click Test Connection.
Click the Create button in the upper right corner (a successful test connection makes it clickable). Create will turn to the Save button you can use any time during further configuration.
-
Configure segments
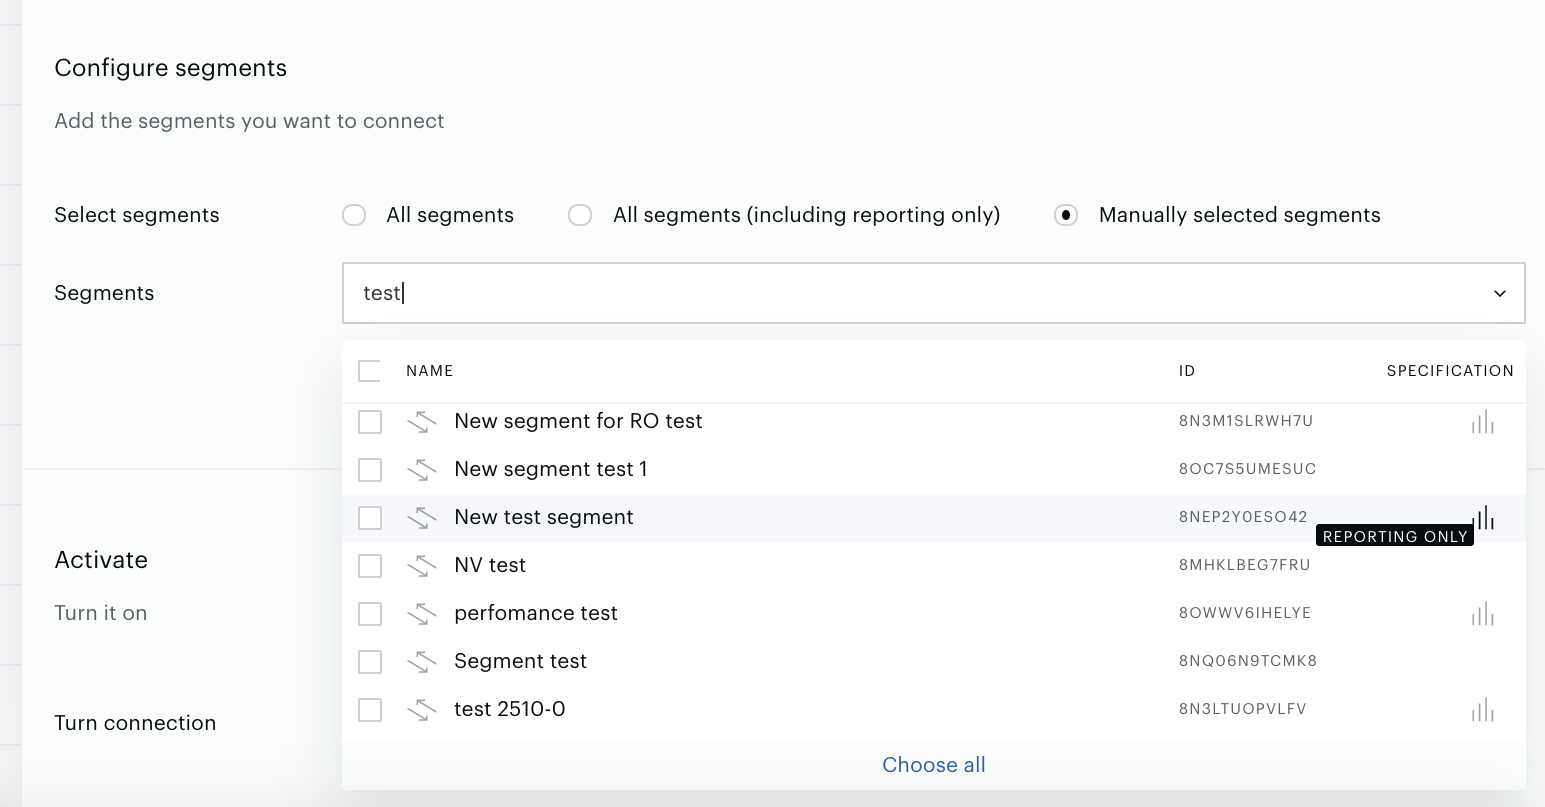
Successful test connection enables the Configure segments form where:
-
All segments means that all active full-usage segments will be sent to Active Agent / Adition; any newly created active full usage segment will be added automatically.
-
All segments (including Reporting only) includes reporting-only segments.
-
Manually selected segments allows both to send some part of active segments and to check if a needed segment is active now. If a needed segment is inactive, you can activate it on the Segments tab. To select a segment, click its name. Multiple selection is supported.
Set the parameter.
Segment names are used as Adition subkey names which means some restrictions. A segment / subkey name must be unique and less than 32 symbols. Segments with equal names will be ignored. Too long names will be cut. Also, segment names should contain only word characters (equal to [a-zA-Z0-9_]). Otherwise, the subkey name will be equal to segment ID.
Note that segment names can't be updated on the Adition side. if you decide to rename a segment in the Piano Audience interface, it will not change the subkey name.
-
Export segments
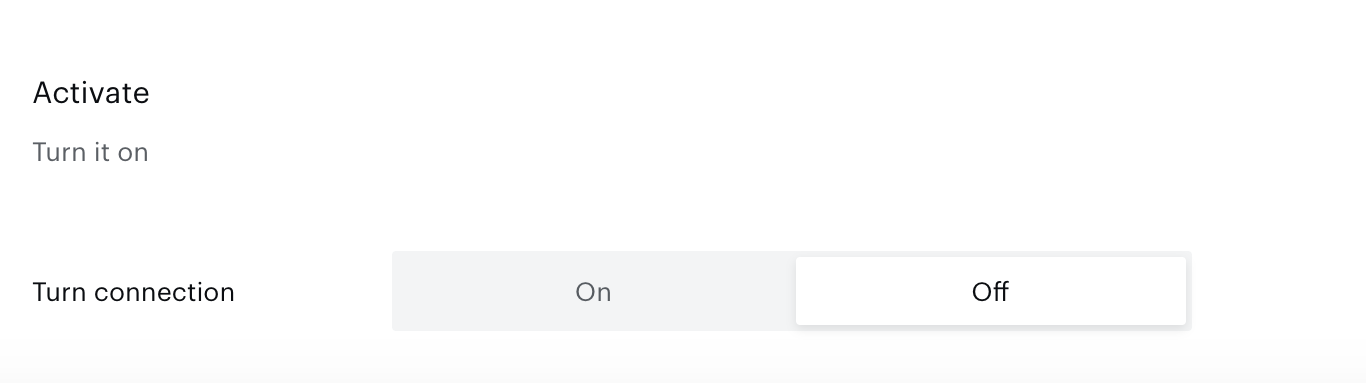
You can click Export now in the Configure segments section for almost immediate export of selected segments without waiting for the next scheduled data transfer. The other option is configuring scheduled data transfer in the Activate section below. There, you can either set up a daily data transfer by turning connection "on", or hold the created configuration without activation yet and set the connection to "off".
When ready, click Create or Save (if editing) in the top right corner of the page.
Monitoring and update
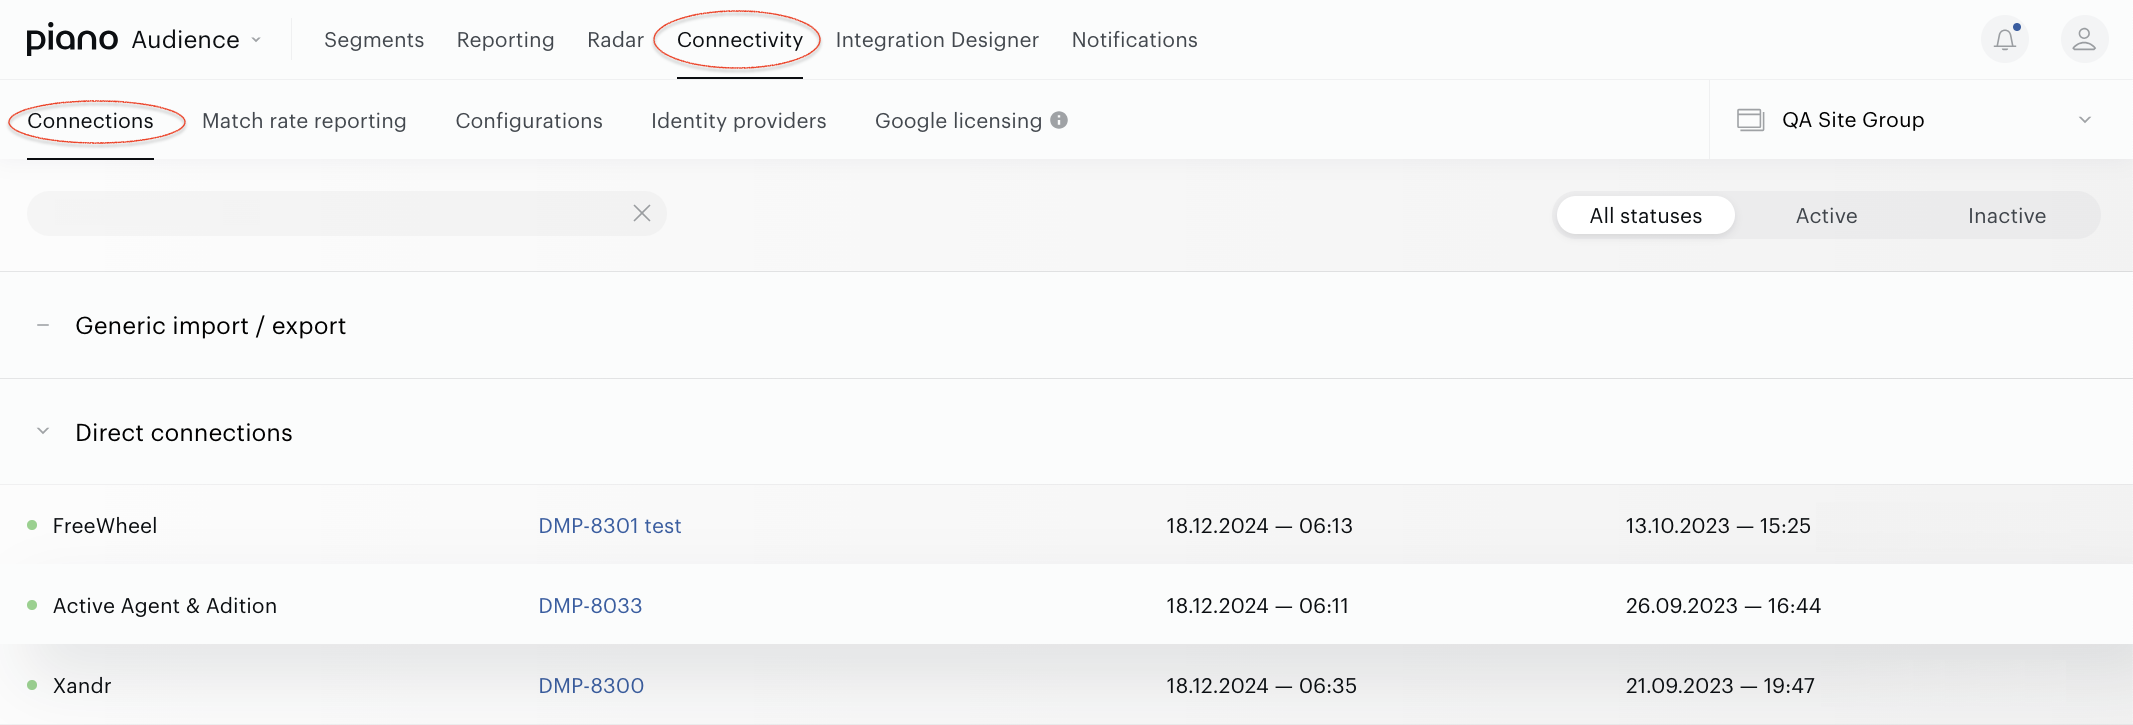
Configured connections can be viewed and edited in the Connections tab. They are also available under the Match rate reporting tab.
Data is normally exported once a day. The Export now button allows to export segments (not membership data) almost immediately.
By default, if segments export is enabled, then all site group segments are exported. The same applies to membership export.